In the third part of a feature series on breeding chicks the natural way, Grant Brereton advises on how to rear them
I still recall my first chicks which hatched in an old incubator some 30 odd years ago. And whilst every hatch is special, nothing quite beats that first time; it’s truly magic! There are, however, some important guidelines to follow before reaching the stage of marvelling at your homegrown chicks, clambering over the other eggs in the incubator, and discovering their new world…
Most incubators are very reliable these days, so as long as your eggs are fertile and you follow the manufacturer’s instructions, you have a fairly good chance of a successful hatch. But it should be remembered that instructions are there for a reason, which many people forget and either interfere with hatching chicks or regularly remove the incubator lid at the point of hatching – both of which are bad ideas.
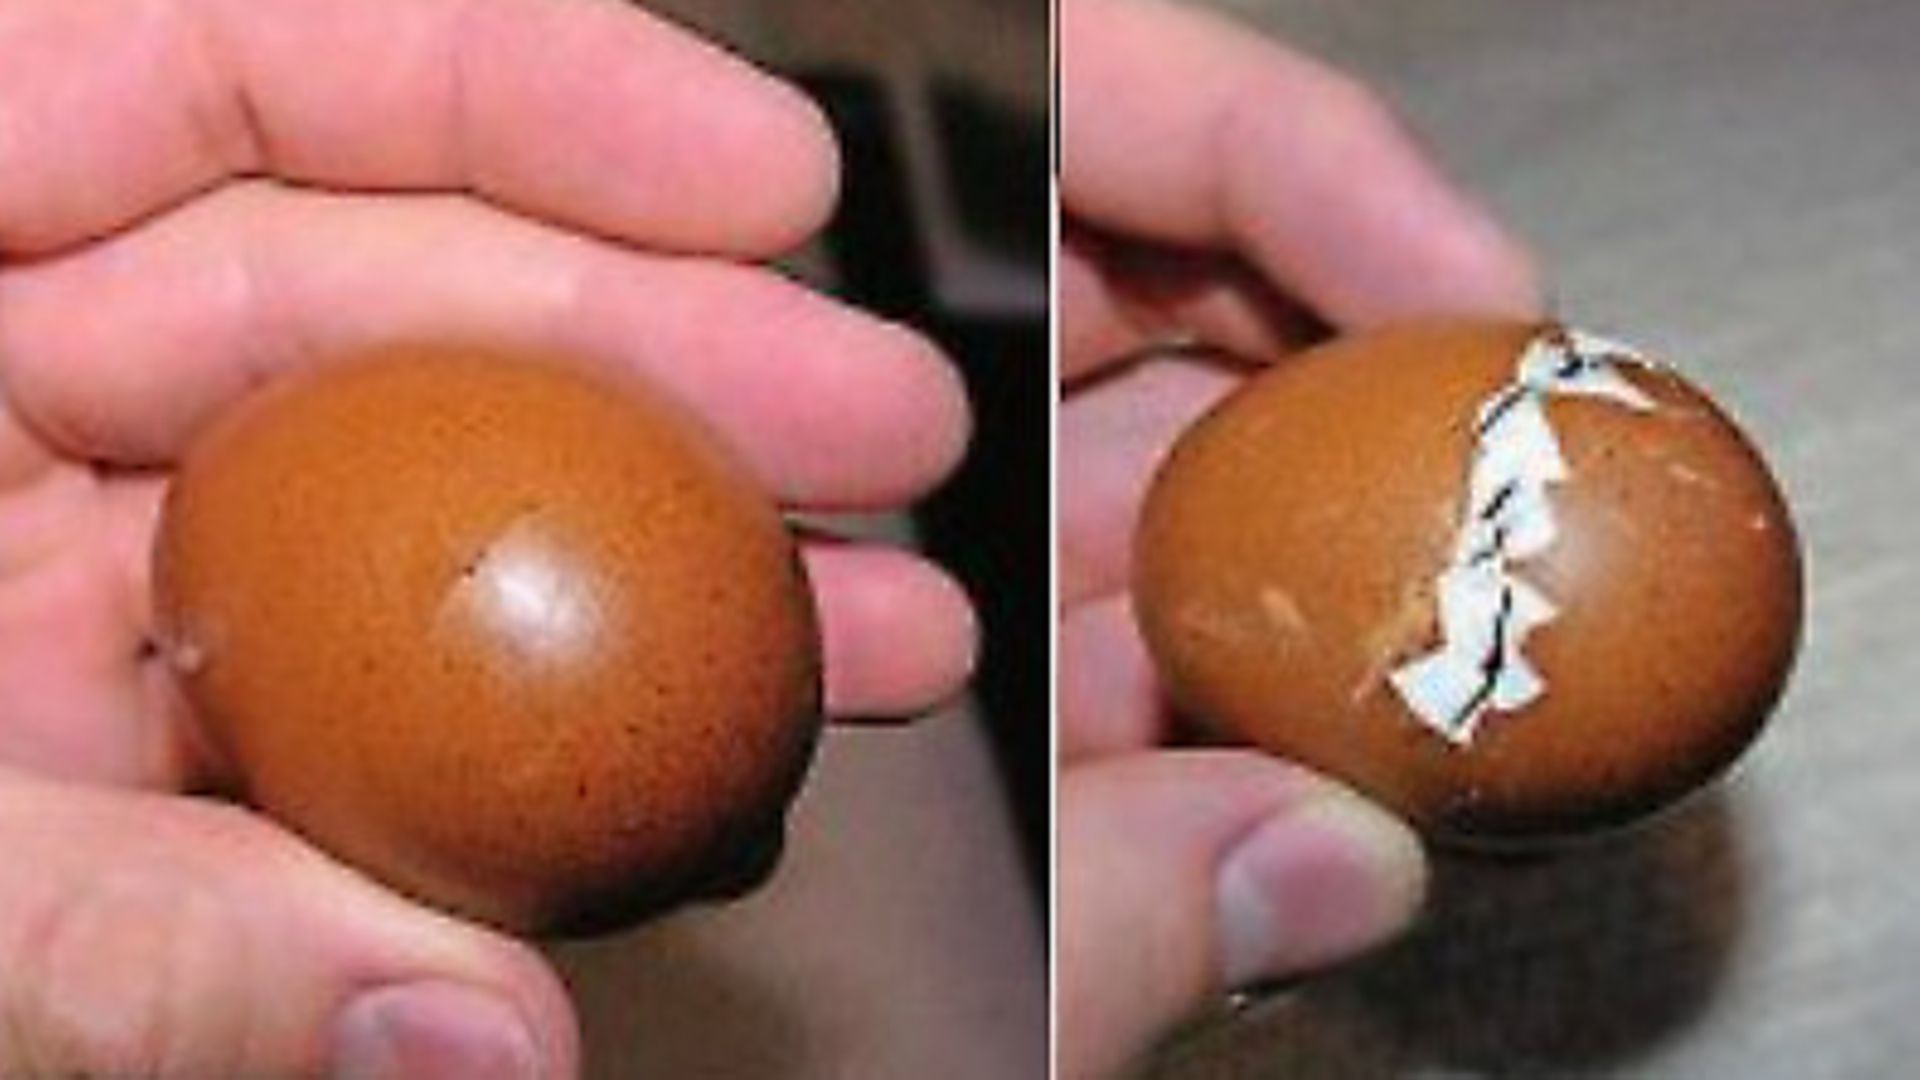
It’s wonderful to see the faint cracks appearing in your eggs; your attention to which is drawn by the sound of the first chicks cheeping. Eggs can take between two and 24 hours to hatch, sometimes a bit longer, so do resist the urge to remove the incubator lid unless absolutely necessary – usually once a good number of chicks have hatched and have been fluffed up for a good 20 hours.
We tend to think of chicks as cute, fluffed-up yellow creatures that we see around Easter time, but witnessing a chick hatching is quite a different experience. They appear wet and slimy when they first hatch and the down is firmly stuck to the body. But in no time this soon dries out before fluffing up. It’s also amazing to marvel at how quickly chicks develop their walking ability which is clearly noticeable within 24 hours; they go from being quite weak and fragile initially to strong, active and alert chicks – literally overnight!
Broody
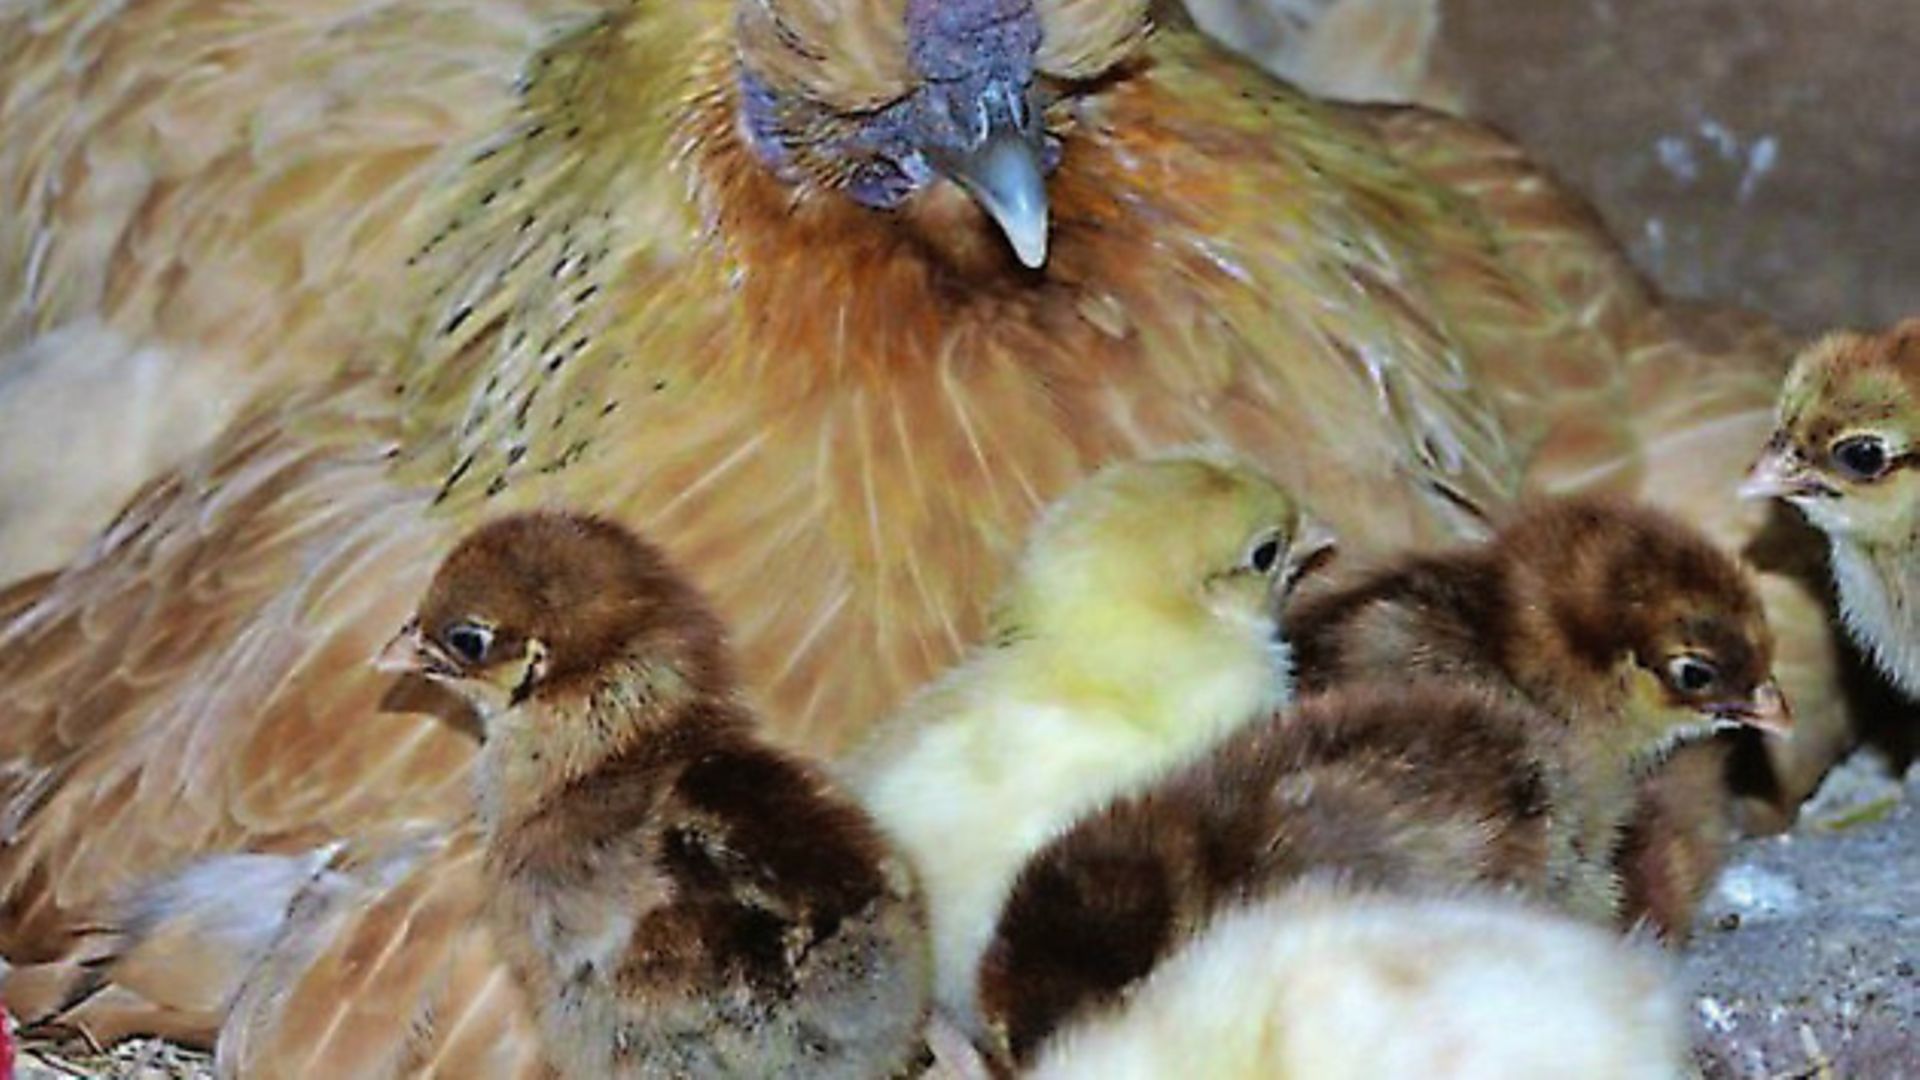
Of course, this process will occur naturally under a broody hen and, sadly, just because she sits to term doesn’t mean she’s a good mother – so it’s worth keeping an eye on her to make sure she’s not attacking the chicks or letting them stray from beneath her (or squashing them). You will likely get the odd peck for your troubles, but just carefully lift her breast to check the hatching situation and cease on the opportunity to remove any hatched eggshells.
Many people expect the broody hen to be off the nest the next day with her chicks, but this isn’t a good idea. Often not all of the eggs will have hatched by this point, so some chicks will inevitably perish inside the shell if they don’t get the opportunity of body heat in the final stages. A good broody will sit on the nest for two to three days after the first chicks have hatched, by which point you can be sure that all eggs that are going to hatch have done so. The good news is that not many fertile eggs don’t hatch under broody hens.
Feed
My advice to newcomers is to use a chick crumb that contains ACS (anti-coccidiostats) to develop an immunity (through trickle feed) to coccidiosis. However, if you are going for a non-medicated crumb, then be sure to follow in the same vein for your growers pellets which your chicks will switch to in about 6-8 weeks. The same applies for ACS crumbs and growers pellets; whatever method you begin with (medicated or non-medicated feed) needs continuing in the growing stages.
Brooder
Brooders ideally need to be indoors at this time of year, not in a cold garage that’s going to have the main door open regularly. Even in April and May we can still get days where the outside temperatures struggle, but the heat in the brooder needs to be around 35 degrees beneath the lamp (about 2 inches off the floor), which can be reduced by 5 degrees per week.
A close eye should be kept on the chicks in the brooder, because they can easily catch a chill. They should be spread under the lamp in a content fashion and be busy scratching away intermittently. If they are always huddled right beneath the lamp it is likely too cold. They are also likely to cheep loudly in such cases. If they are spread around the bottom of the lamp it is probably too hot. In either case they can catch a chill and develop pasty faeces as a result which will clog up their vents. This is a sign of stress and needs to be rectified immediately. It is also worth mentioning that bulbs can easily blow in heat lamps and, if less than 10 days old, the chicks won’t survive long. It’s always best to have some back-up available simultaneously so that if one lamp blows the chicks can run to the other. There are many alternatives in ‘Electric Hens’ which are more reliable.
As for litter, fresh shavings are ideal for brooders or broody hens, and cleaning out should be carried out regularly to avoid the build-up of faeces. This can lead to problems in the form of bacterial infections.
Fresh water should be available in purpose-made chick drinkers, which in general are plastic and white with a shallow red ring of a base. These work well, keep the water fresh and avoid drowning which can happen all too easily in open vessels.
Grass
In my view, the sooner chicks which have hatched under a broody can access grass, the better. They get no immunity from their mother or her faeces, which some people believe is the case, and need to get away from their own faeces in order to avoid too much exposure to coccidiosis – particularly when fed ACS-containing crumb.
Follow Grant Brereton on his website or on Twitter
www.gbpoultry.com @GBPoultry on Twitter
Image(s) provided by:
Archant
Archant