Decorate your eggs for Christmas – it’s fun and they look great! Julie Moore shows you how
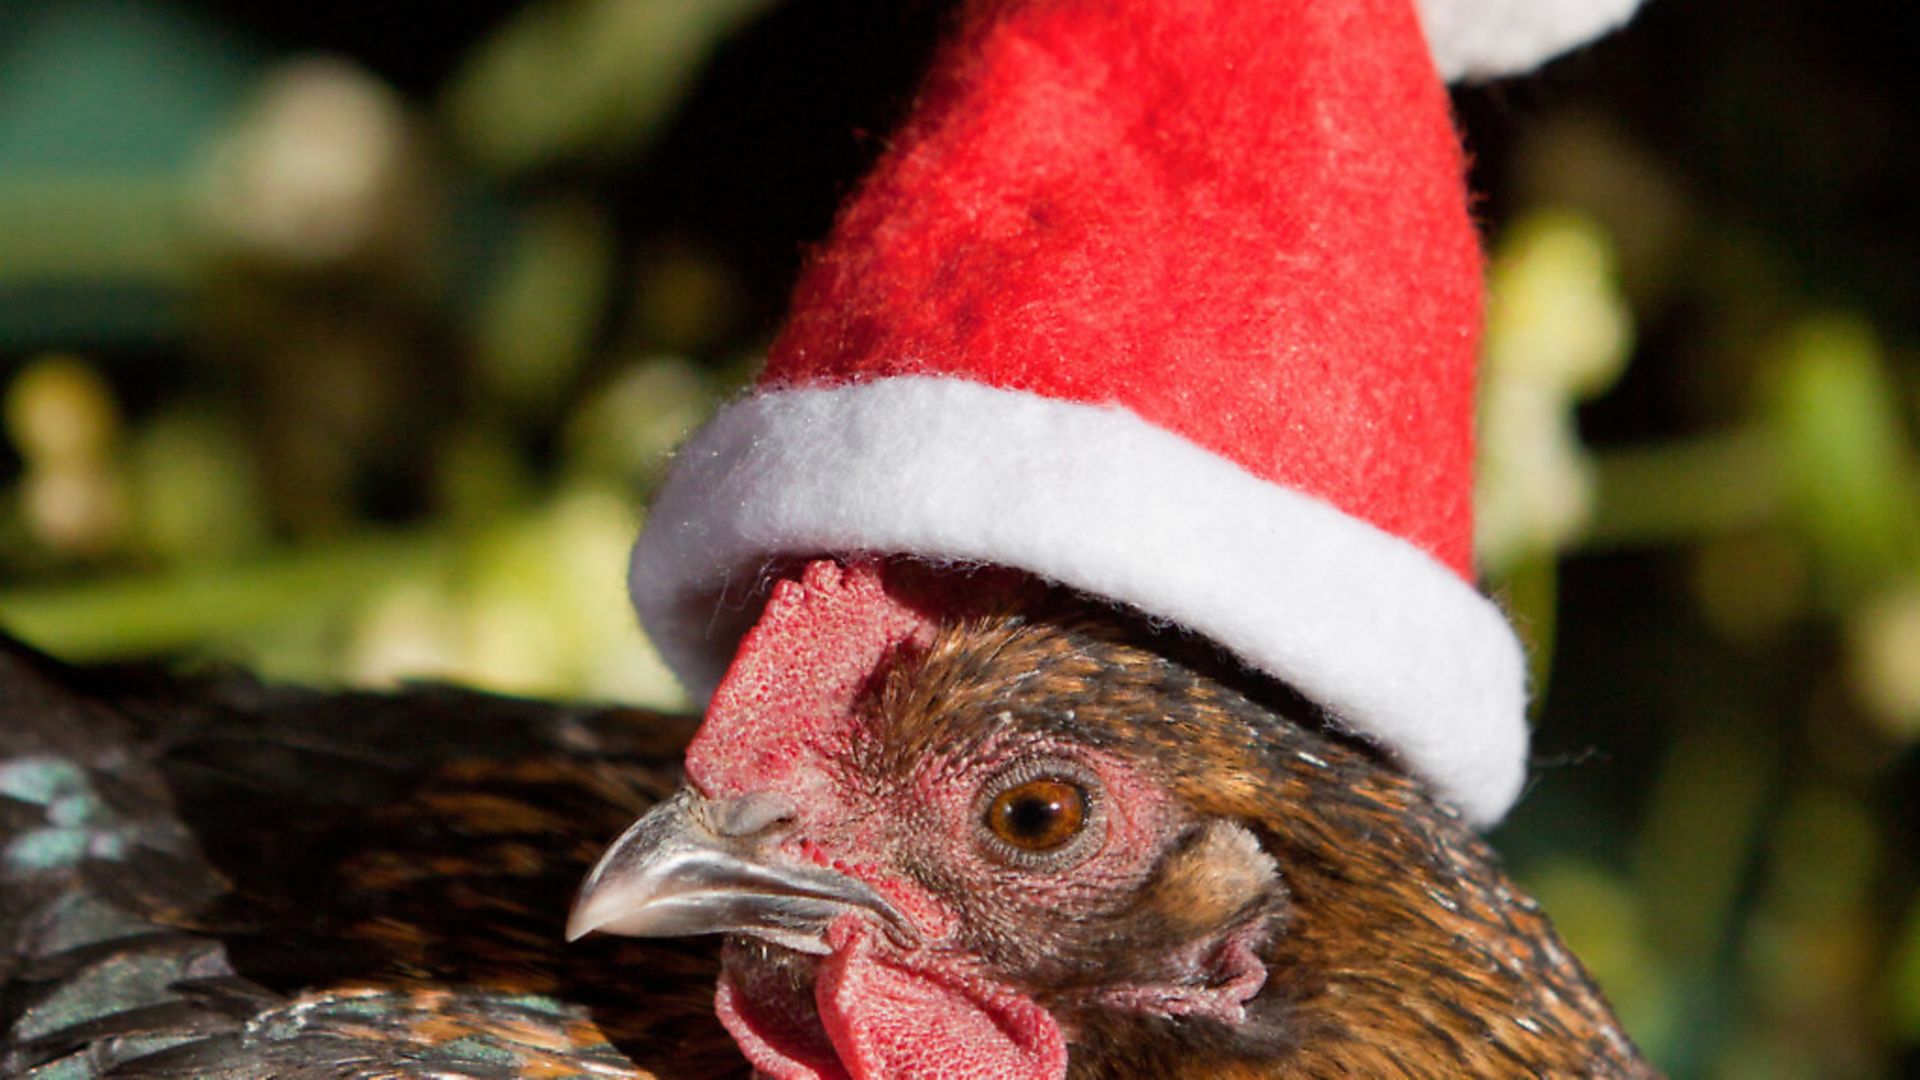
With Christmas just around the corner, now’s the time to make your own Christmas decorations using your girls’ free-range eggs. Not only will it save you money, it’s a fun way to spend an afternoon and upcycle your eggs.
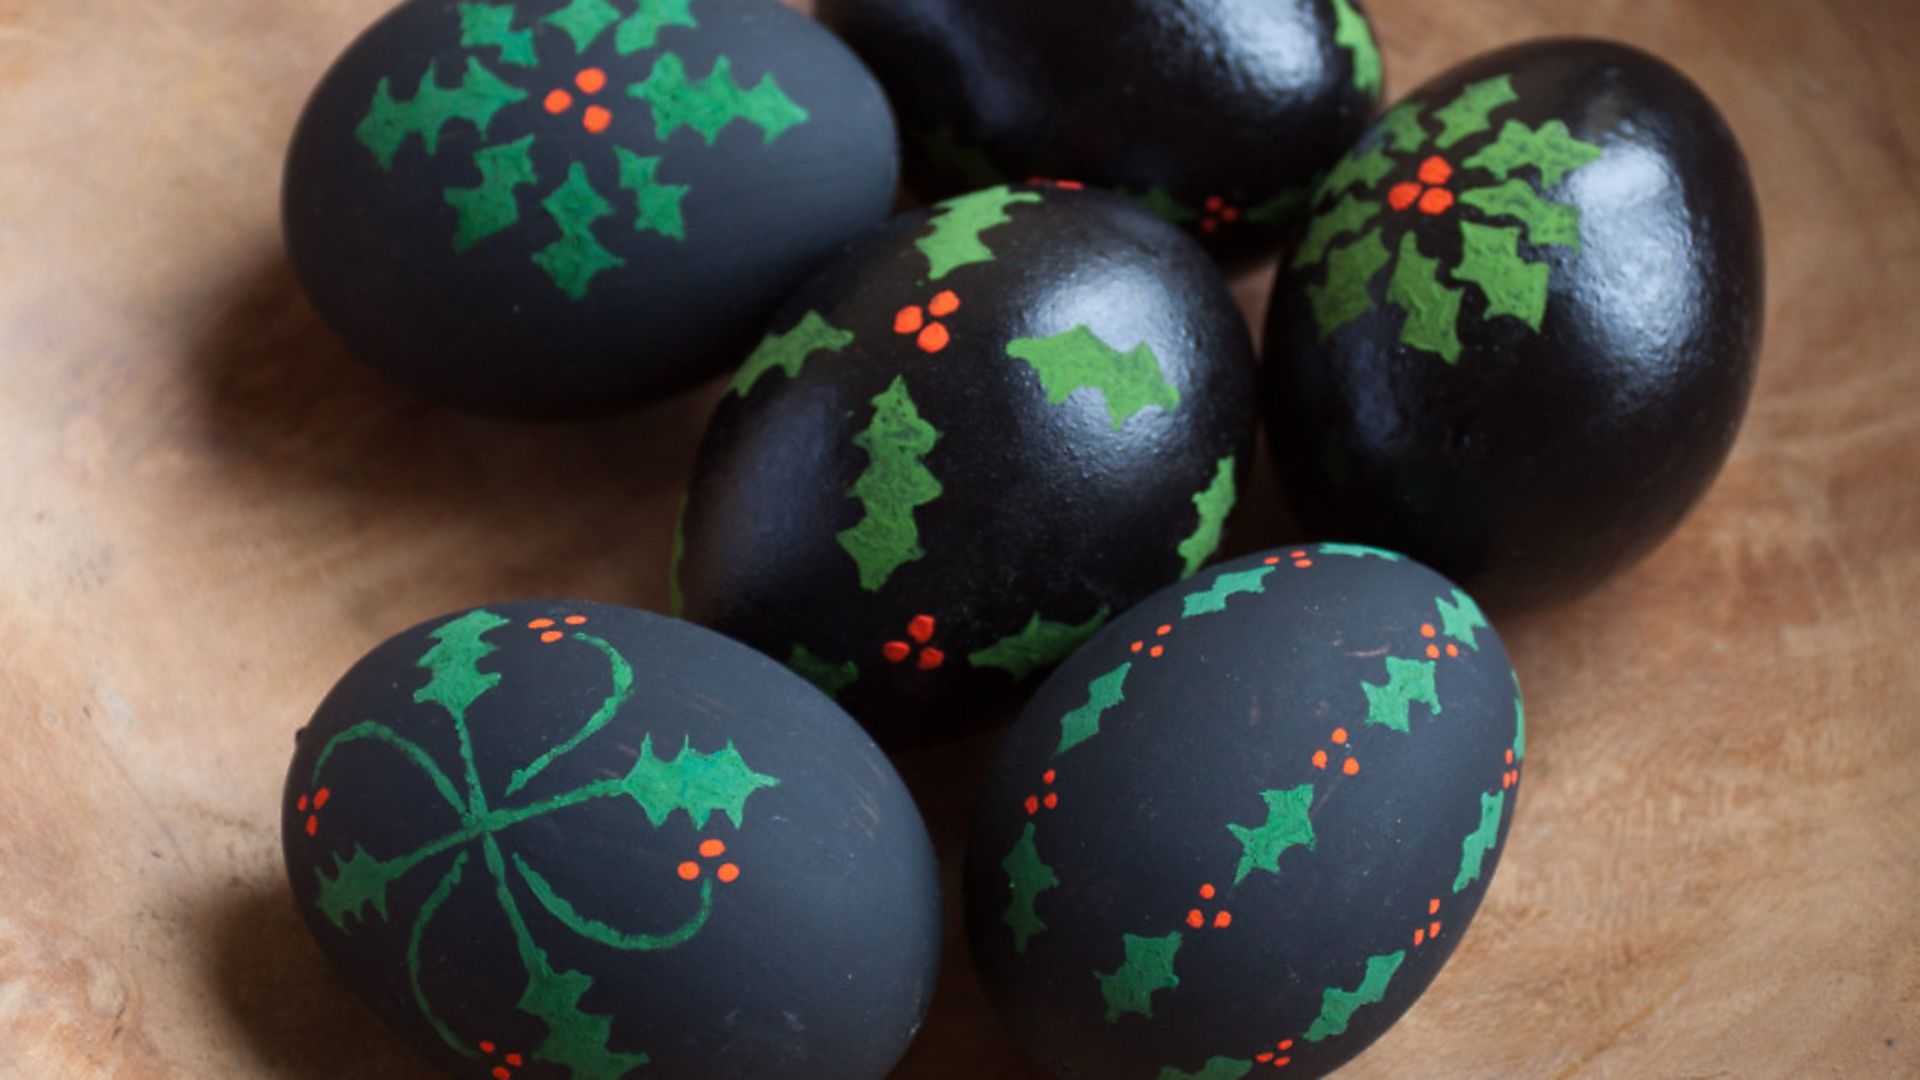
Designs are only limited by your imagination: you can paint them, roll them in glitter, decoupage them, use stickers or chisel out a design using a Dremel — the sky’s the limit!
By blowing out the contents, eggshells can be preserved for years of enjoyment, plus you still get to make something to eat. You can decorate hard-boiled eggs, but they not only have a short-shelf life, you’ll be missing out on a nutritious snack too.
Egg blowing isn’t difficult and just needs a little bit of patience. I’d avoid practising on a ‘favourite’ egg as initial attempts tend to result in at least one breakage. Remember too that it’s easier to blow the contents of a room temperature egg rather than a cold one.
Whilst there are an array of gadgets to buy, I prefer to use good old fashioned lung power. Follow our step-by-step guide to egg blowing:
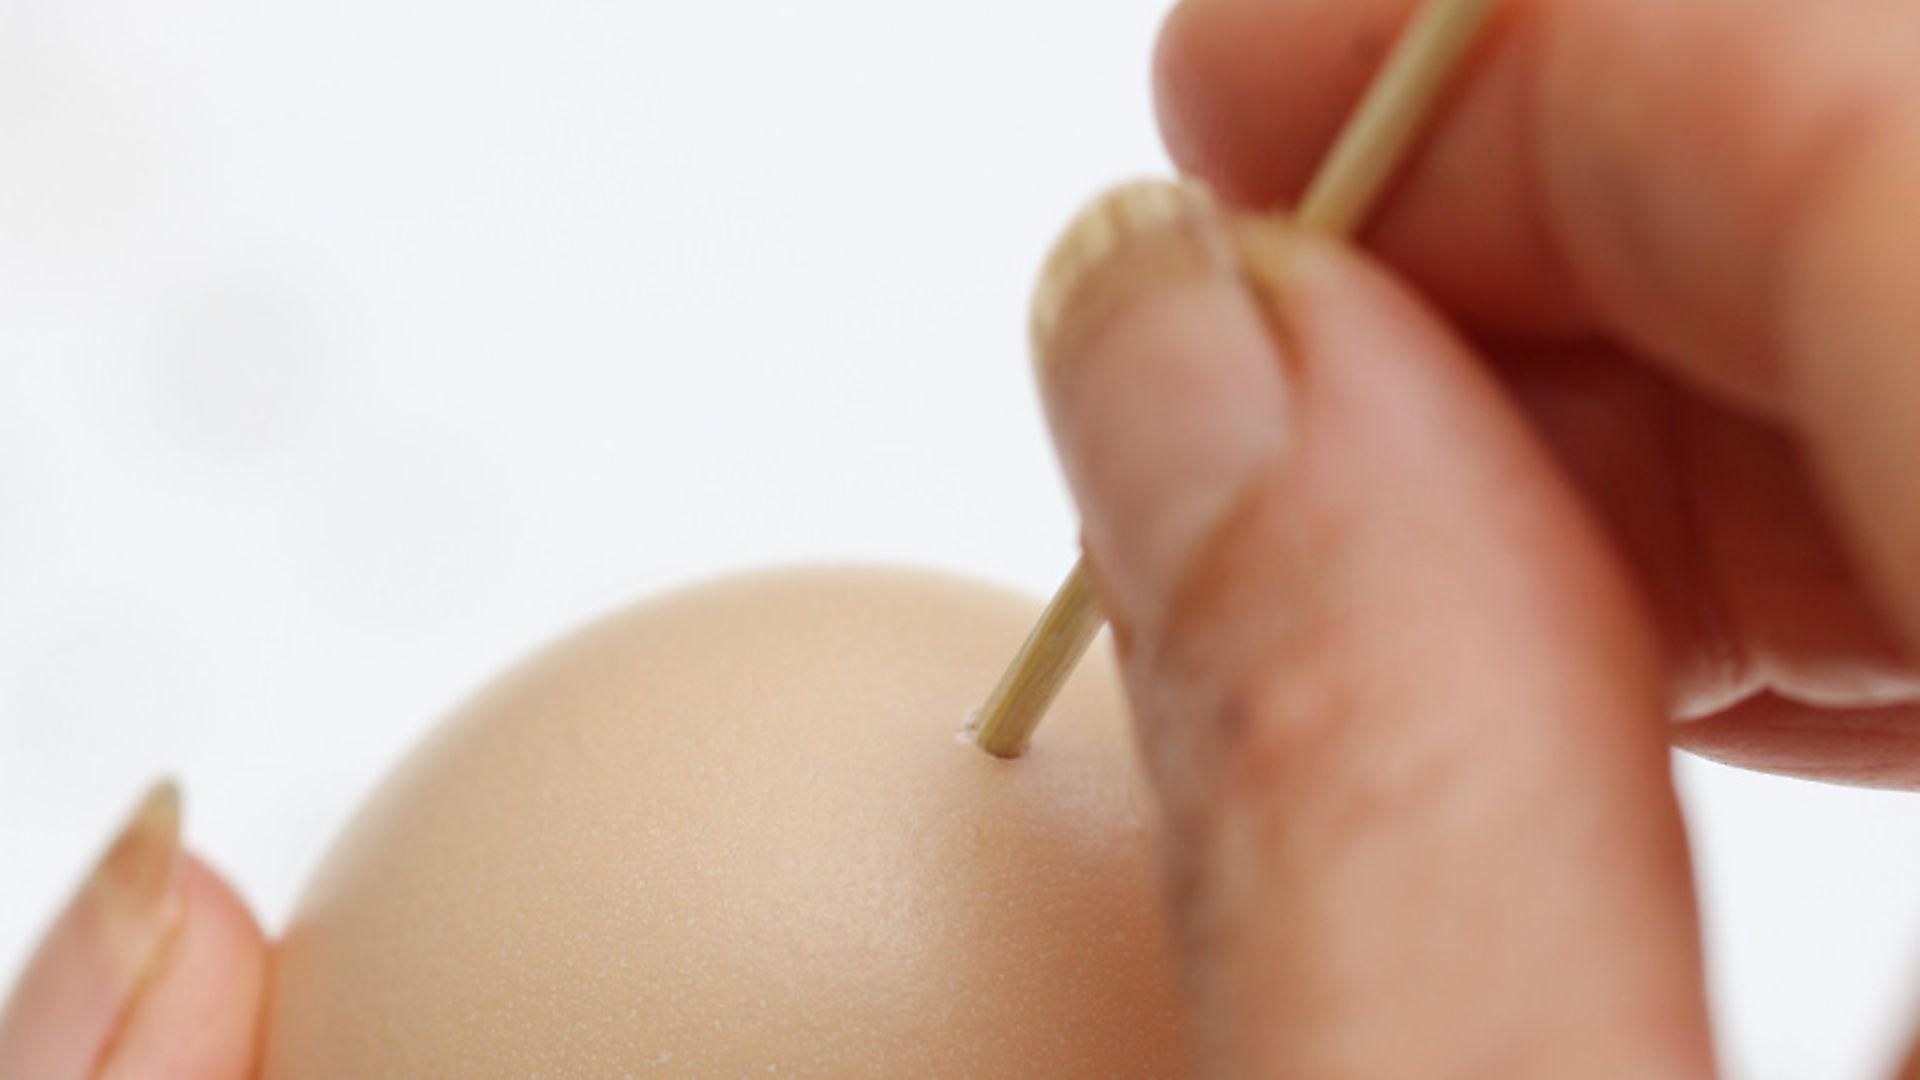
1 Make holes in the egg
You’ll need to make two holes in the egg – one at the pointy end to blow through and another at the wide end for the contents to exit through. Using a safety pin, carefully turn the egg on the pin point several times to pierce the eggshell without cracking the egg. For the exit hole you’ll need to make it 2mm in diameter by using a needle file or chipping the edges of the hole with the safety pin.
2 Break the yolk
After making the holes, break the yolk by inserting a cocktail stick or straightened out paper clip into the wider hole at the bottom of the egg.
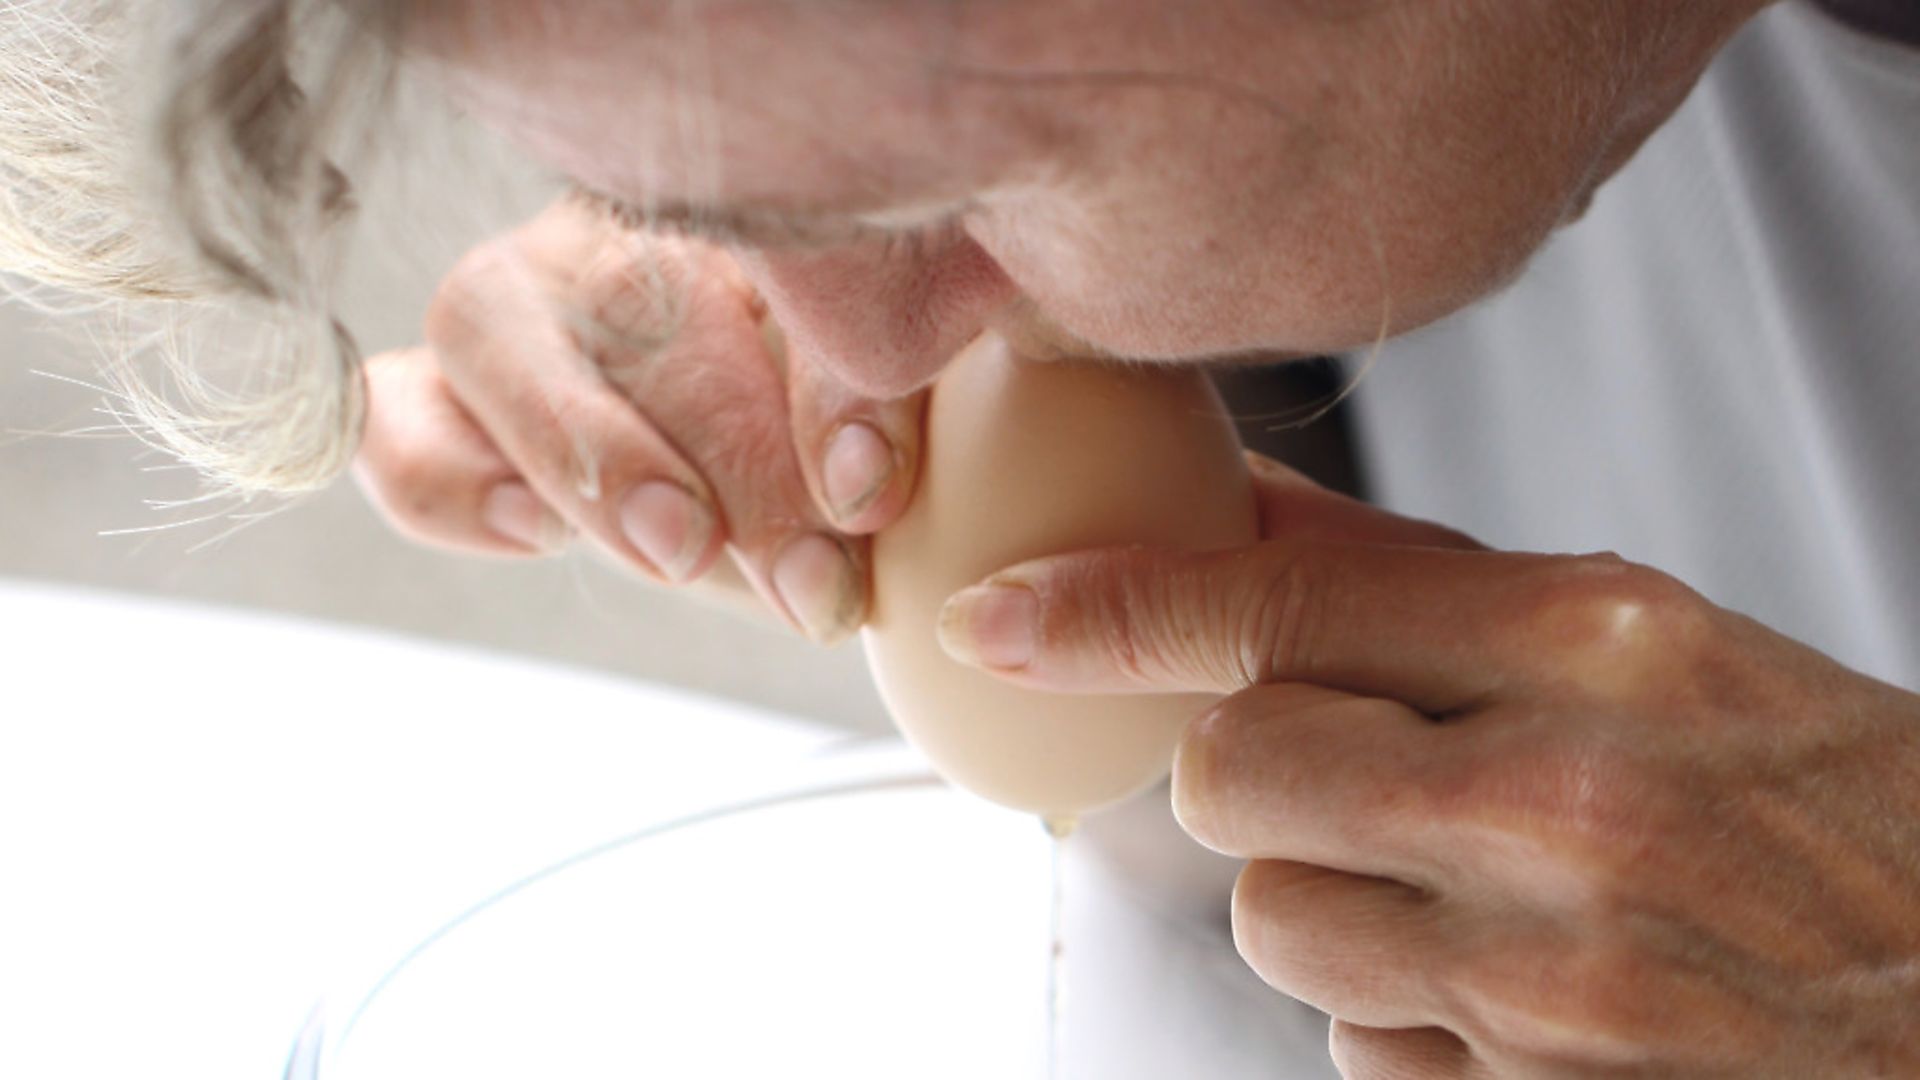
3 Empty the contents
After the egg has been ‘scrambled,’ blow air through the pointy end. Gently hold the egg over a bowl and purse your lips to form a seal over the hole. Your cheeks should remain inflated like a trumpet player’s to maintain steady pressure.
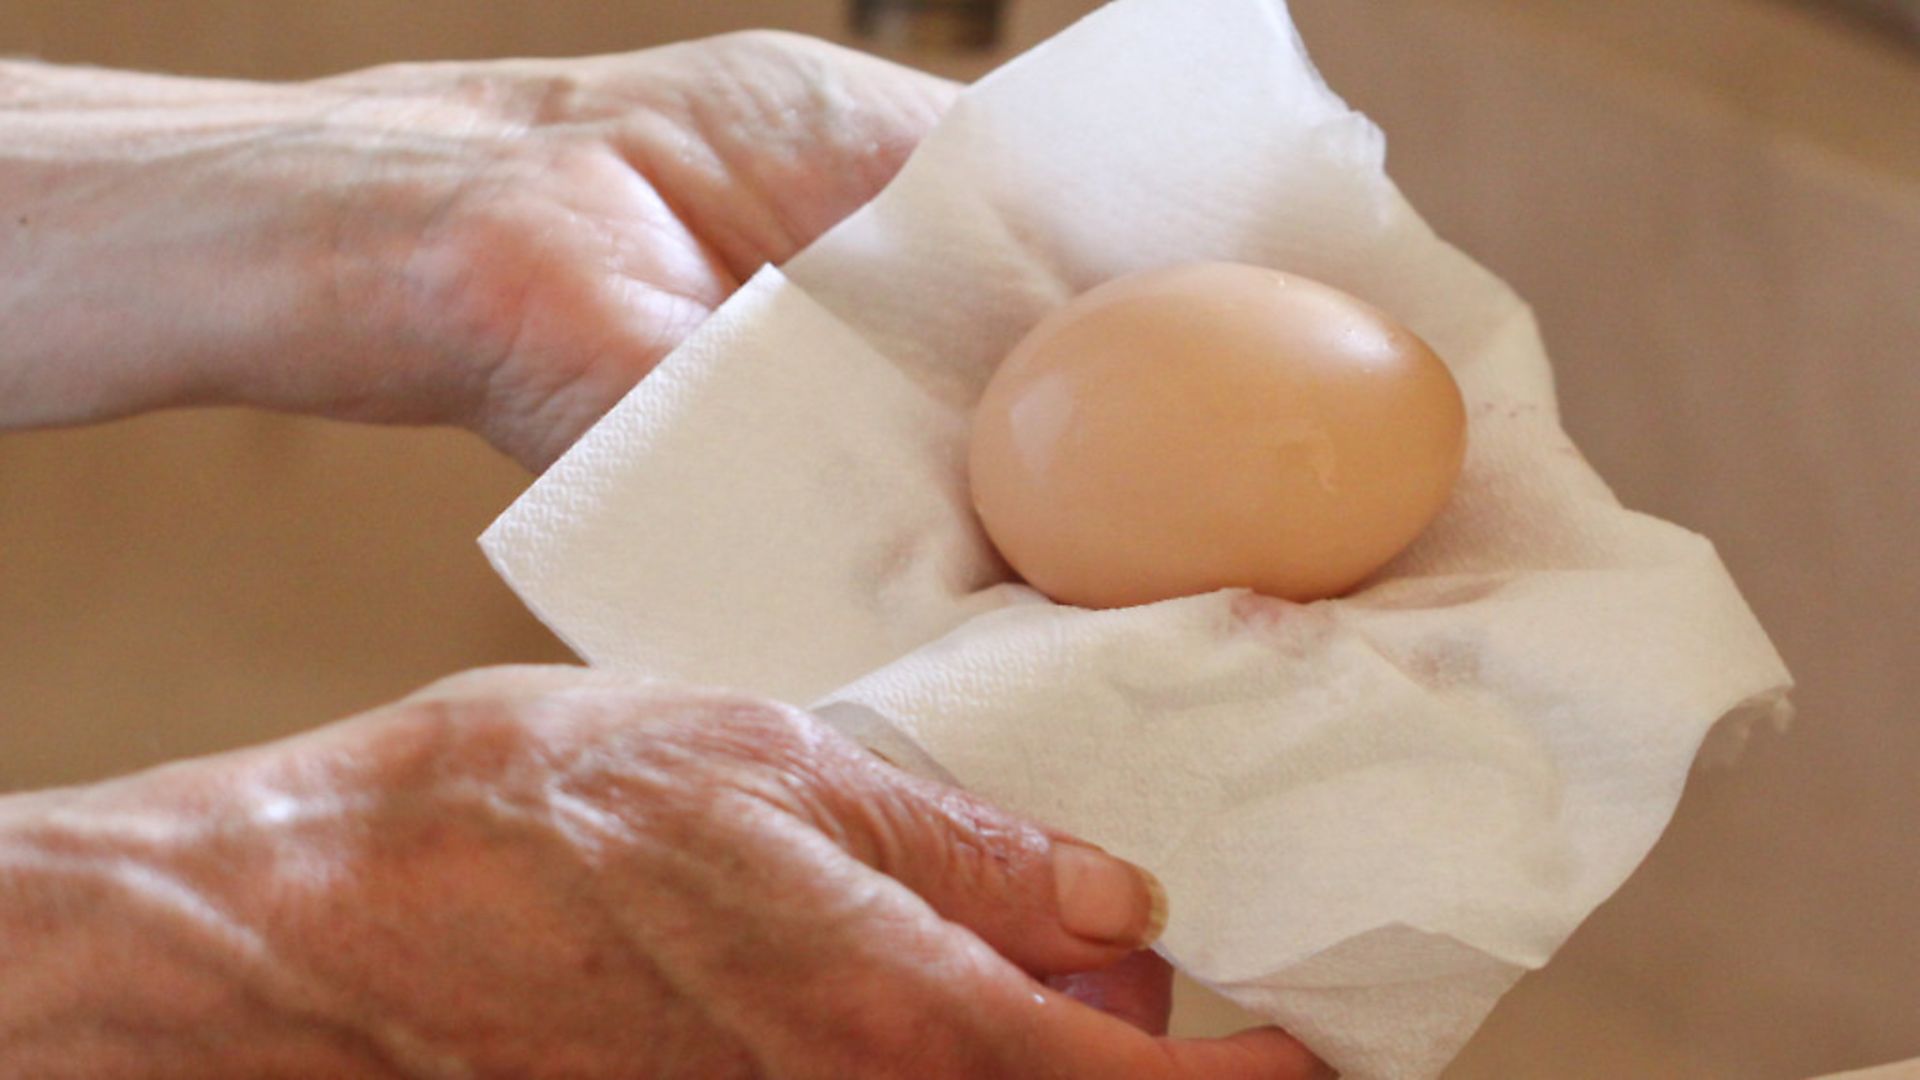
4 Clean the egg
Rub the shell with your hands under running water to remove the bloom. Allow the running water to enter through the larger bottom hole. Covering both holes with thumb and forefinger, gently shake, then empty the contents by blowing the egg.
5 Dry the egg
When you’ve turned off your oven after cooking dinner, put your washed eggs in for about five minutes to dry using the residual heat left in the oven — no need to consume more energy!
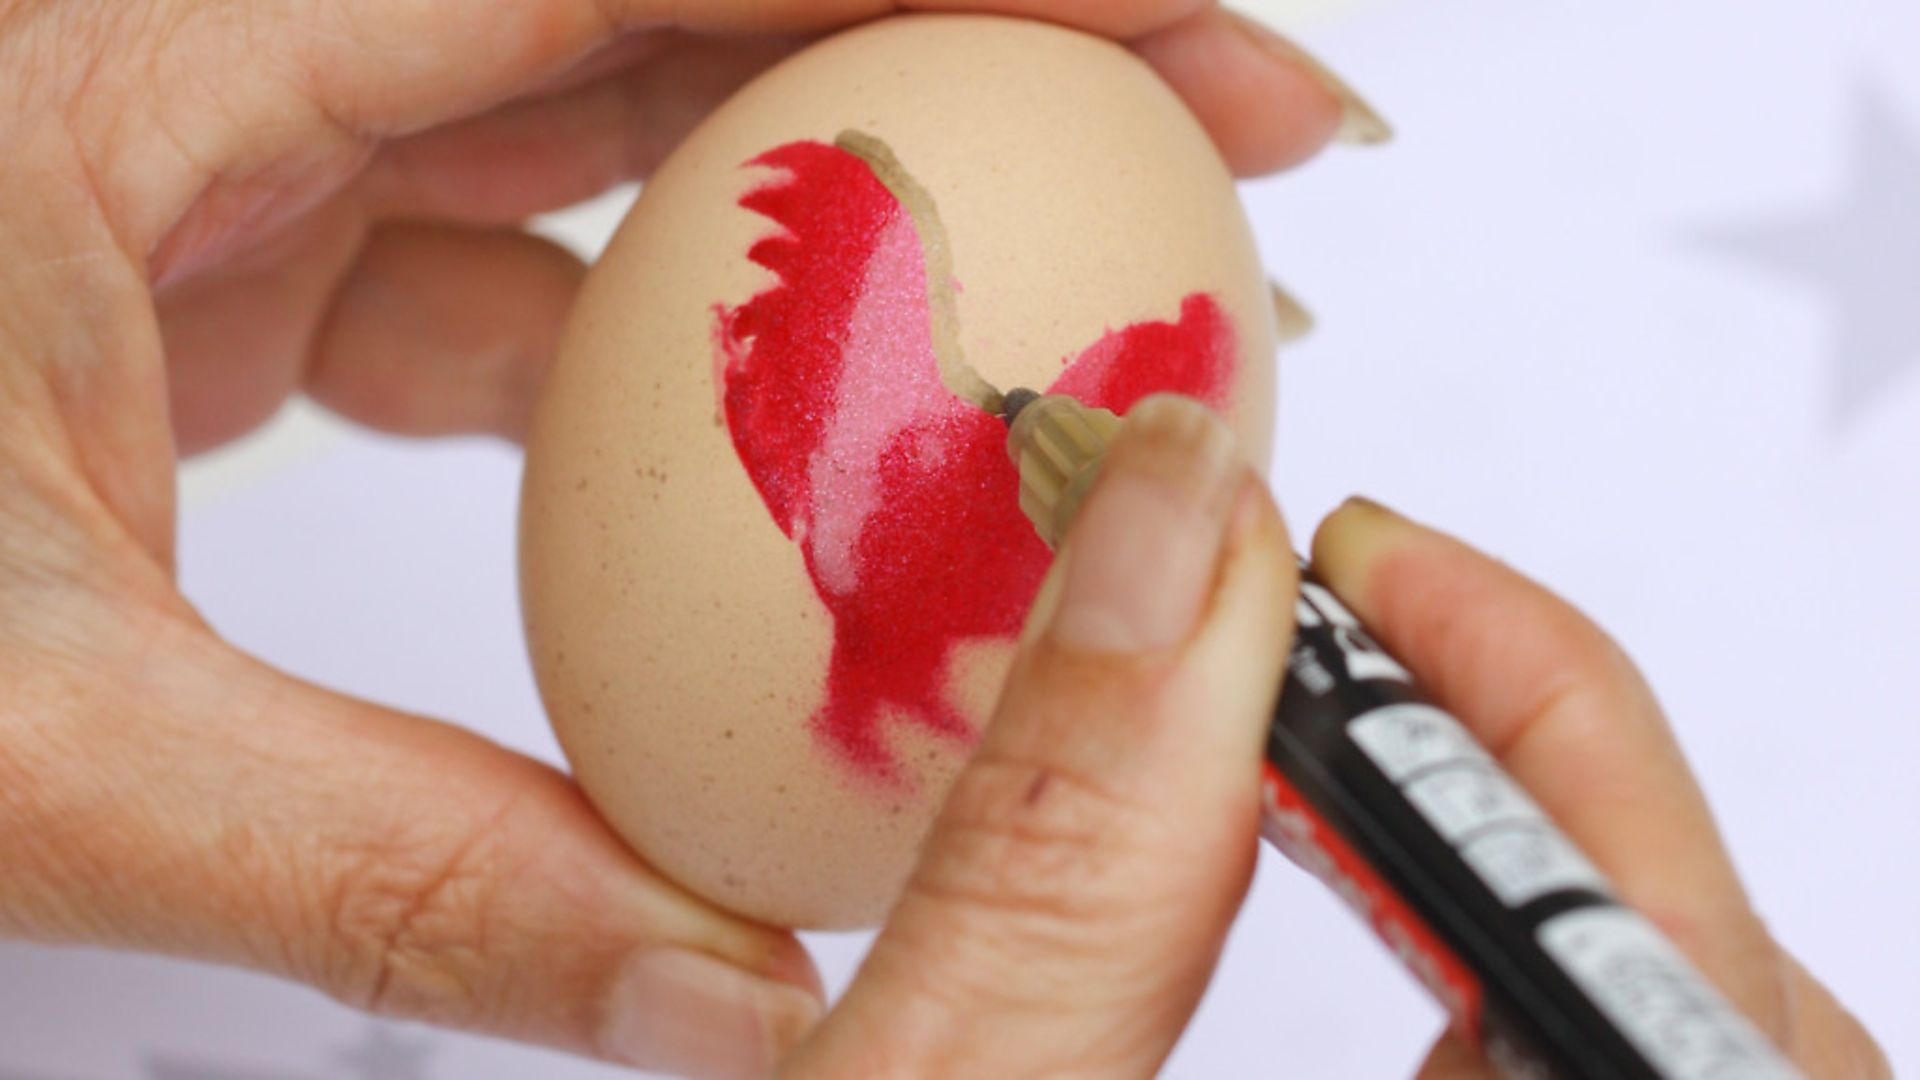
6 Decoration time
Now the eggs are clean and dry, it’s time to decorate them. Once you’ve finished your design, it’s best to seal with a finish coat such as Mod Podge (or PVA glue mixed with water for a homemade version) which will help to protect the design as well as adding some strength to the eggshell.
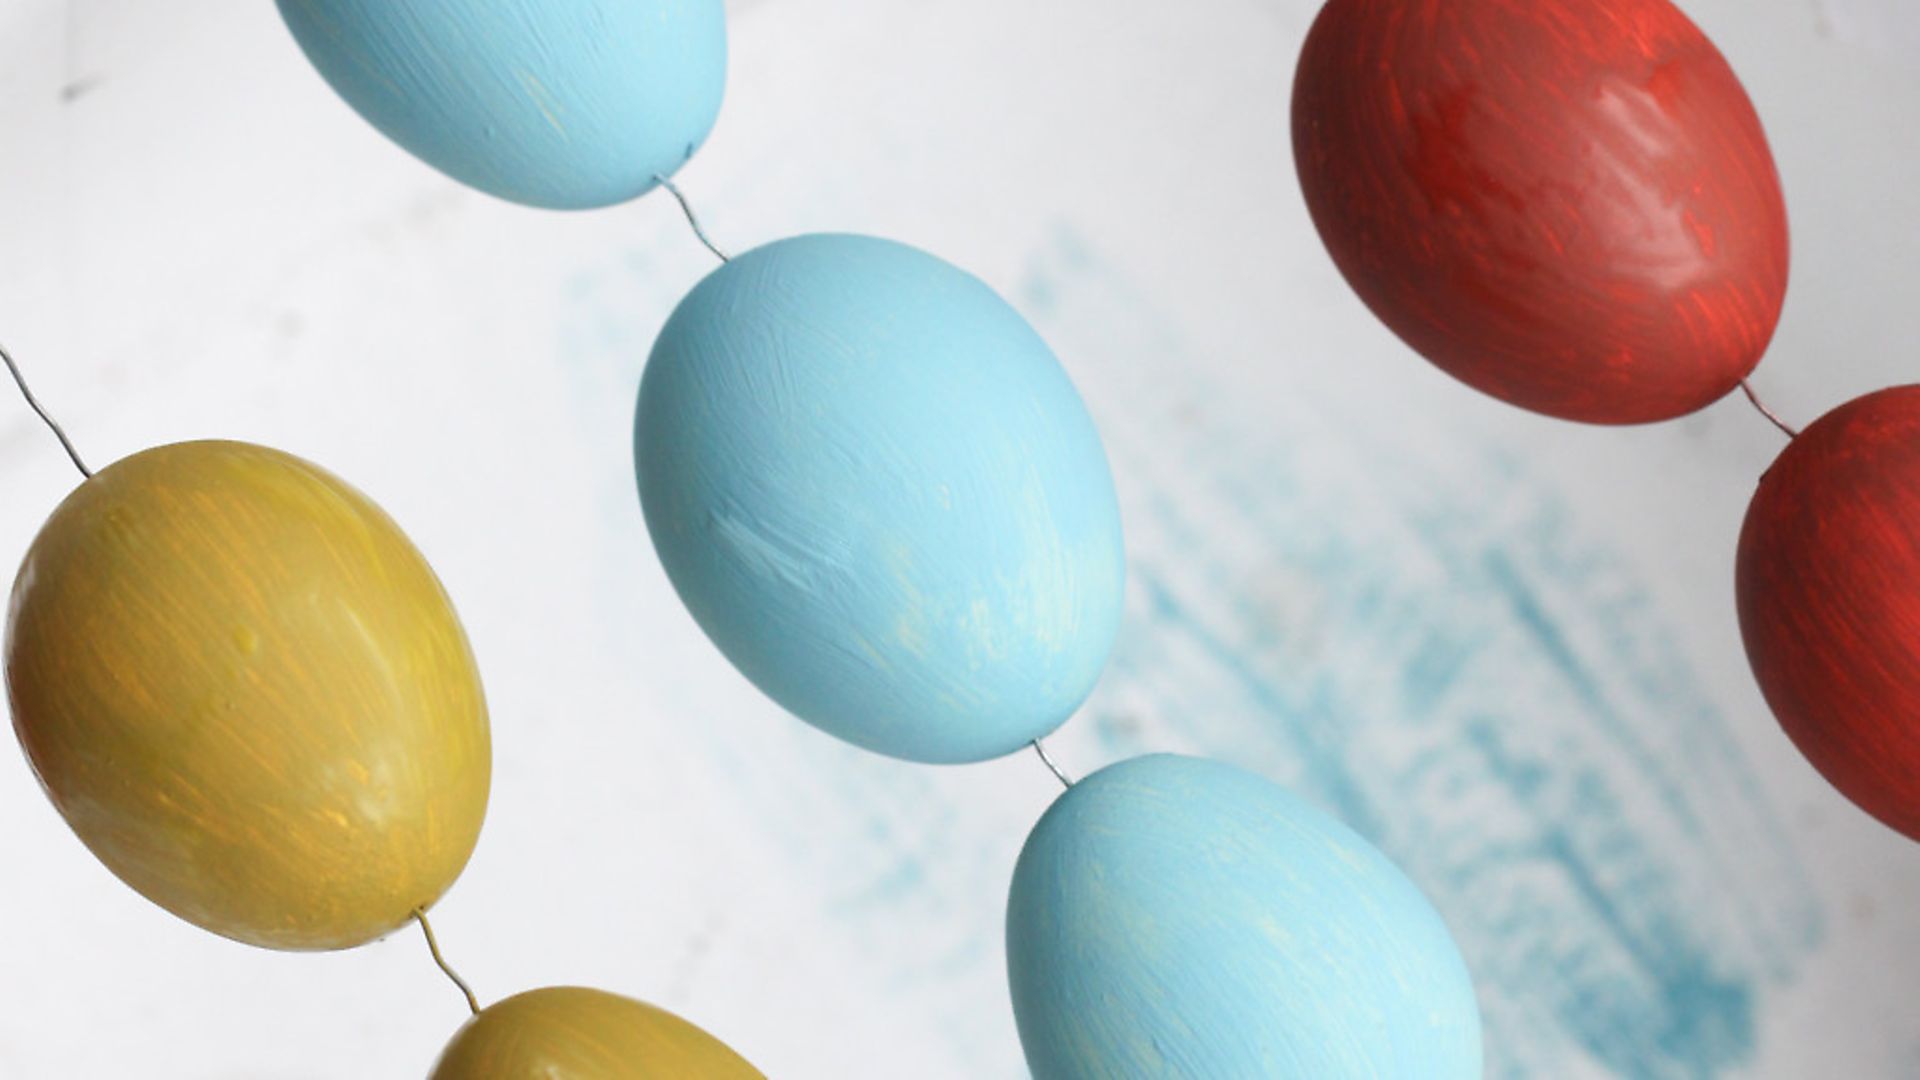
If you decide to paint your eggs, you can use acrylic paints or, for a more rustic, natural look, dye the eggs using natural ingredients from your kitchen.
There are many ways to hang your blown eggs: pretty bead caps glued on the top and bottom with some ribbon to hang the egg from your tree make simple, but decorative ornaments.
For the thrifty, a rummage through last year’s ornament box might reveal some orphaned ornament tops — no glue is necessary as the pressure from the little wires keeps them in place.
If you have some spare shirt buttons, they can be upcycled to hang your ornaments. Using twine, thread a button and push both ends of the twine through the pointy end hole, leaving a loop, then glue the button to the top of the egg.
Alternatively, make little wires from straightened out paper clips by wrapping a paper clip around the shaft of a pencil to make a circular loop. Trim the excess off leaving a ‘leg.’ Using pliers, bend a ‘foot’ at the end of the ‘leg’ to form a hook which you can insert into the hole.
Now repeat until you have an entire collection to hang on your tree!
Image(s) provided by:
Archant
Archant
Archant
Archant
Archant
Archant
Archant