Not surprisingly, gardening experts often have differing views on soil cultivation. While one of our organic gardening writers, Charles Dowding, favours the ‘no-dig’ method, even for heavy and difficult soils, our other writer, Brian Callaghan, argues here that some soils demand more intensive work to be of any use…
While it is possible to grow crops using a minimum tillage systems, heavy soils, those which have been compacted by the traffic of people and machines, and those with impeded surface drainage, demand deeper work if they are to be brought into production within an acceptable period of time. Given that soil cultivation demands a substantial investment of time and energy it pays to focus those resources as efficiently as possible.
Know Your Soil
The fundamental character of a soil is determined by the rock particles on which it is based. Large quantities of clay tend to result in soils which hang on to water (and therefore nutrients) whilst the relatively large particles found in sandy soils allow freer drainage but often suffer in droughts and lack of plant sustenance. Whatever the soil type, cultivate too little, too often, or in unsuitable conditions and more harm than good will be done.
Cultivations

So now you know your soil type and its basic characteristics, how should it be cultivated? Check the drainage, top soil depth and soil type and, along with the likely use, carry out the cultivations. Root crops and those which develop below ground such as carrots, potatoes etc. will need deeper cultivations than top growers such as brassicas and onions. The true benefits of well cultivated soil will reveal themselves when conditions become difficult. Crops which flourish when there is plenty of rainfall and soil is moist may struggle to extend their roots into compacted soil when droughts occur. Growth will suffer and premature flowering and seeding can result. Hence it is usually advisable to carry out deep cultivations when developing a new plot and cultivate according to crop thereafter, whilst minimising traffic wherever possible.
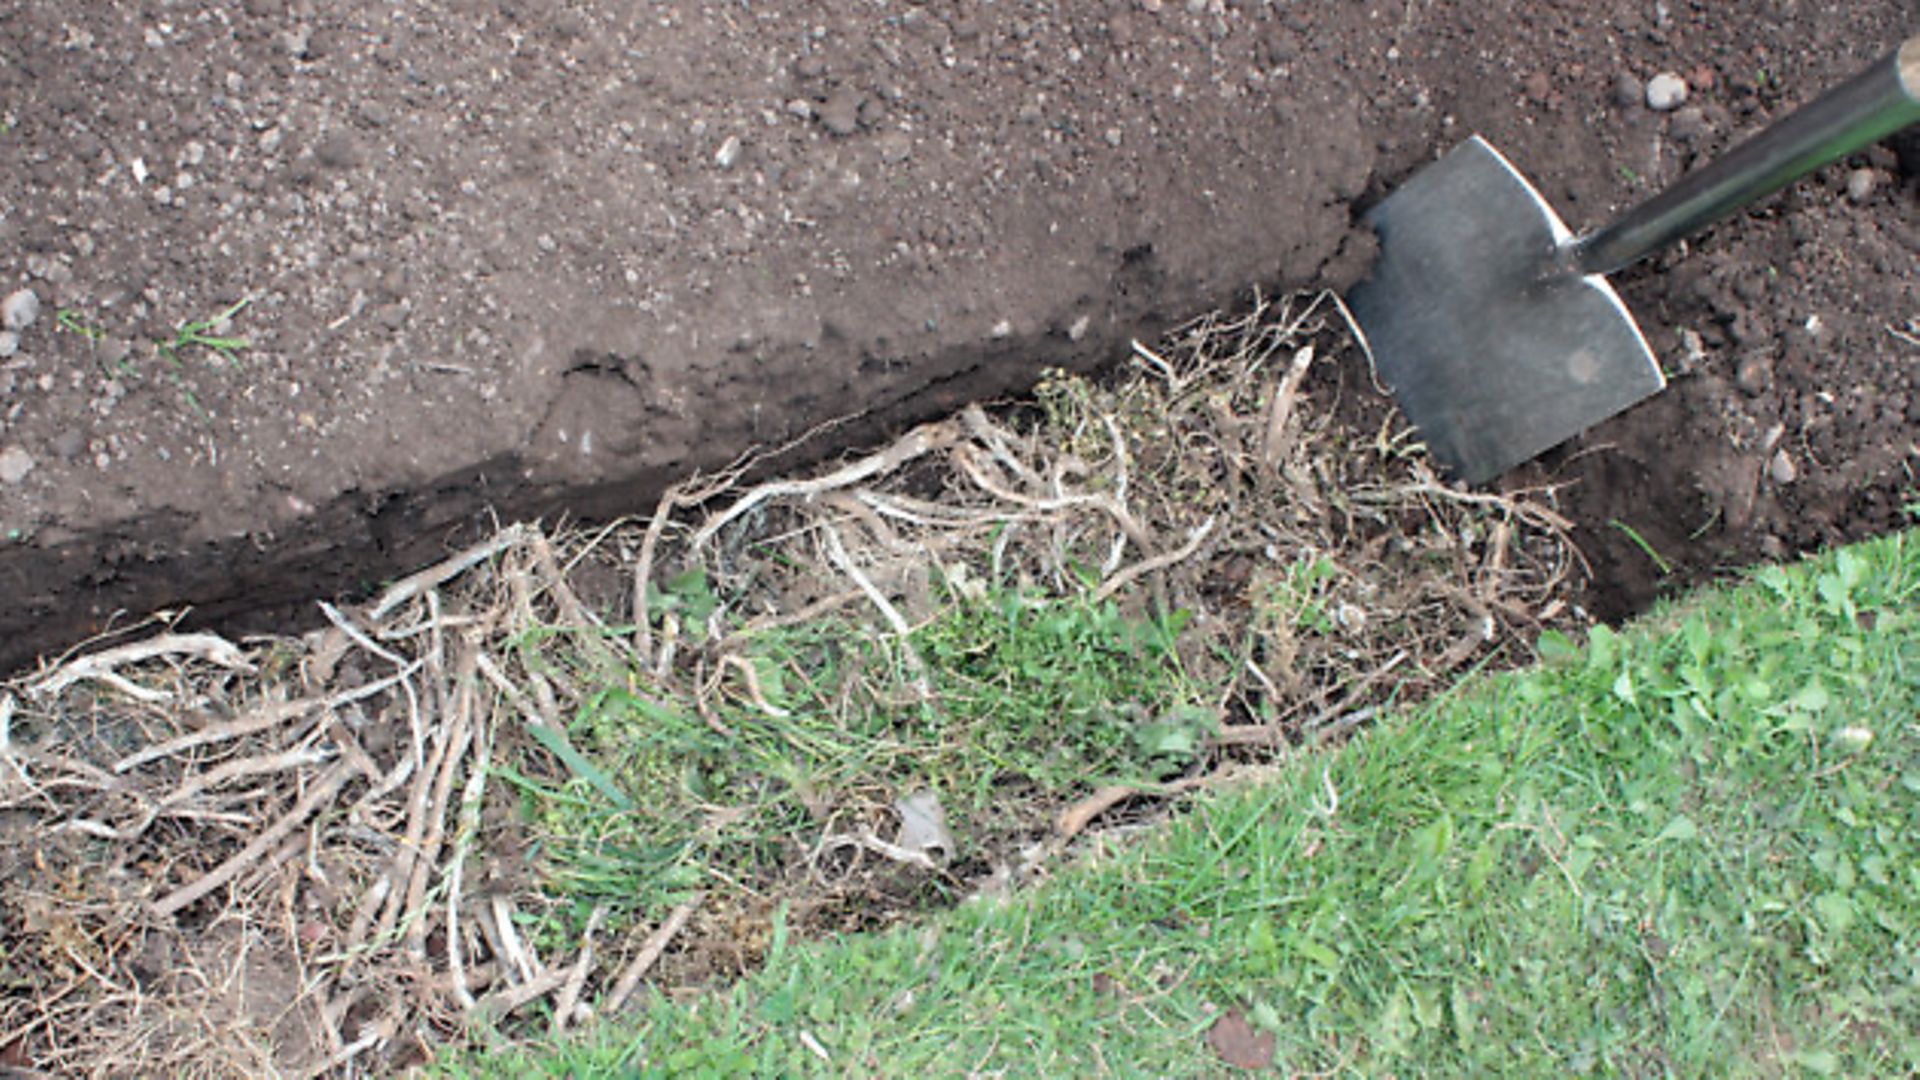
Single digging
The dimensions are irrelevant but working narrow strips at a time always makes the job seem more manageable and tends to ensure the whole area is cultivated to an even depth. Mark out a strip one metre wide x the length of your plot and excavate a trench one spit deep placing the soil nearby. Working backwards excavate a similarly sized trench turning the soil from this into the first trench and so on till the end of the plot is reached. Mark out another strip alongside the original strip and work back till you are where you started. Fill the remaining trench with the soil from the very first and (following a long rest) you are ready to begin again.
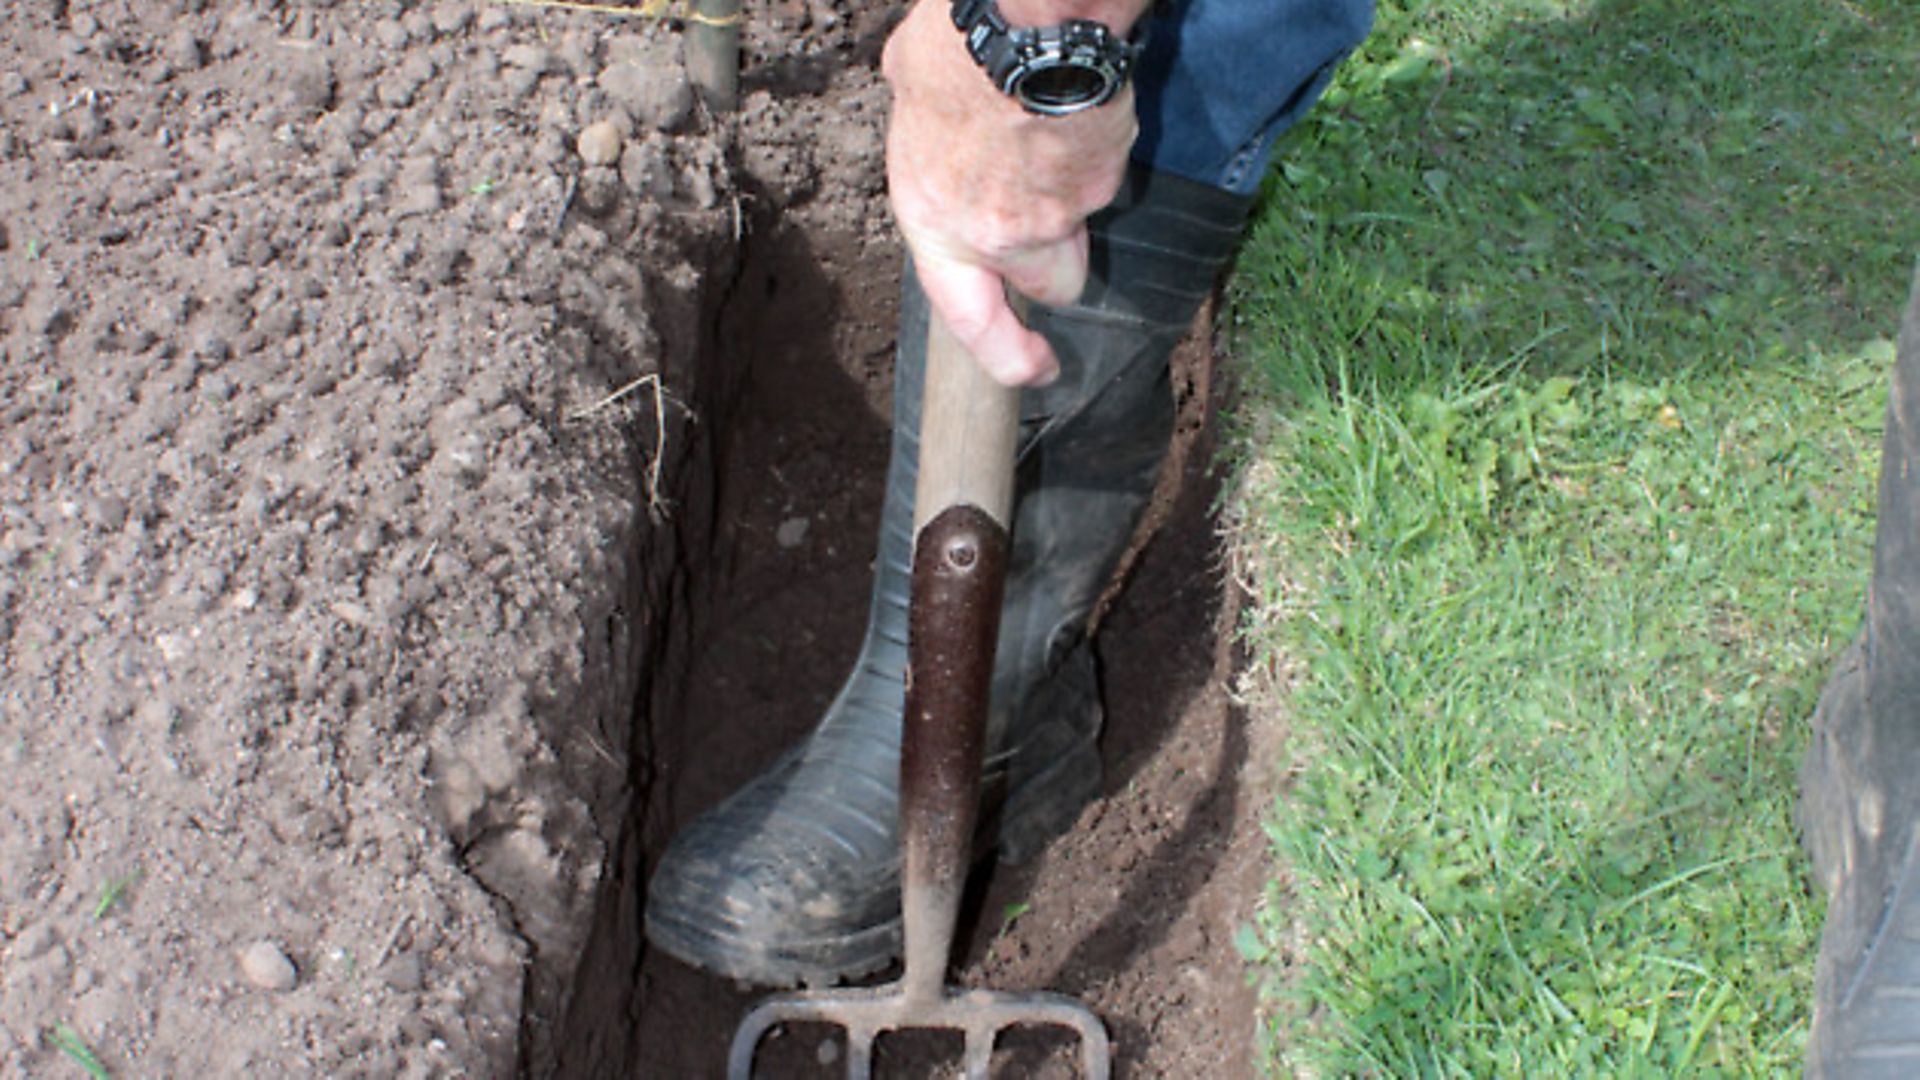
Double digging
The same initial procedure as for single-digging but after excavating the trench, a fork is driven into the base of the trench and the soil thoroughly broken up. Organic matter can also be added during the process to help maintain a deep open soil and increase topsoil depth.
Even for the very fit this is hard aerobic exercise. Work slowly, spread the job over a number of days and avoid using the same sets of muscles for long periods. Thankfully, double-digging should not be necessary more than once every five years minimum. If it does then the most likely cause is excessive traffic over the soil.
Compost Trenches
These can be constructed anytime and anywhere on the growing plot but are especially useful during autumn/winter cultivations where crops such as legumes are to follow. Peas and beans hate impediments/obstructions to root development and demand free and easy access to water otherwise growth suffers. The compost trench solves these problems and allows the easy disposal of kitchen waste during the winter when the activity in compost heaps and bins slows down due to the cooler conditions.
Again, the dimensions are not critical but as a guide excavate a trench the length of your legume plot and 300mm deep. Add the waste material in thin layers across the whole of the trench, each covered with equally thin layers of soil, or add a single, deeper layer of waste topped off with a thick layer of soil to the existing ground level.
This allows the trench to be gradually filled as material becomes available, encourages rapid breakdown of the waste into humus and nutrients and hides the material from marauding animals and birds seeking food during the winter. As an added bonus the cultivations involved help deliver a friable, easily-worked soil come planting time the following spring.
Maintaining What You Have Built Up
As with most things organic, improvements tend to be slow and undramatic. It follows that healthy, productive soil should be then treasured by careful maintenance. Cultivate when the soil is dry; add plenty of organic matter; grow green manures on unused ground; and minimise traffic wherever possible. Most importantly, get to know your soil, for only then can the right decisions be made – your crops and our food depend on it.
———————————
This article is from the November 2014 issue of Country Smallholding
SEPARATE ITEMS
Cheap carrot root fly barriers
While there are plenty of commercially available cloches and tunnels, these simple structures are easily constructed using materials often found lying idle in the shed. The hoop supports are made from old hosepipe cut into one meter sections (the exact measurements are not important). Push these over 300mm pieces of cane inserted into the ground at regular intervals and tie in a length of hosepipe as a ridging piece to hold the lot together. Cover the structure with netting and anchor the sides with bricks, stones or anything heavy to hand.
Early starts
Get the forthcoming season off to an early start by sowing broad beans and sweet peas now. This is best done under cover in deep trays (those wooden fruit containers used by greengrocers work well) to accommodate the rapidly developing roots. Water sparingly and watch out for mouse activity. Progress will be slow at first due to the low temperatures and light levels, but by the time the ground is ready for planting you will have well-established young plants ready to race away.
Planting plans and seed sorting
Lack of daylight, weather and soil conditions mean this time of year is best spent preparing and organising for the next. Drawing up a simple plan of the crops you hope to grow next year – the location and number of rows etc. – helps avoid waste and mistakes. From this plan make a list of the seeds required.
Next go through all the old packets of seed stored in tins and plastic boxes and clear out anything which has lost viability e.g. parsnips, old lettuce etc.. Tick off the packets of viable seeds from the list and what remains is your seed shopping list for next year.
Image(s) provided by:
Archant