Brian Callaghan gives you a step-by-step guide to sowing seeds – and some quick tips to get you going in the garden
Why seeds?
There are two main types of plant propagation – asexual and sexual. The former involves the use of cuttings, scales, grafts, or other live plant material to produce an identical copy of the parent plant. Sexual propagation involves growing plants from seed which contains a mix of the genetic information inherited from the parent plants.
The Advantages of Seed
Capable of producing a greater number of plants than by e.g. cuttings.
Can be cheaper than cuttings.
Disease transmission is less likely with seeds than live plant material.
Seed is easier to store especially for longer periods.
Genetic variation can give rise to development of new plants.
1) Container choice
The type of container chosen will be determined by your particular work needs. The standard seed tray is widely available, accommodates broadcasting or spot-sowing of seed, and offers more room for root development – important if the transplanting of germinated seedlings is slightly delayed. This intermingling of roots does, however, mean some disturbance when the plants are moved and a consequent check to growth.
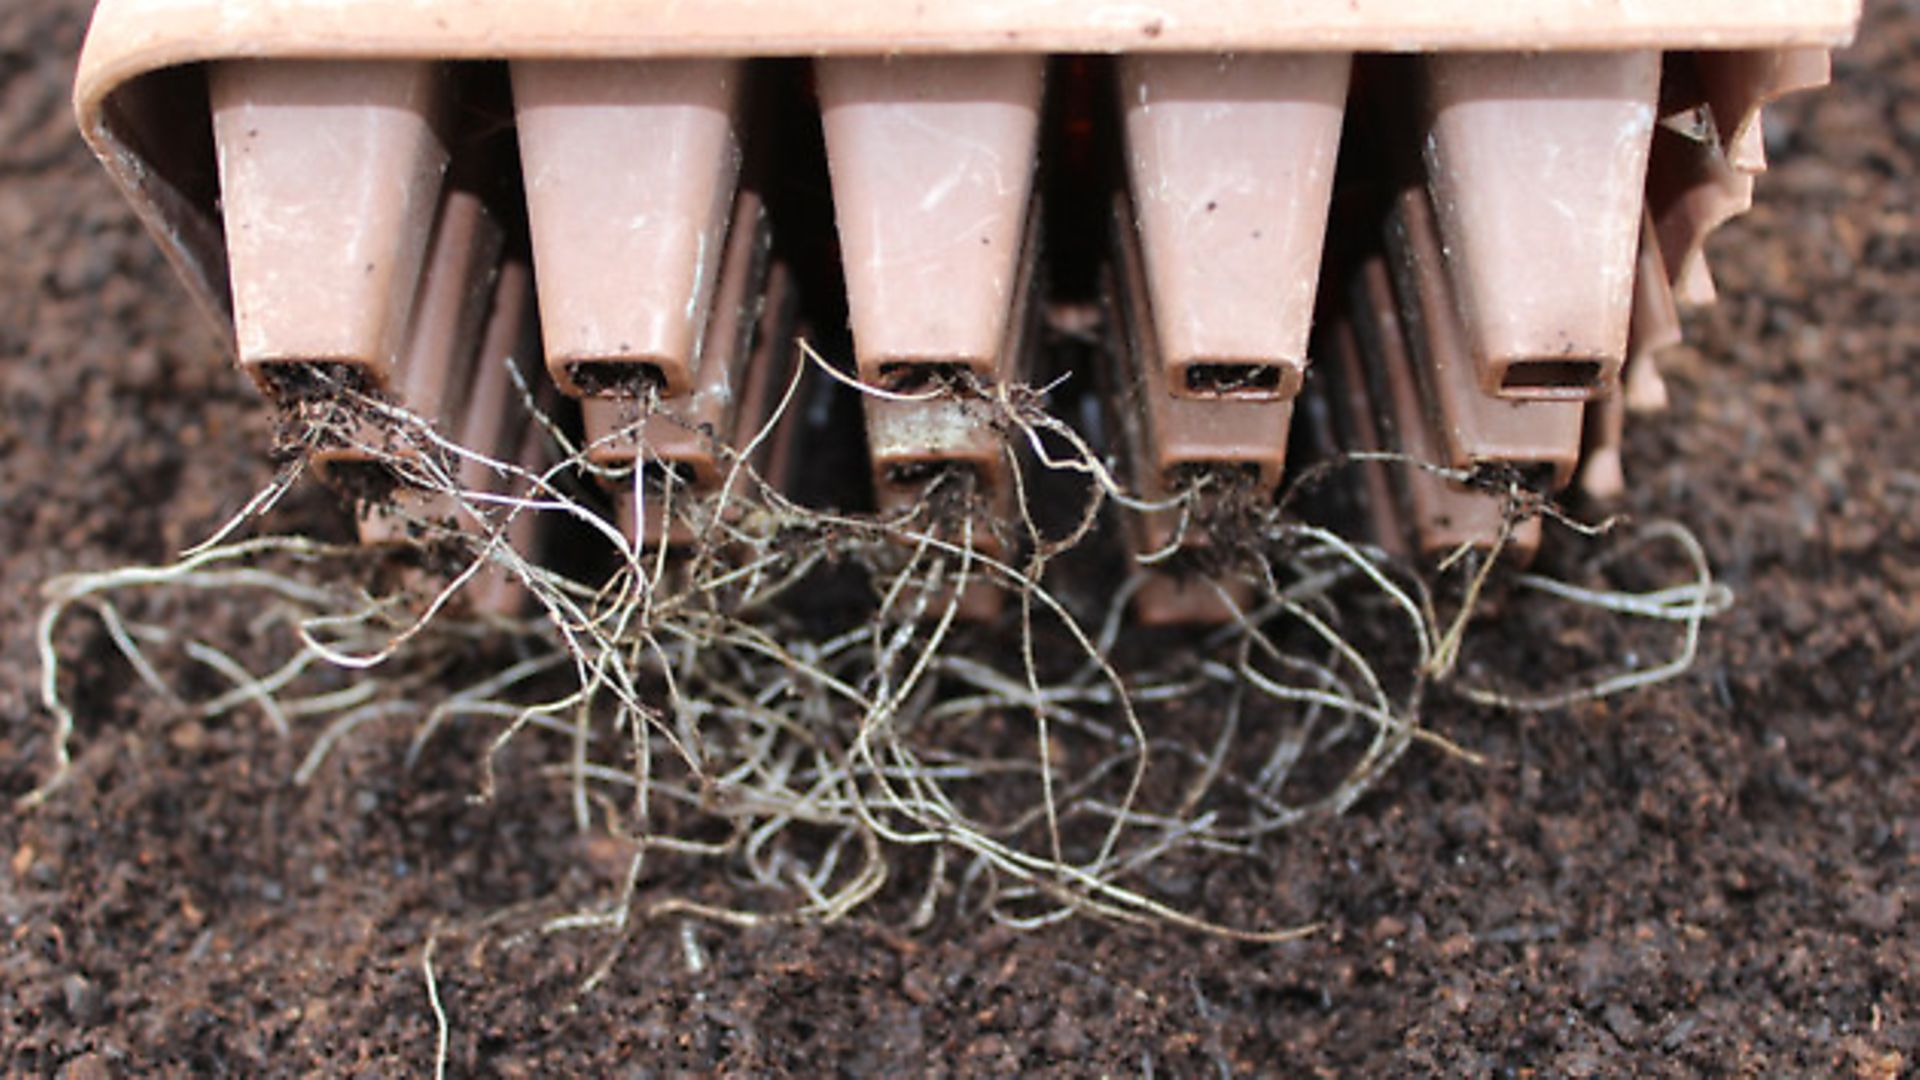
Alternatively, sowing a couple of seeds into plug, cell or module tray avoids any root disturbance as each mini root ball is separated from its neighbour. They do require more care with watering and need greater space initially, but make it easier to produce only the required number of seedlings thus avoiding unnecessary waste later.
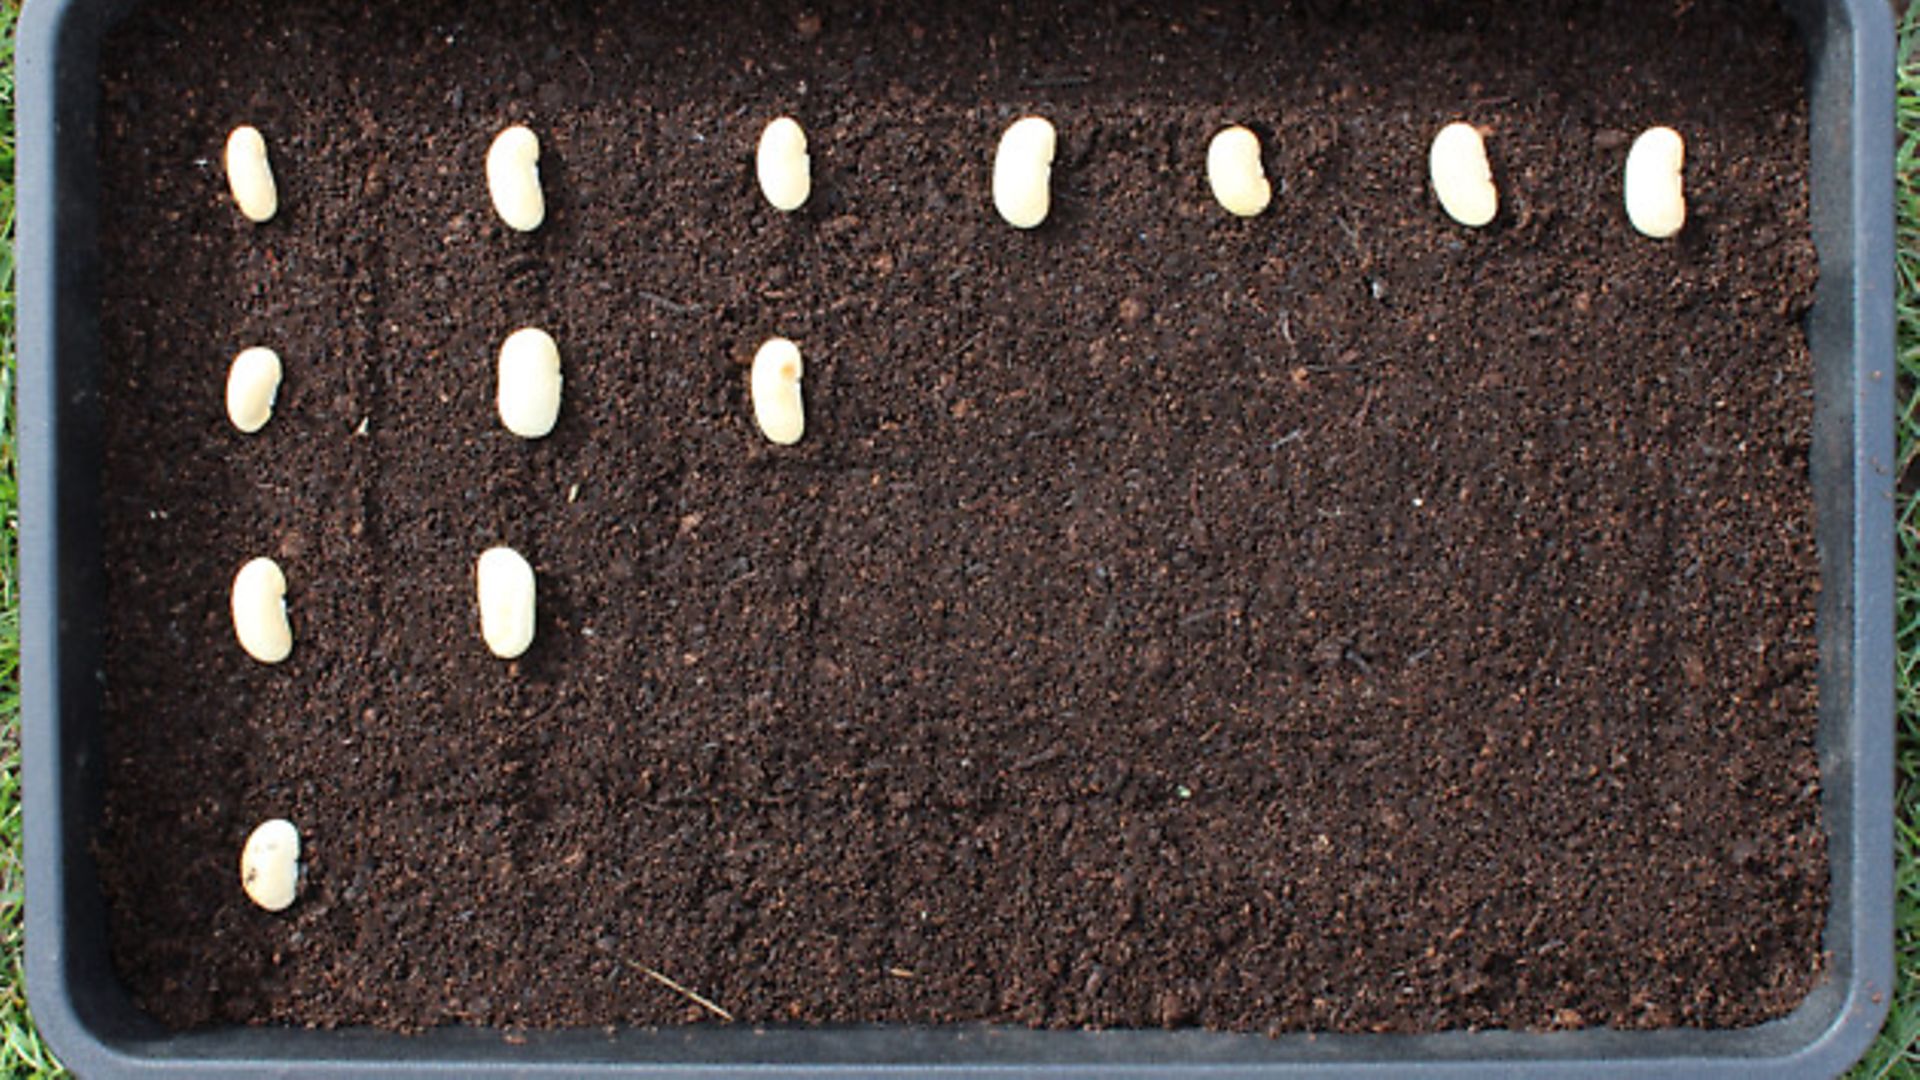
2 & 3) Sowing
Fill the tray with sieved compost and firm it evenly to eliminate air pockets and provide a level surface for sowing. Sow the seeds across the surface beginning with the upper row and side column which act as guides for even positioning of the rest of the seeds. Then use a firming board (or your finger) to push them into the compost. Lightly cover with more compost to a depth twice that of the seed diameter and label with the plant name and date.
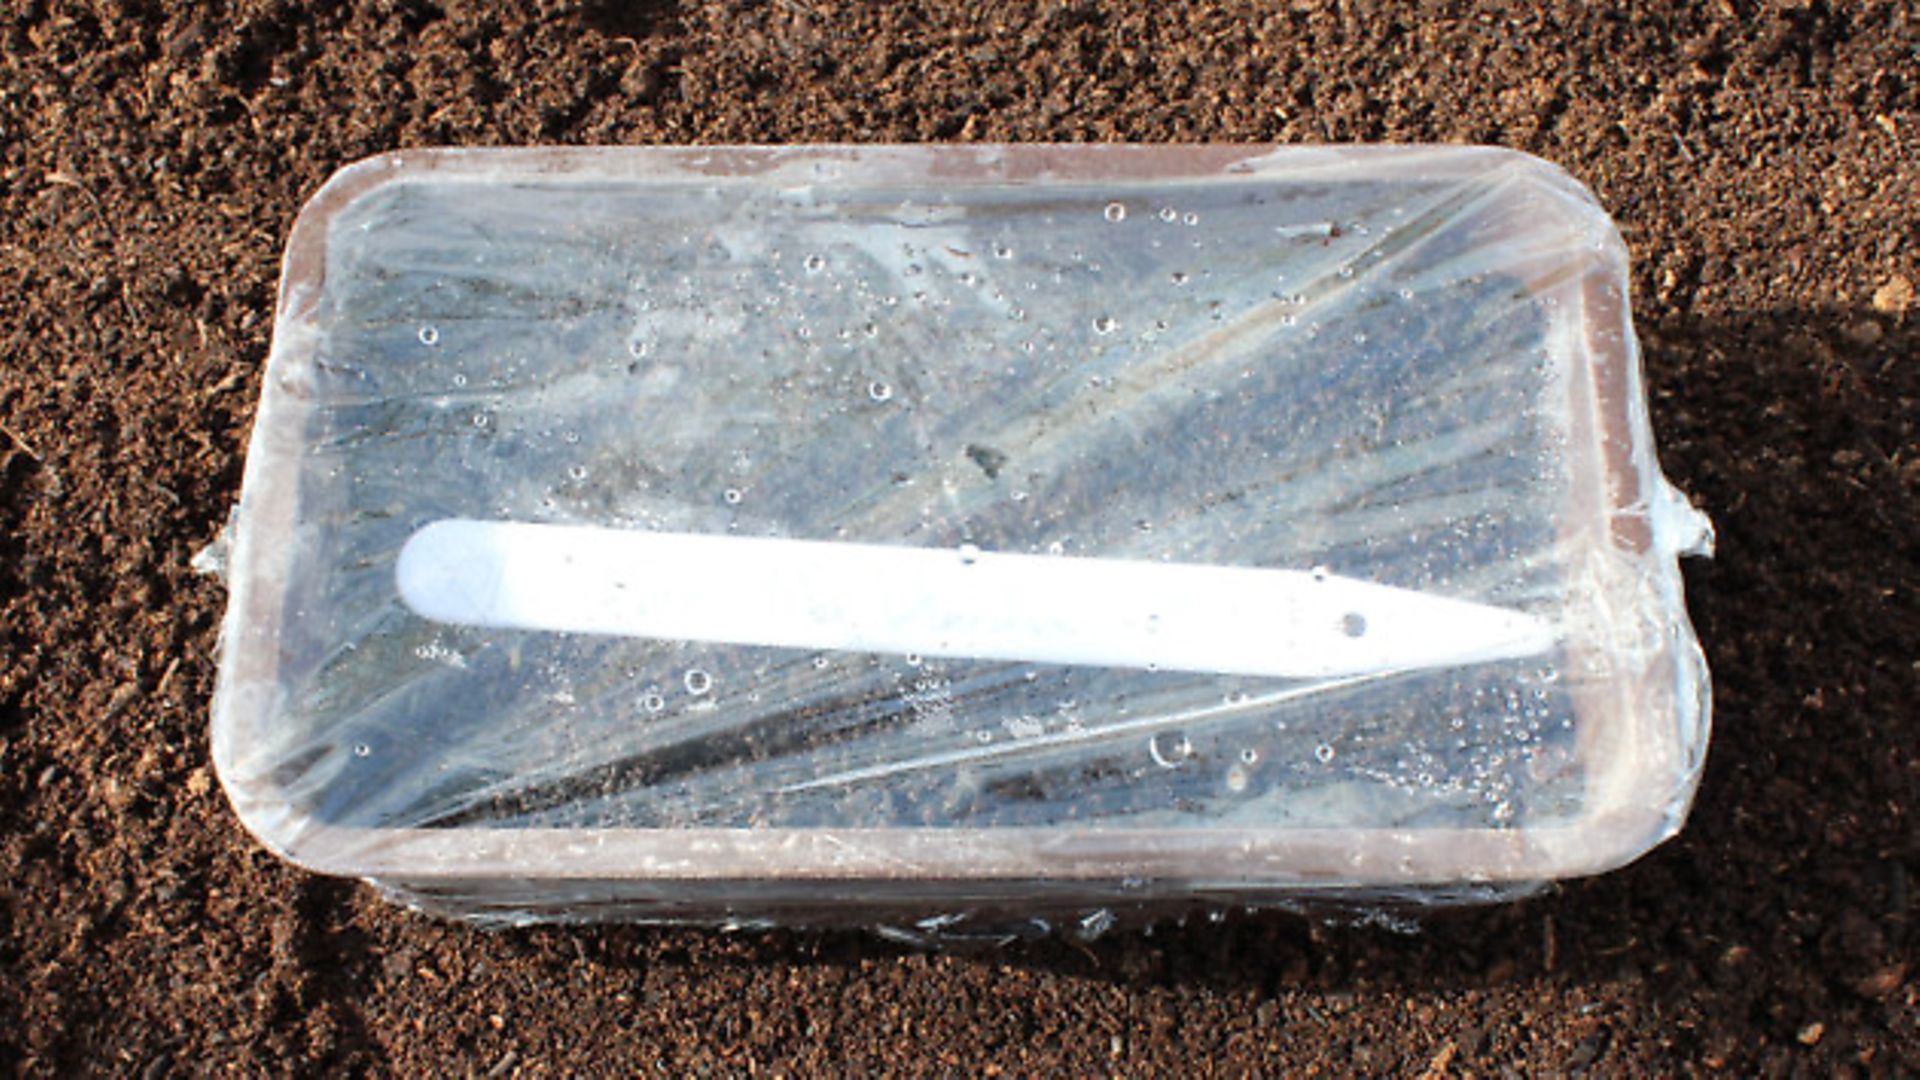
Stand the tray in a larger container of water to thoroughly soak the compost without disturbing the seeds. Once the surface glistens with moisture allow it to drain, cover the top of the container with a sheet of glass, Perspex or clingfilm and provide a consistent temperature of (ideally) 20C.
4) Bottom heat
Fortunately, most seeds will germinate across a wide range of temperatures although they may take longer to emerge. Kitchen windowsills are a favourite location because of daytime light although bear in mind that the area adjacent to a window cools very quickly once the sun goes down.
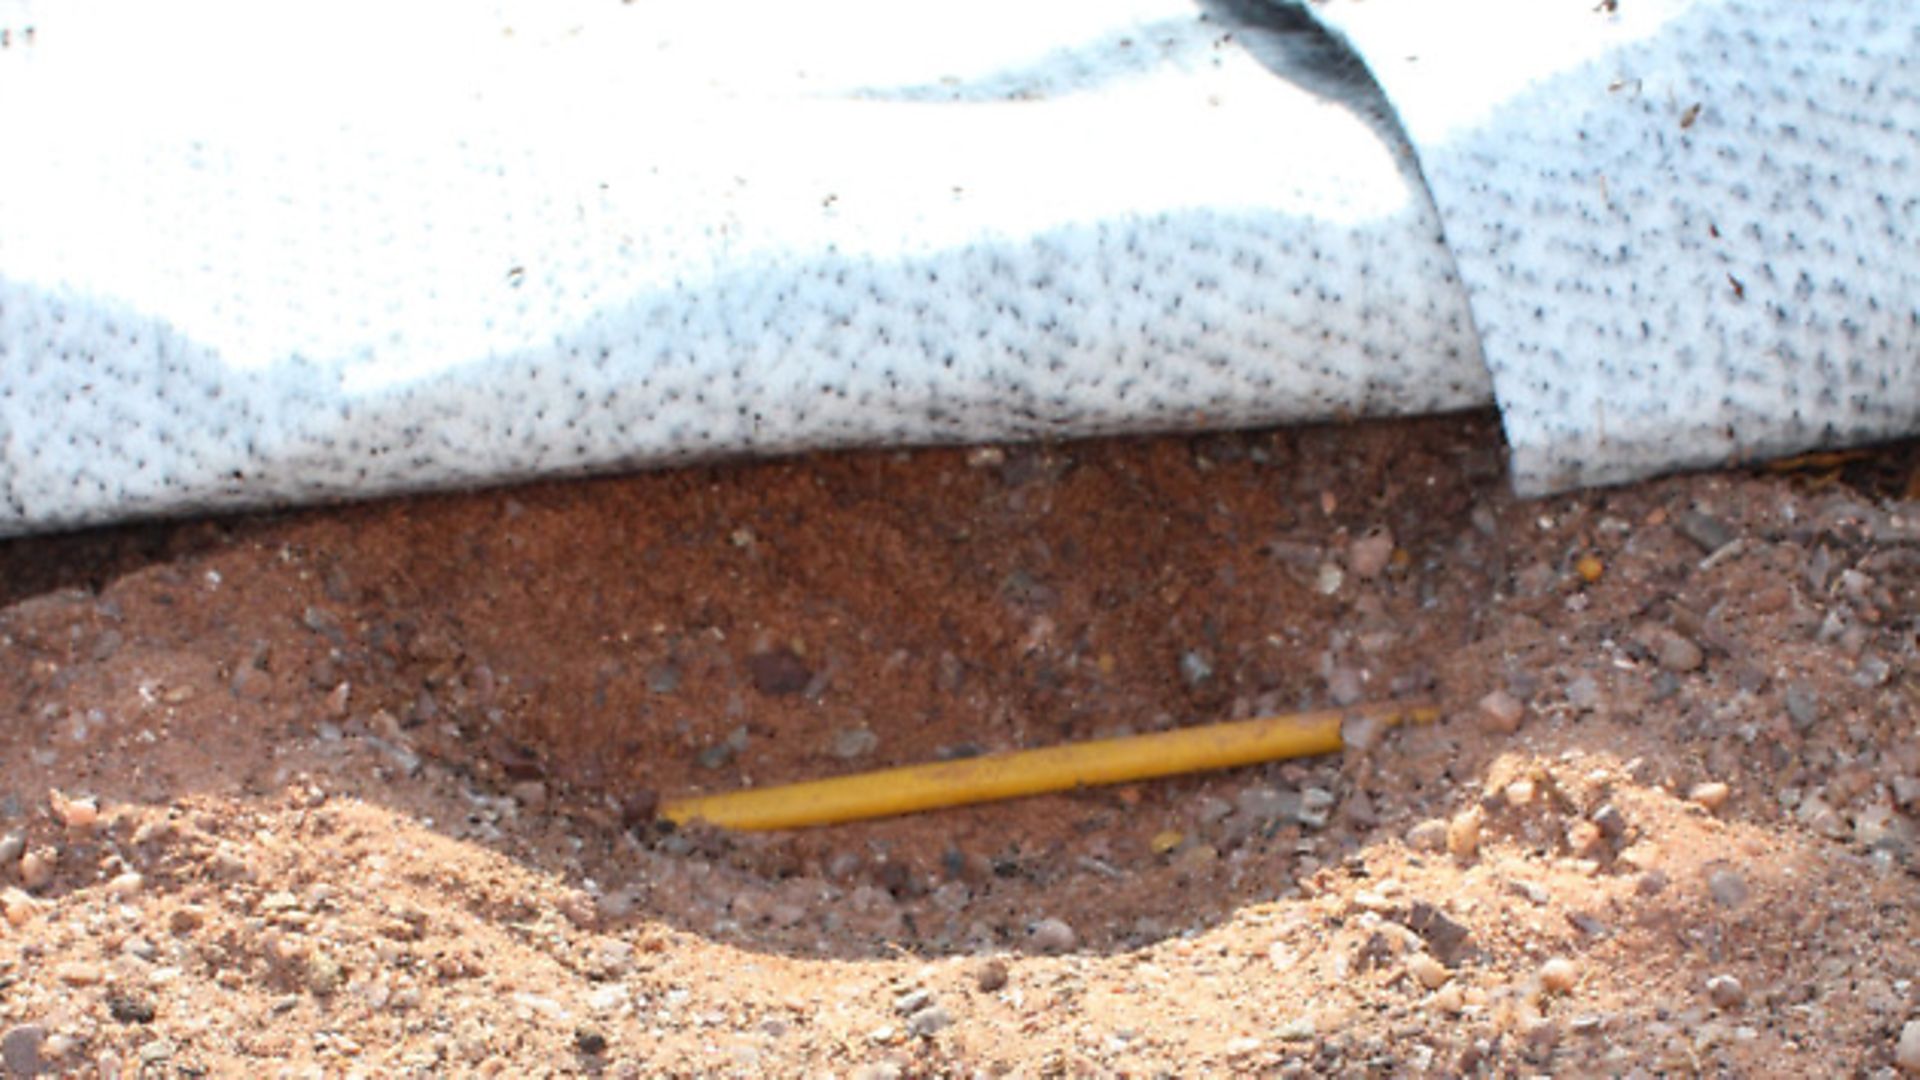
The ideal is to provide a consistent bottom heat of around 20C until the plants are ready to be moved e.g. via the use of heated electric cables. These cost approximately £30 per square metre and consume 60 watts of power, again per square metre of cable. Bear in mind that the cable will be in use for only three or four months of the year and, coupled with a thermostat, can provide a reliable, simple and cost efficient means of ensuring even and consistent germination.
5) Home saved seed
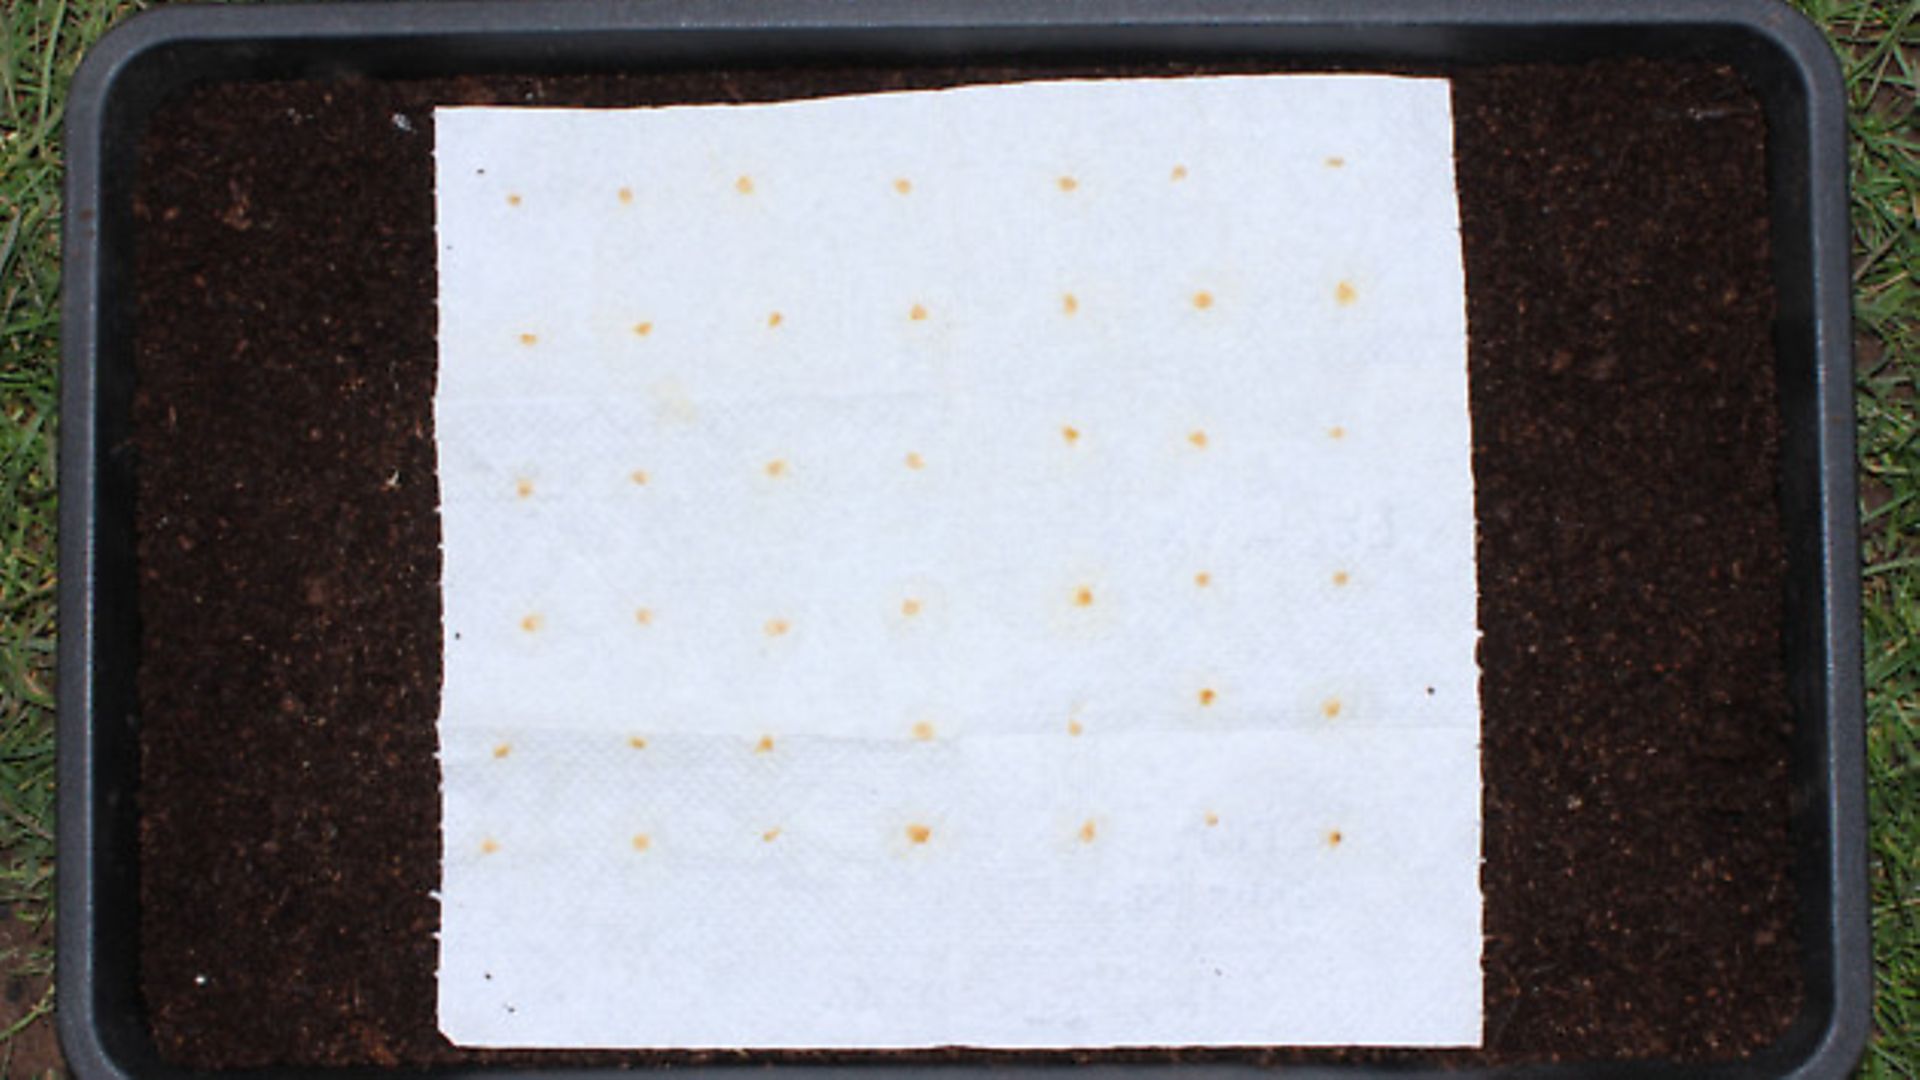
I have tried many different types of tomato and keep returning to an old heritage cultivar Abe Lincoln. As the seeds are not widely available via conventional seed growers, I sacrifice a few fruits towards the end of the season for the following year’s seed. Mush the fruits into pulp and place in a container of water for a week or two, stirring the contents every so often. The tomato mush ferments and this fermentation helps break down the germination inhibitors surrounding each seed.
Sieve and wash the seeds and place on kitchen towel and allow to dry. Write the name and date on the towel and store in a cool, dry place till the following February/March when the paper towel is placed on a bed of seed compost and covered with another layer of compost and then watered and treated as any other tray of seedlings.
Saving your own is cheap, interesting and helps preserve our genetic diversity which is the true wealth of this planet. Home seed saving may not keep the shareholders of global biotech companies awake at night, but it does return control of a tiny aspect of our lives.
6) Time to Move On
One of the main differences between seed and potting composts is the level of nutrients contained. High concentrations of nutrients can damage tender new roots of seedlings so seed composts are formulated to contain sufficient nutrition to support the seedlings for a short time till they are moved into fresh compost or planted in the soil. For this reason and the lack of space it is imperative that they are moved on as soon as they are large enough to handle. Once the roots appear from the bottom of the container, the plants need moving – the window of opportunity is usually only a day or two before growth is checked.
This is especially critical for plug-grown seedlings as the small balls of compost offer very restricted reservoirs of space, nutrients and water for the seedlings roots.
Image(s) provided by:
Archant