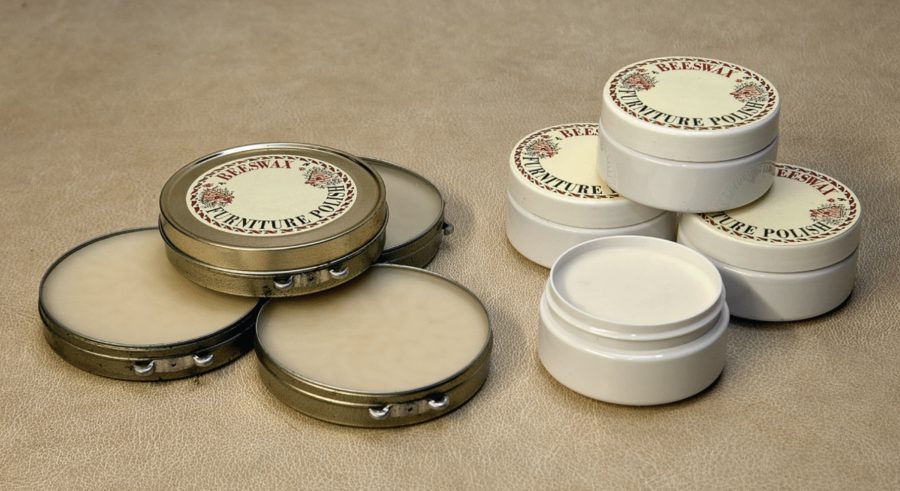
In this article extract, Claire Waring looks at the home processing of beeswax and the first steps required to make your own polish.
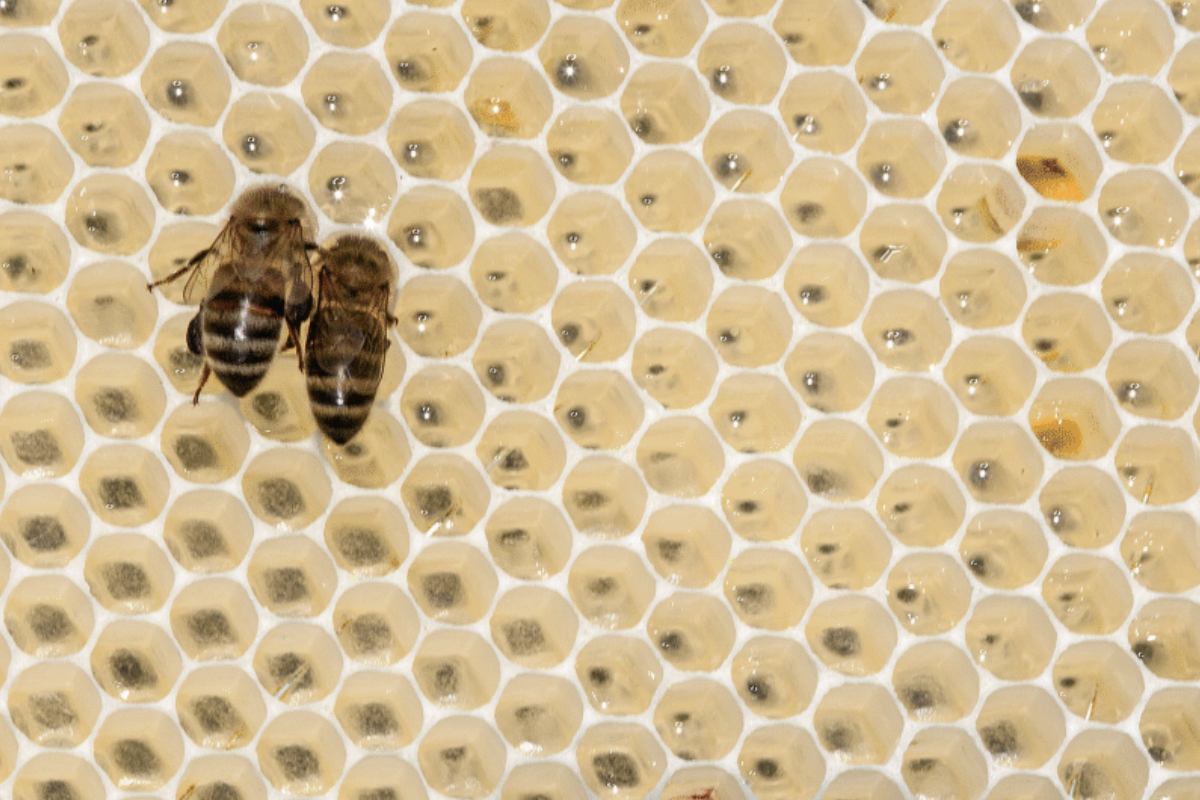
Although most people think beekeepers do it for the honey, there are other hive by-products that can be used. A major one is beeswax, the main source of which will be the cell cappings, removed before honey extraction. These are a valuable commodity which has cost the colony a lot of energy to produce. If you don’t keep bees, you might be able to buy some wax from your local bee keeper.
CLEANING THE WAX
First drain the honey from the cappings. If you have only a small amount, put them in a sieve and let the honey drain into a bowl. For larger amounts, devise a larger version of this arrangement. Filter the honey and add it to your harvest.
Wash the cappings using soft water such as filtered rain water to remove any remaining honey adhering to the wax surface. If your mains water is soft, you can use this. The chemicals in hard water react with wax and will spoil it.
Place the cappings in a stainless steel or glass container, add the water, stir and then drain and dry them. You will lose a proportion of wax every time you filter it, so save your cappings until you have at least 0.5 kg to deal with. If you don’t have sufficient or don’t have time to deal with them immediately, put the dry cappings in a plastic bag and store them in the freezer. Microscopic amounts of honey still on the wax may support mould growth at room temperatures.

Beeswax is a valuable commodity which has cost the colony a lot of energy to produce
This article extract was taken from the October 2024 edition of The Country Smallholder. To read the article in full, including the next steps to make your own beeswax polish, you can buy the full issue here.
To receive regular copies of The Country Smallholder magazine featuring more articles like this, subscribe here.
For FREE updates from the world of smallholding, sign up for The Country Smallholder newsletter here.


