Claire Waring gives her step by step guide to a bee colony inspection, which depends on the weather at this time of year.
You have your personal kit, you have your apiary and you have your bees. Now your beekeeping experience can begin. You have just taken responsibility for a living colony of bees, so you need to look after them as well as possible.
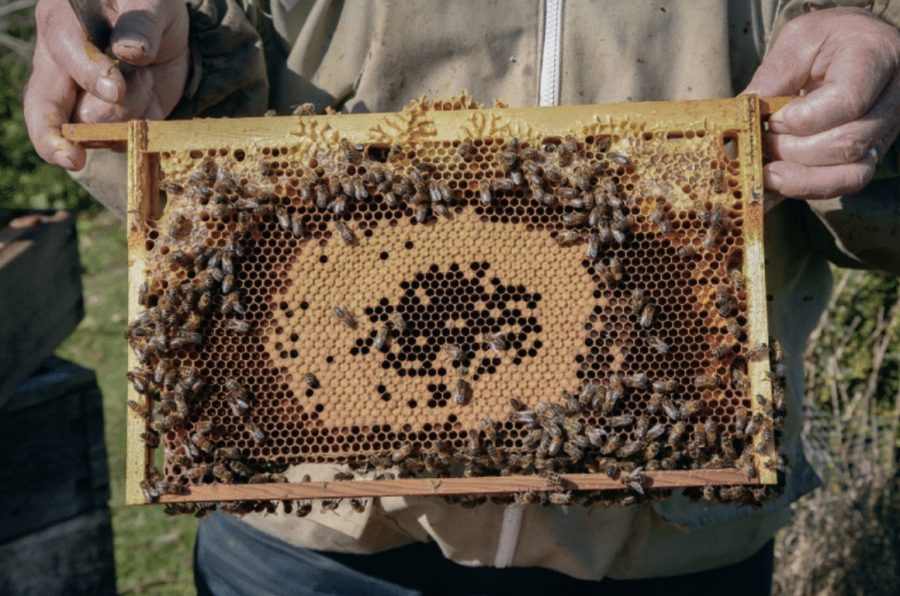
If you are like me, you will be itching to don your gear and look in your hive.However, that can also be quite daunting. What will you see? What should you be looking for? How will you know if all is well? What can you do if you think it isn’t?
FIRST THINGS FIRST
First light your smoker. This needs to be going well with plenty of fuel in the barrel so that it springs to life as soon as you puff the bellows. It’s very disconcerting to find your smoker has gone out when you need it. Lighting a smoker sounds easy but it can be quite difficult at first. The real test is to light it and then put it to one side. Properly lit, it should produce smoke 30 minutes later.
- Take some newsprint, about quarter of a broadsheet or half a red-top, and crumple it loosely. Hold it over the top of the open smoker and light the bottom. Insert it into the barrel while puffing the bellows gently.
- Keep puffing gently and begin to sprinkle in your fuel, such as planer shavings. Don’t put in too many at first. At this stage, you need to see flames.
- Add more fuel and keep puffing. You are aiming to build up a bed of red-hot embers.
- When this is achieved, fill the barrel with fuel but don’t compress it. It should be producing lots of smoke.
- Putting a twist of long grass on top stops embers coming out of the nozzle.
This article extract was taken from the April 2025 edition of The Country Smallholder. To read the article in full, and learn more about bee colony inspections, you can buy the issue here.