In the third part of his series on home slaughter, Tim Tyne gives a step-by-step guide to killing a chicken and preparing it for the oven

For most people contemplating home slaughter of livestock, poultry is probably the starting point. Therefore it makes sense to begin the ‘step-by-step’ part of this series with the killing and preparation of a chicken. The method I’m using here is manual neck dislocation, which is probably what smallholders are most familiar with. However, this is only legal on birds weighing up to 3kg, and may, in fact, become illegal at some point in the future. Therefore it’s important that you are also aware of other methods that could be used. For birds weighing more than 3kg, you’ll need to use mechanical means such as the broomhandle method (see last month’s CS) or a poultry stunning device, followed by bleeding. Also be aware that with some ducks, although the body weight may be below 3kg, the length of the neck makes manual dislocation quite difficult (unless you’ve got exceptionally long arms).
1. With the bird held upside-down by the legs in my left hand, I gently but firmly take hold of the head in my right, with its neck between my thumb and first finger. (Most of the instructions I’ve read suggest that the neck should be gripped between the first and second finger, but I don’t find that so effective.) I then pull down on the head while bending it back – effectively bending the neck around the base of my thumb. The action must not be jerky. It’s easy enough to feel when the neck dislocates, but you should continue to pull in order to make a good separation into which the blood will drain. Don’t pull the head right off though.
2. As soon as the bird is dead it will begin to flap uncontrollably, often with sufficient force to smash the wing bones. Therefore, I clasp the wings quite tightly to its body until the initial violent spasms have subsided.
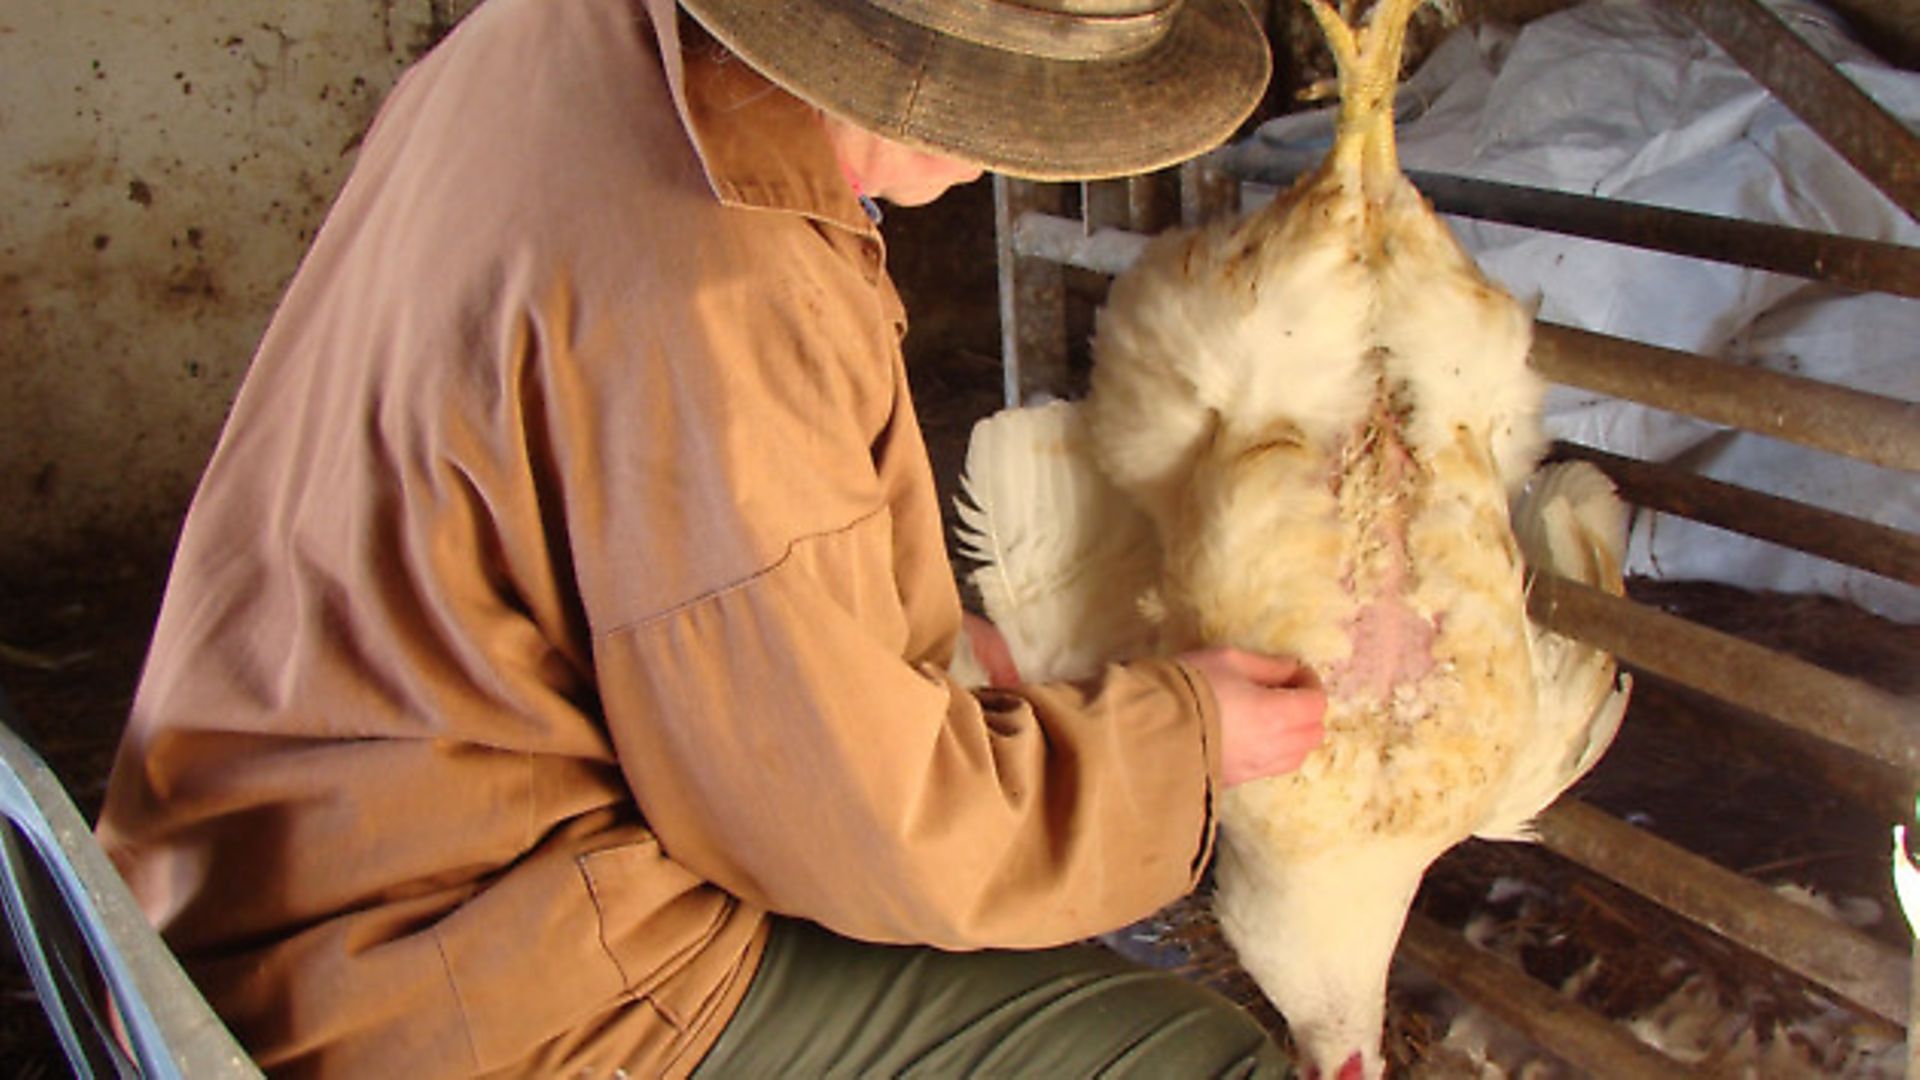
3. Once I’ve done the easy bit I hand the bird over to Dot (or one of the children) for the remainder of the job. Dot plucks the bird with it hanging up by the legs at a convenient height, and places a box or bin between her knees to catch the feathers.
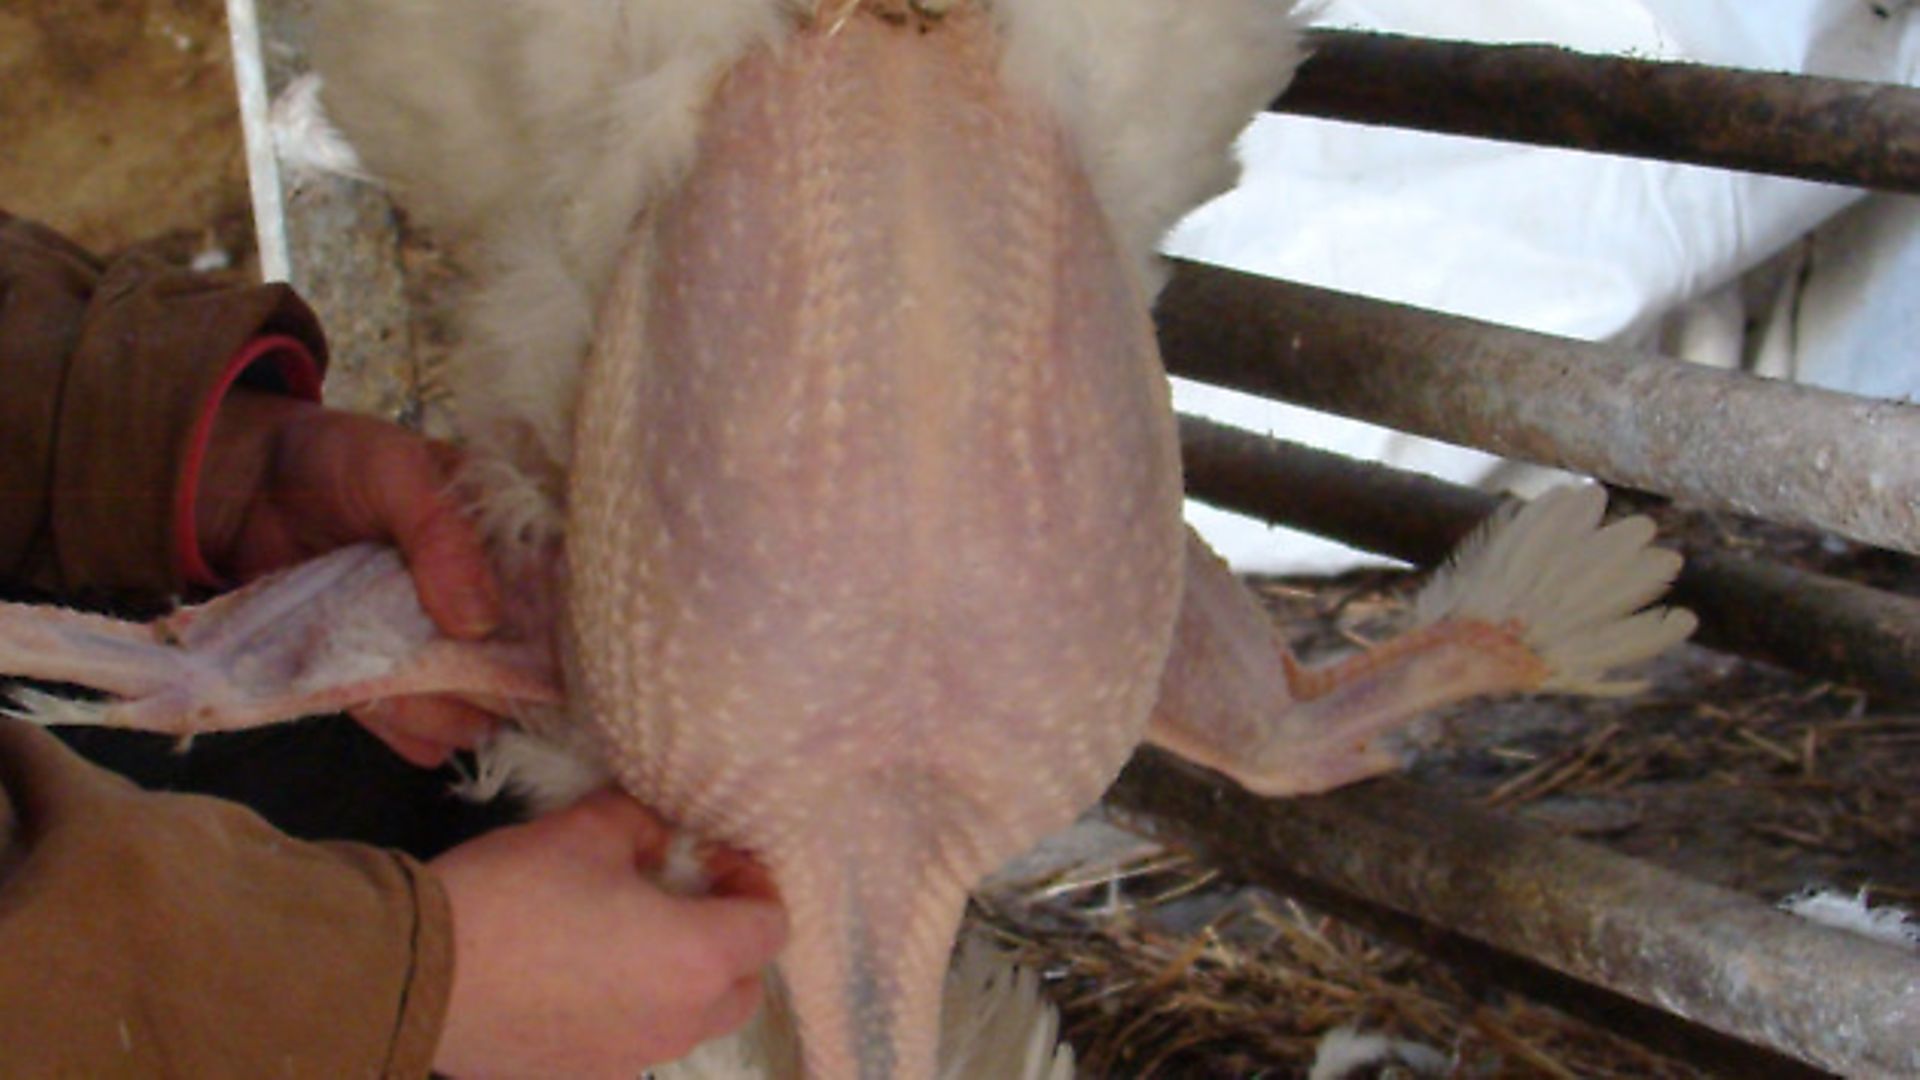
4. There’s probably a ‘correct’ order for plucking poultry, but this is the way Dot does it, and it seems to work: Firstly the wings, followed by the neck. Breast next, then legs. Finally the back. Generally the feathers are pulled against the way they lie, but, to avoid tearing the skin, pull them in the direction in which they grow when plucking the neck, shoulders and the front of the breast. Stubborn quills can be removed with a pair of pliers.
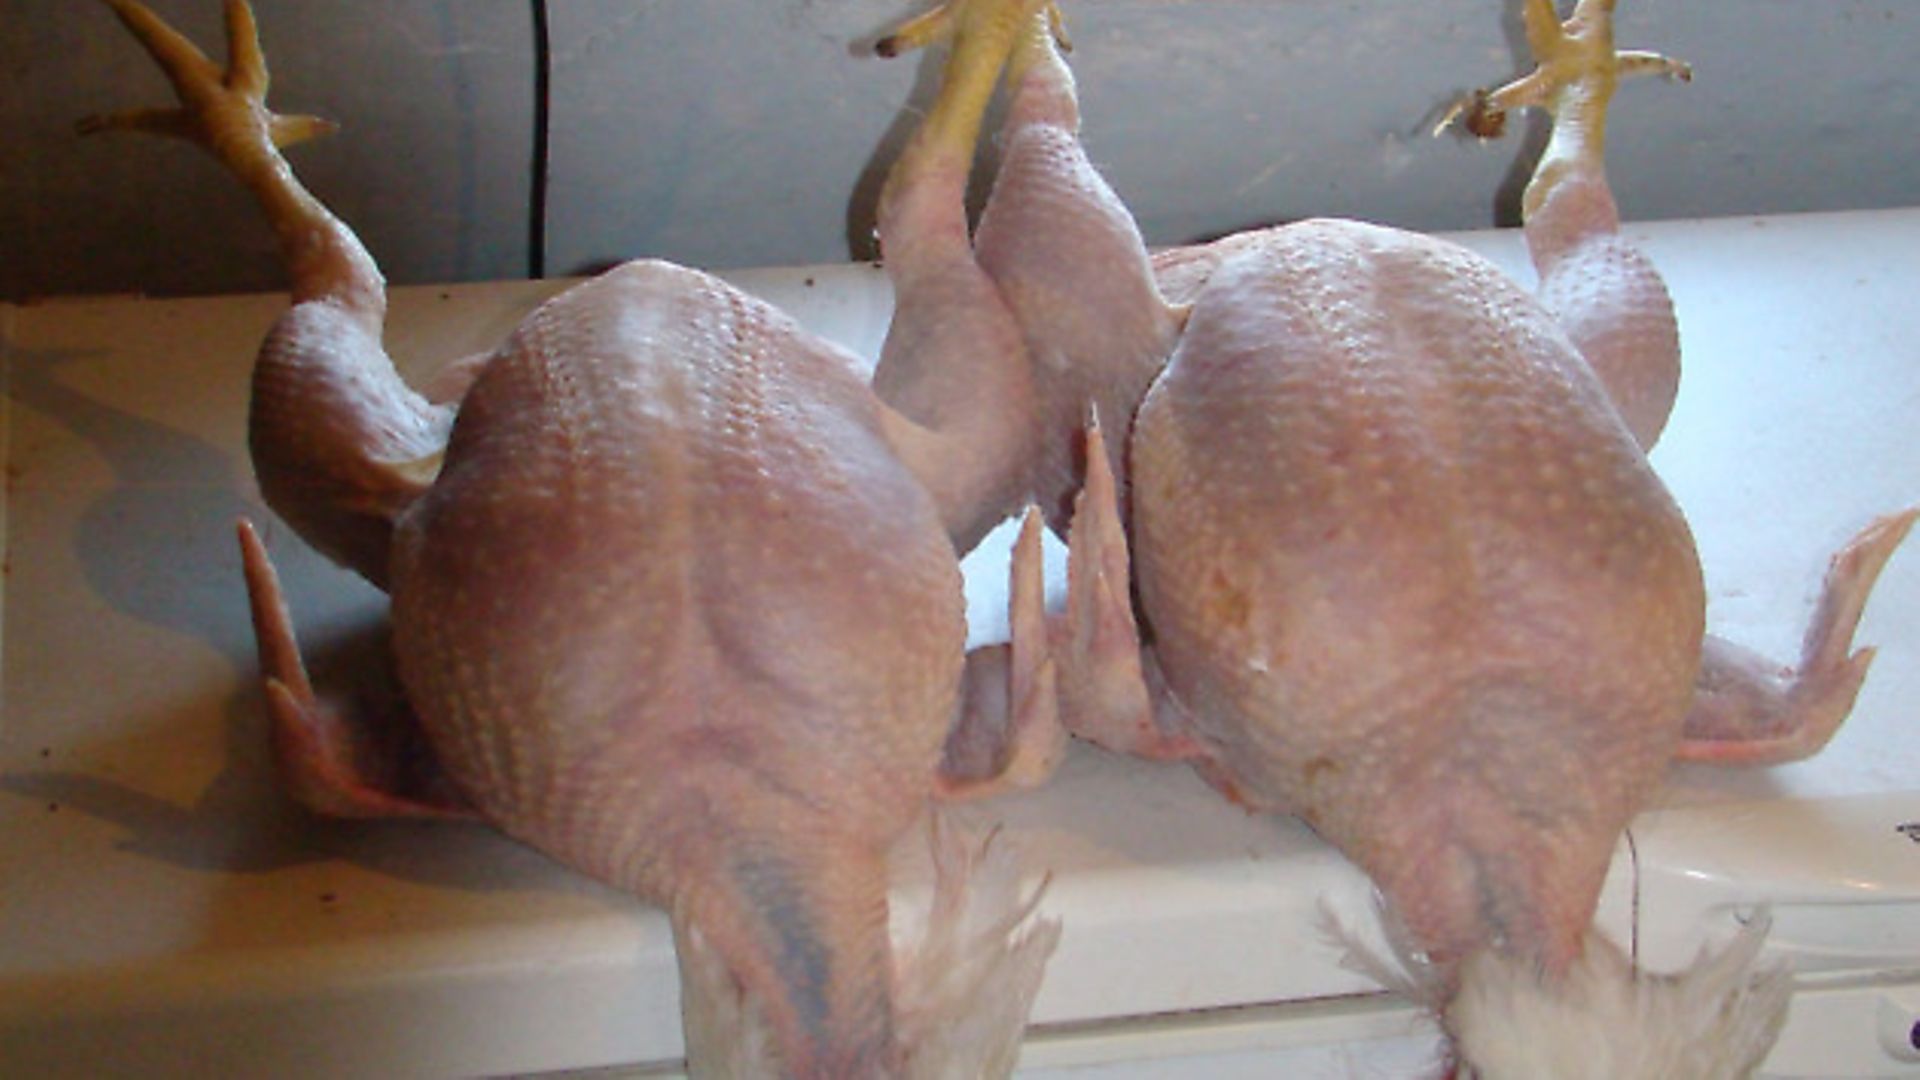
5. Two neatly plucked birds ready for further processing. Notice how they’ve been placed with their heads hanging down, in order to keep the blood in the neck cavity.
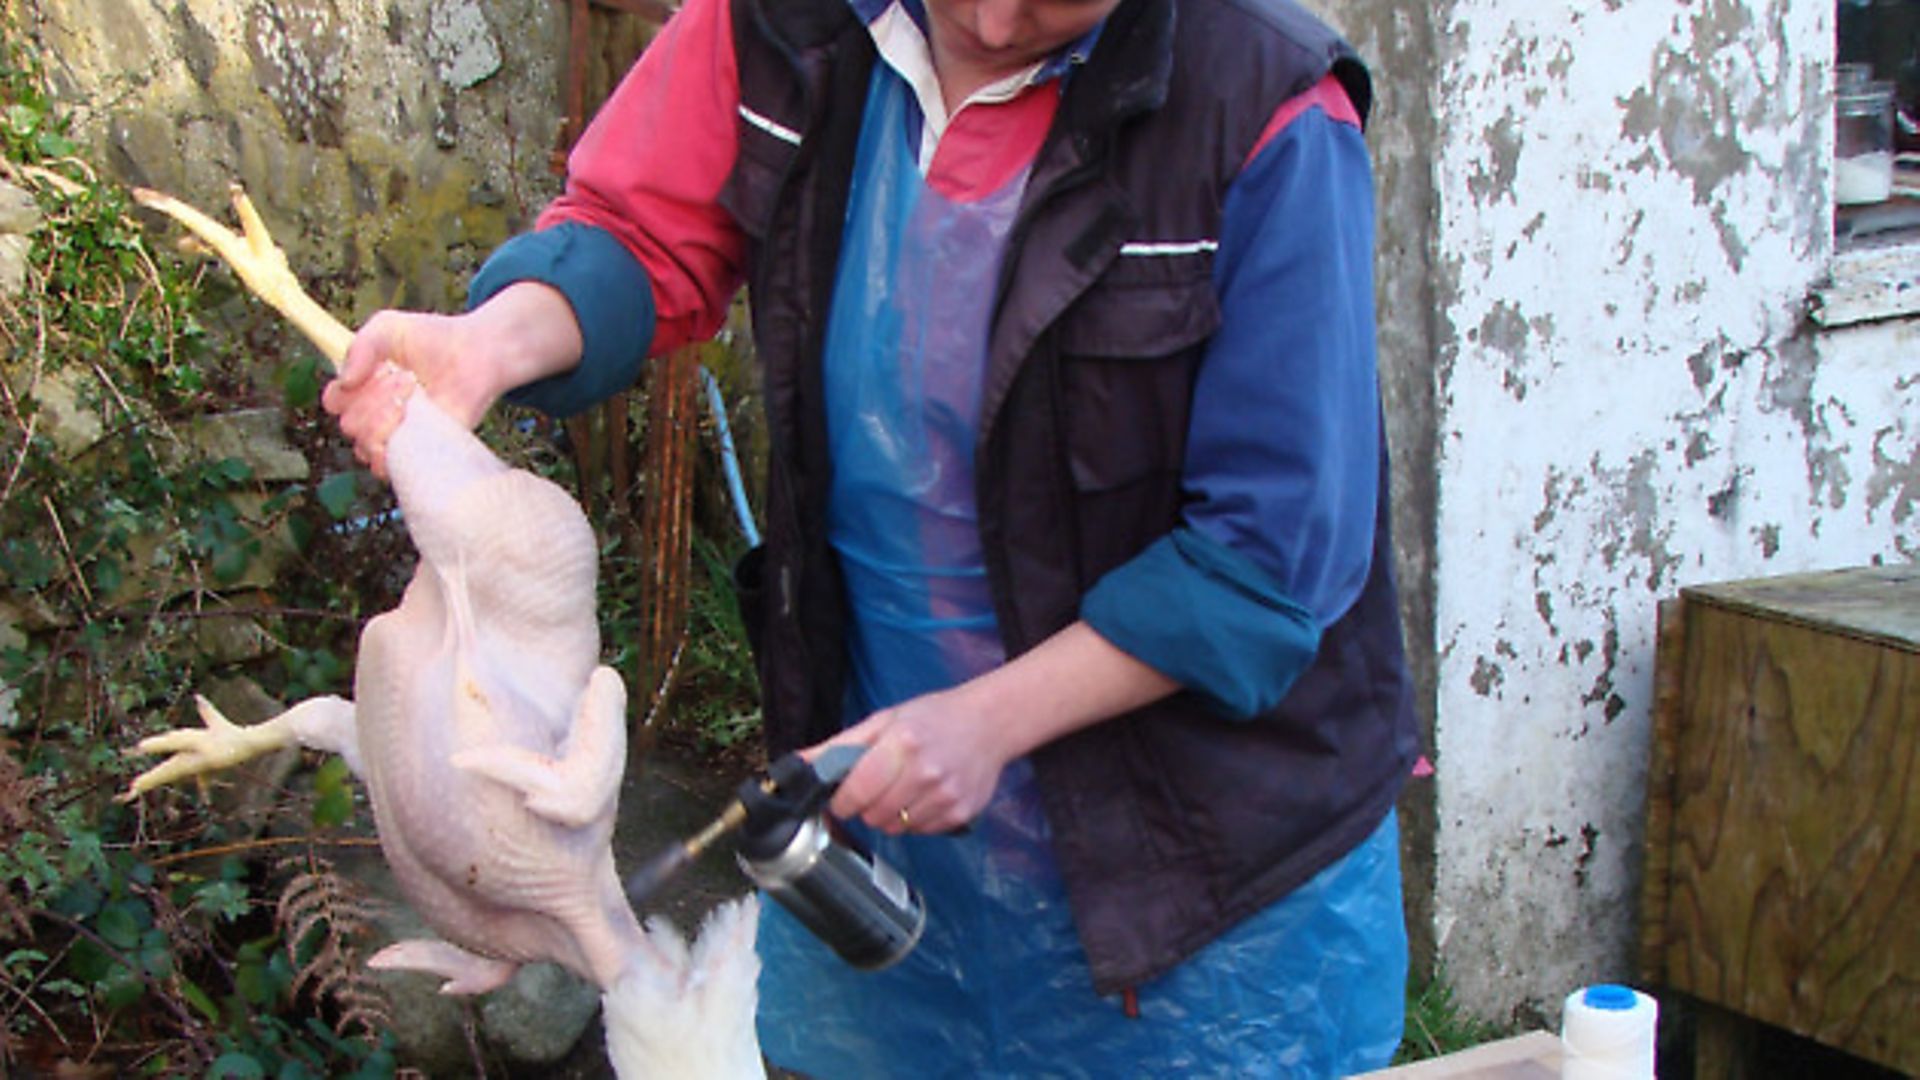
6. Singeing off the whiskery bits using a blowlamp. A lighted spill of newspaper, a candle or a spirit lamp were the traditional methods.
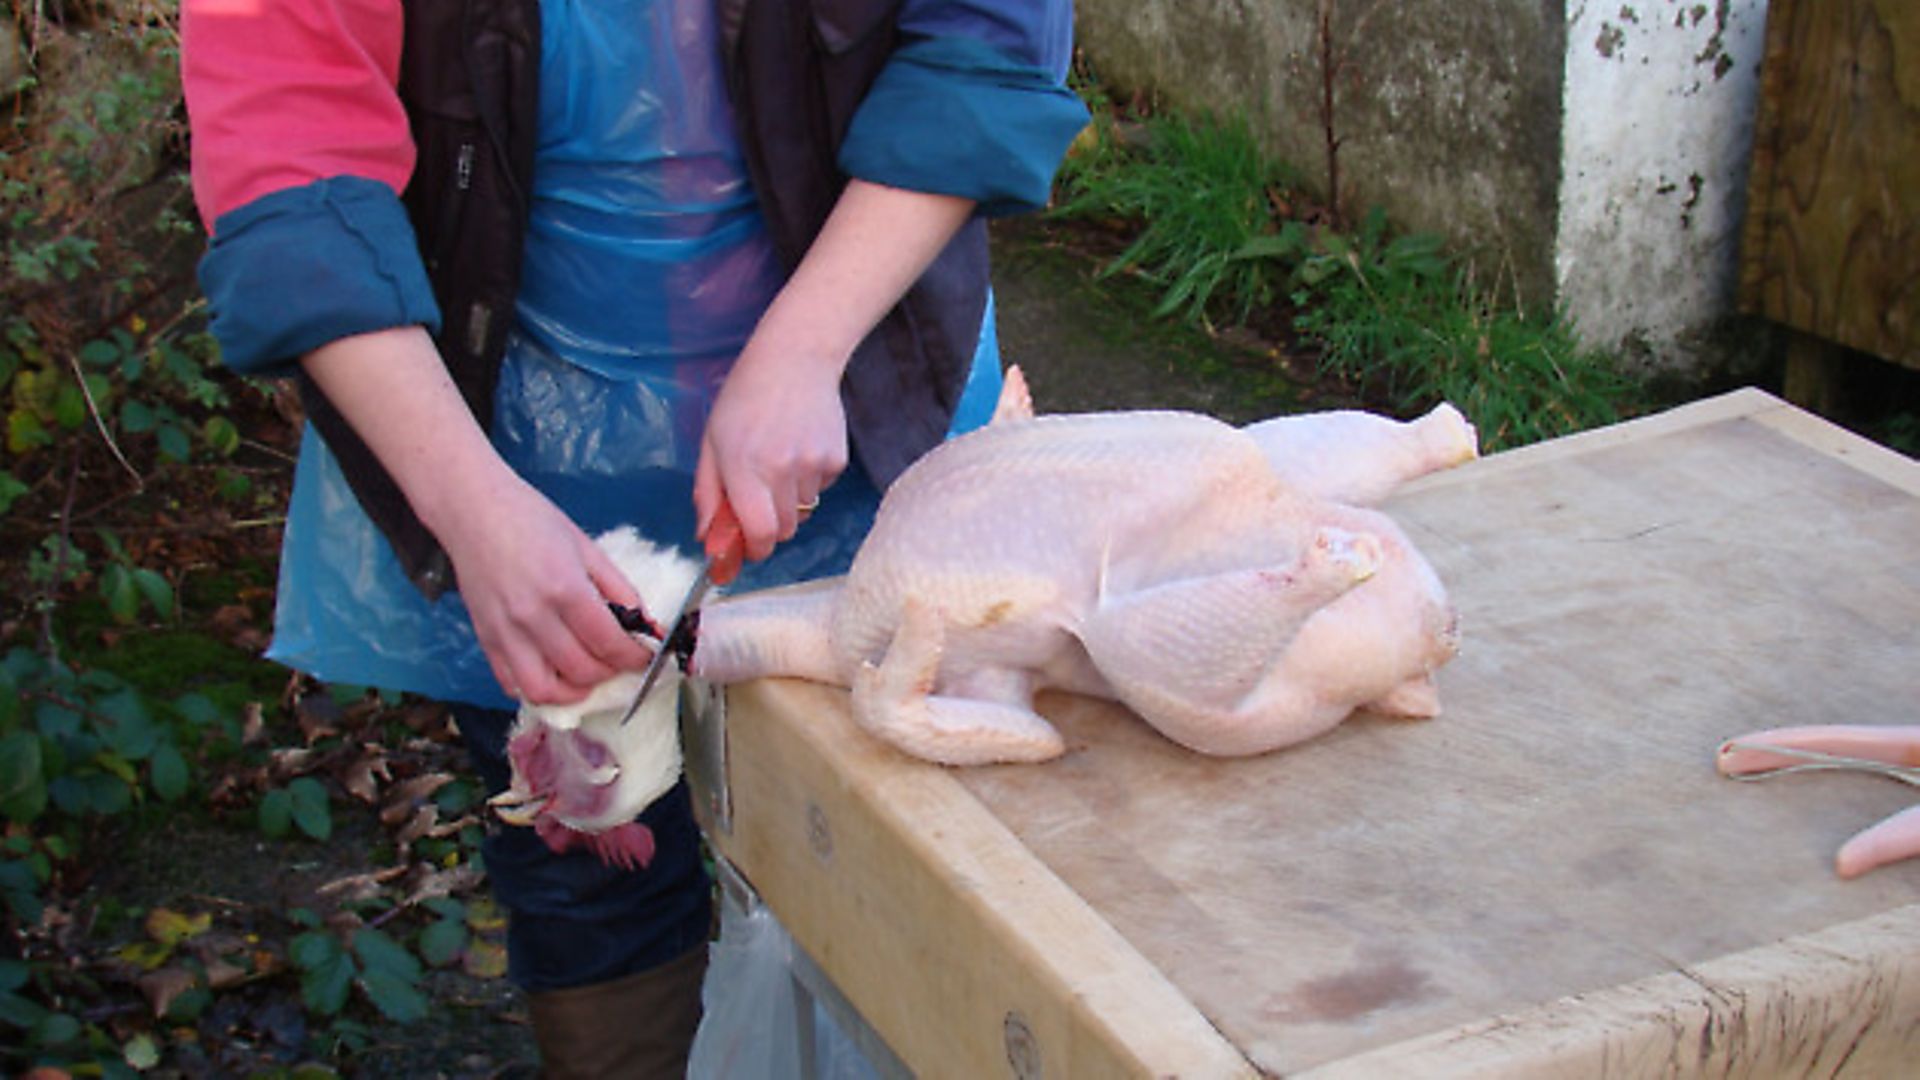
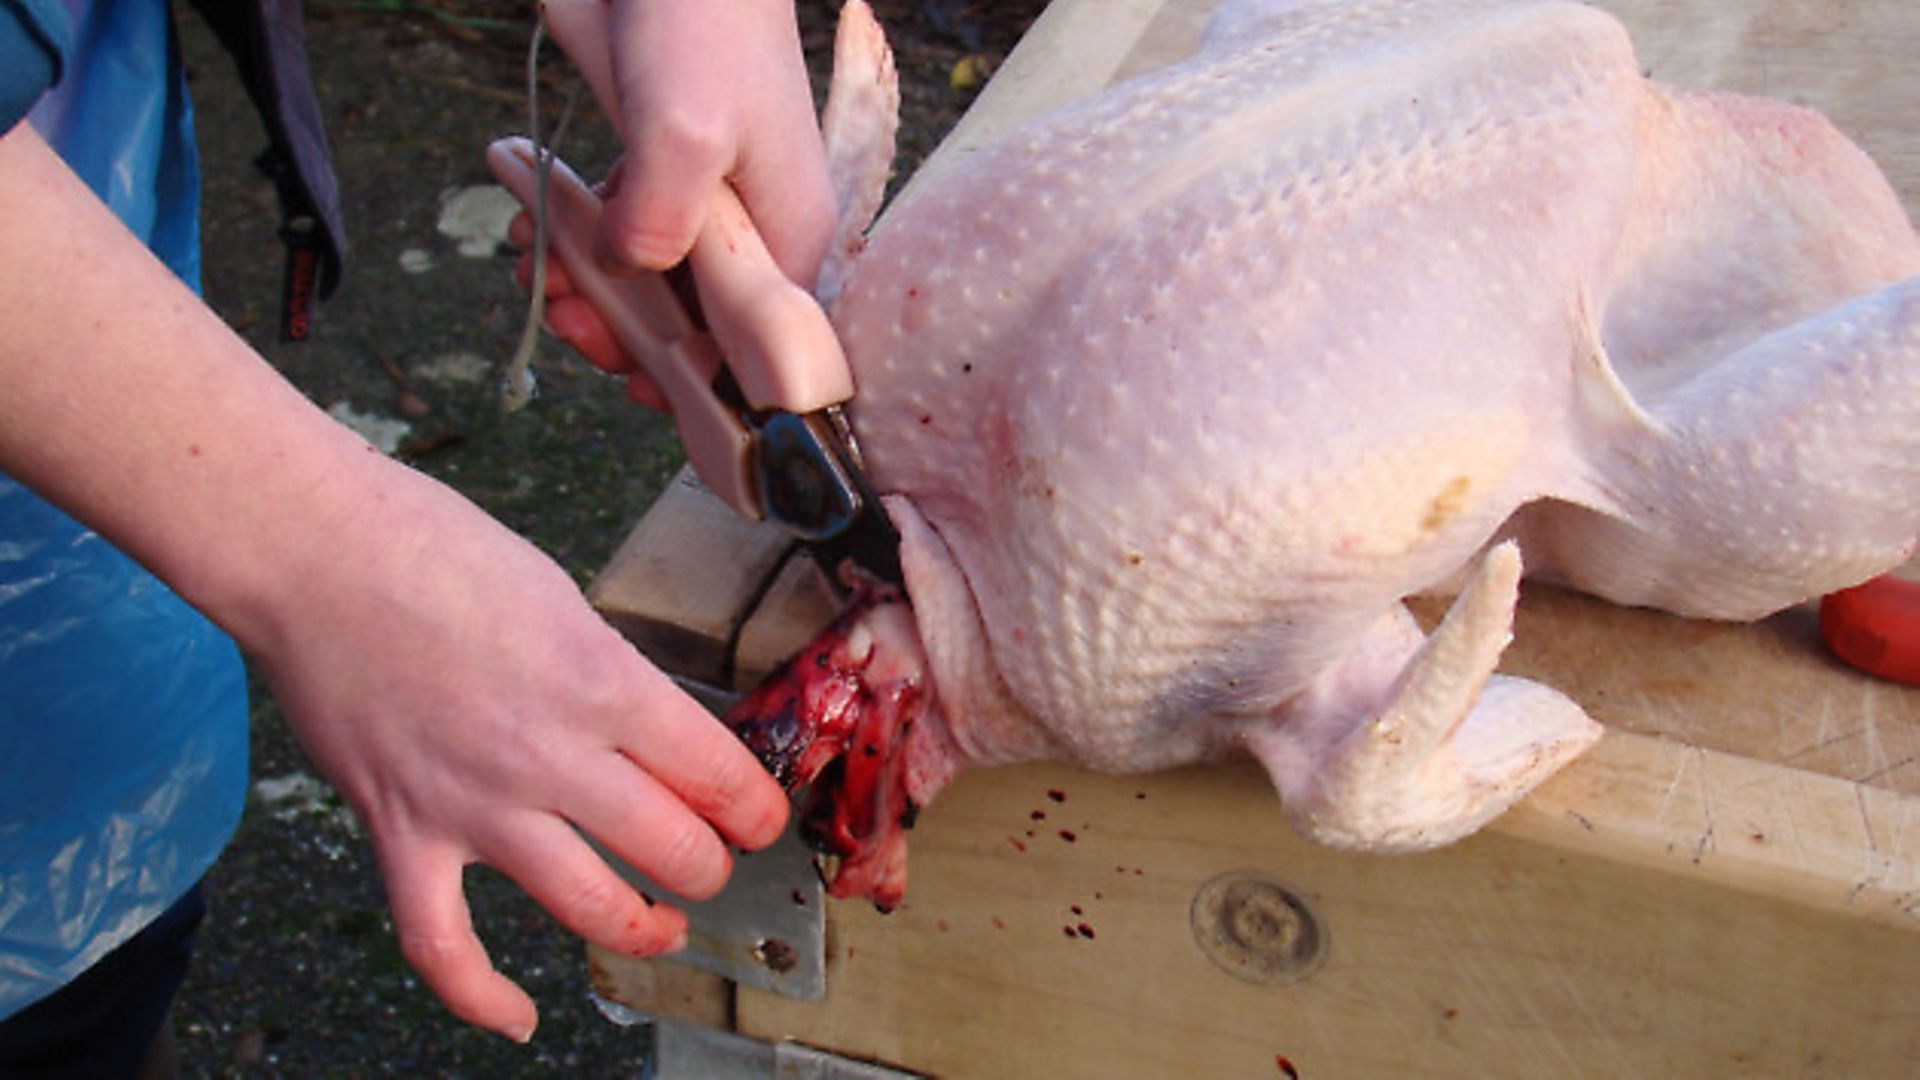
7. Cut off the scaly part of the legs at the joint. Next, cut off the head at the point where the neck was dislocated. As much of the neck skin is left on the bird as possible.
8. Having separated it from the skin, Dot cuts off the neck as close to the body of the bird as possible, using secateurs. She also removes the crop at this point.
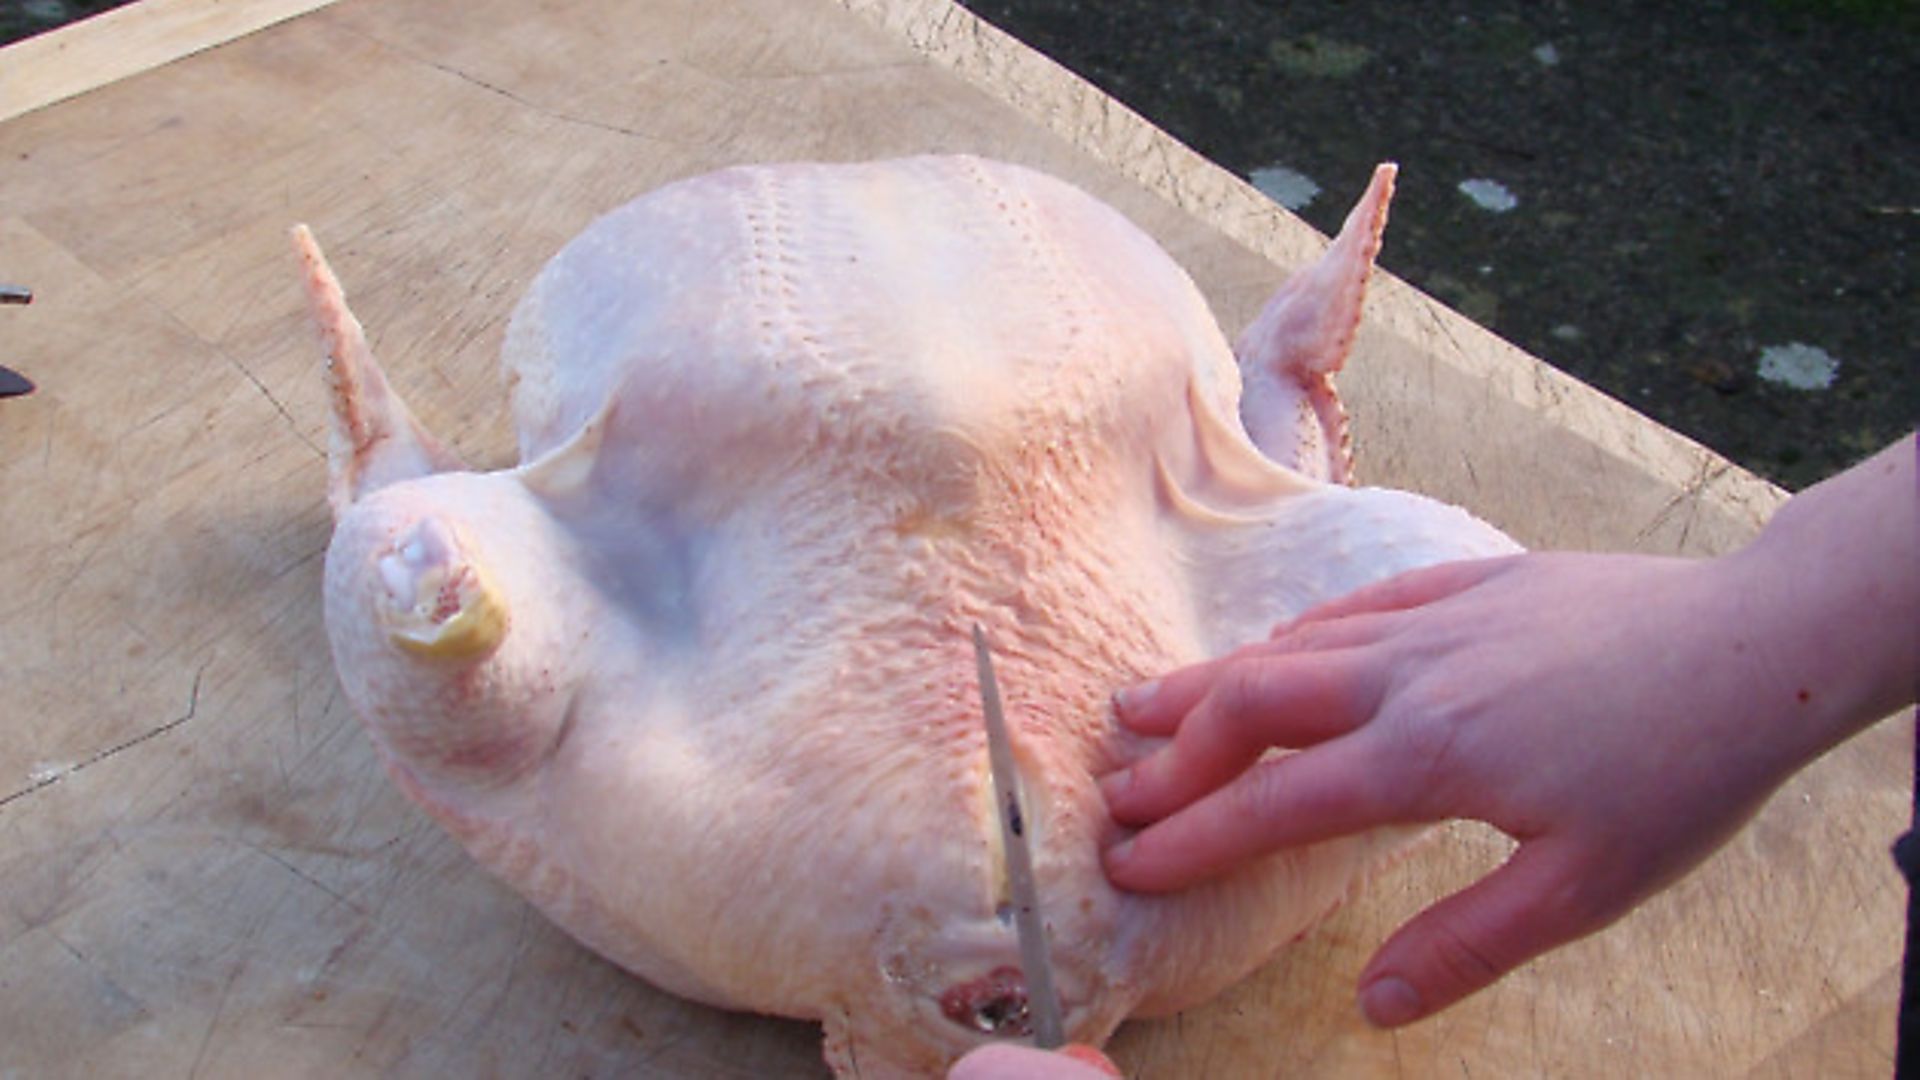
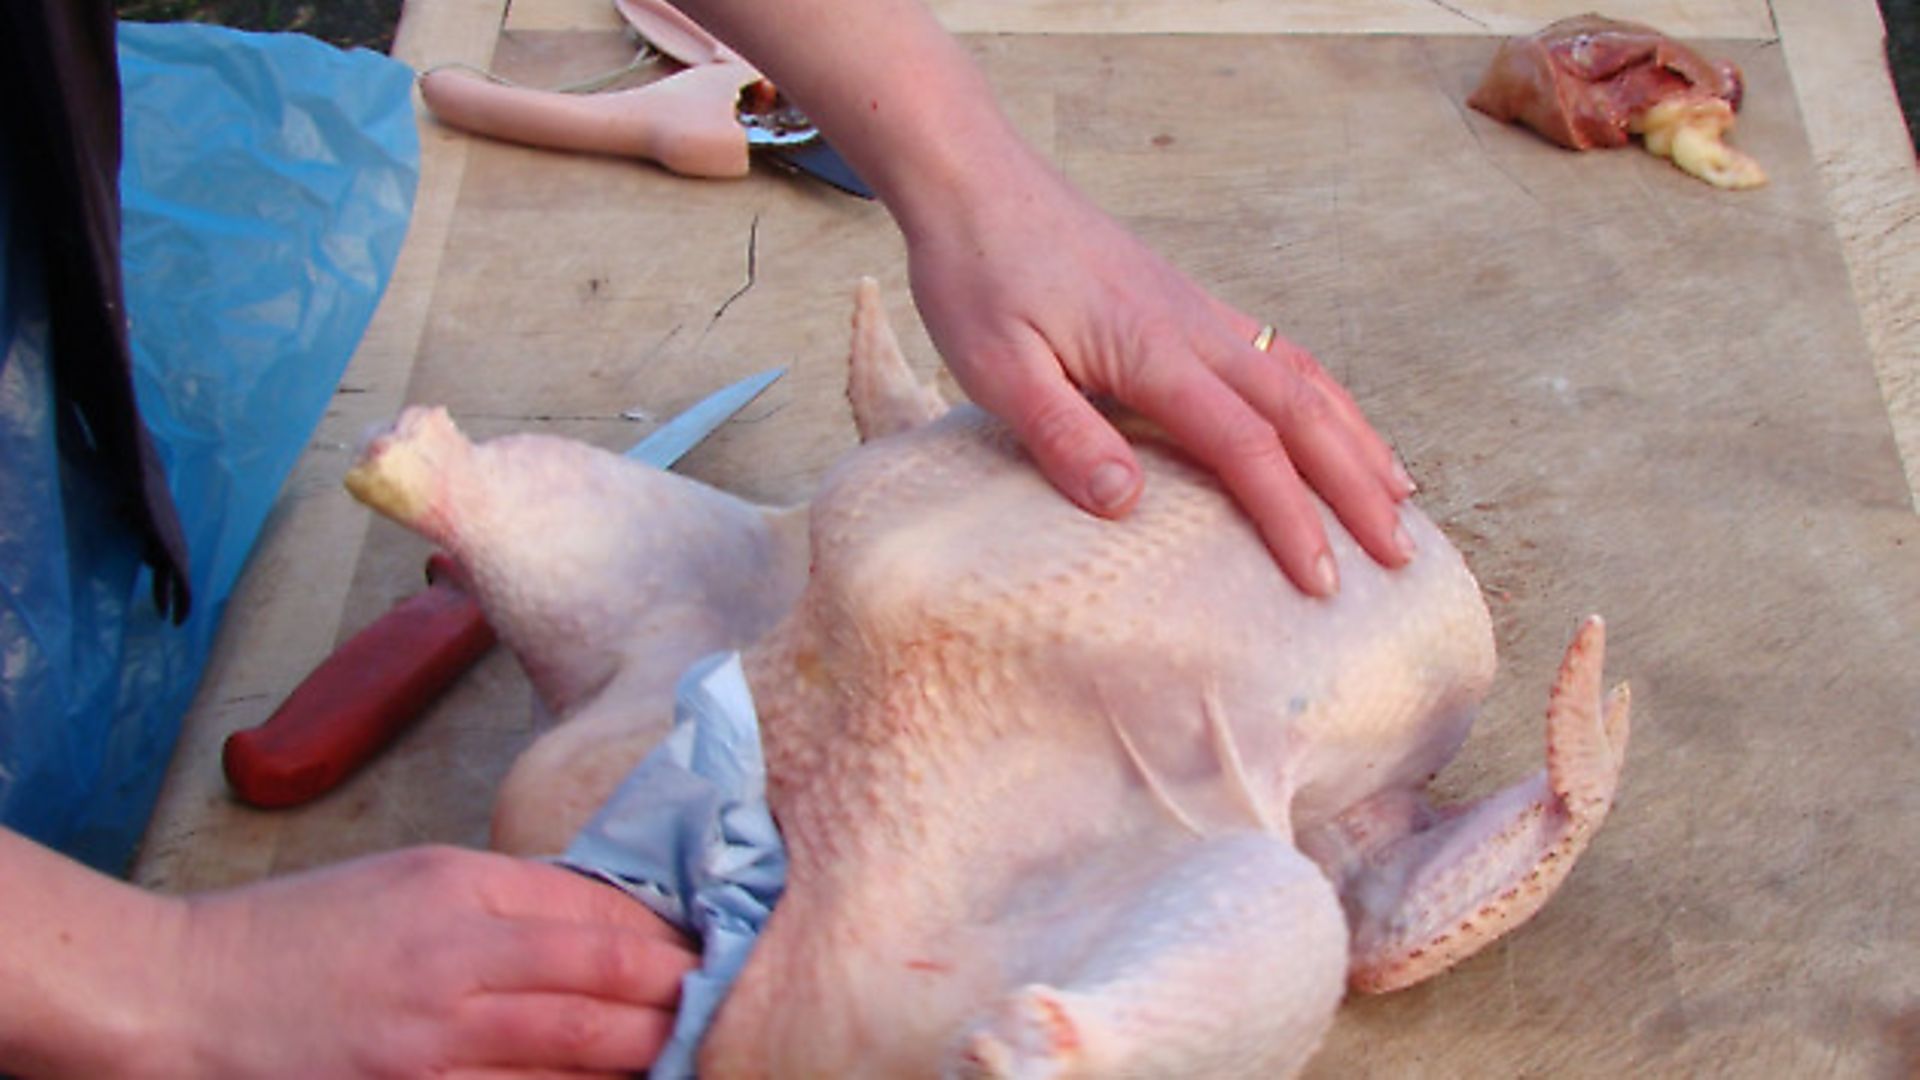
9. Working at the other end of the bird now, with it still lying on its back, Dot makes an incision between the vent and the rearmost part of the breastbone, just big enough to get her hand through.
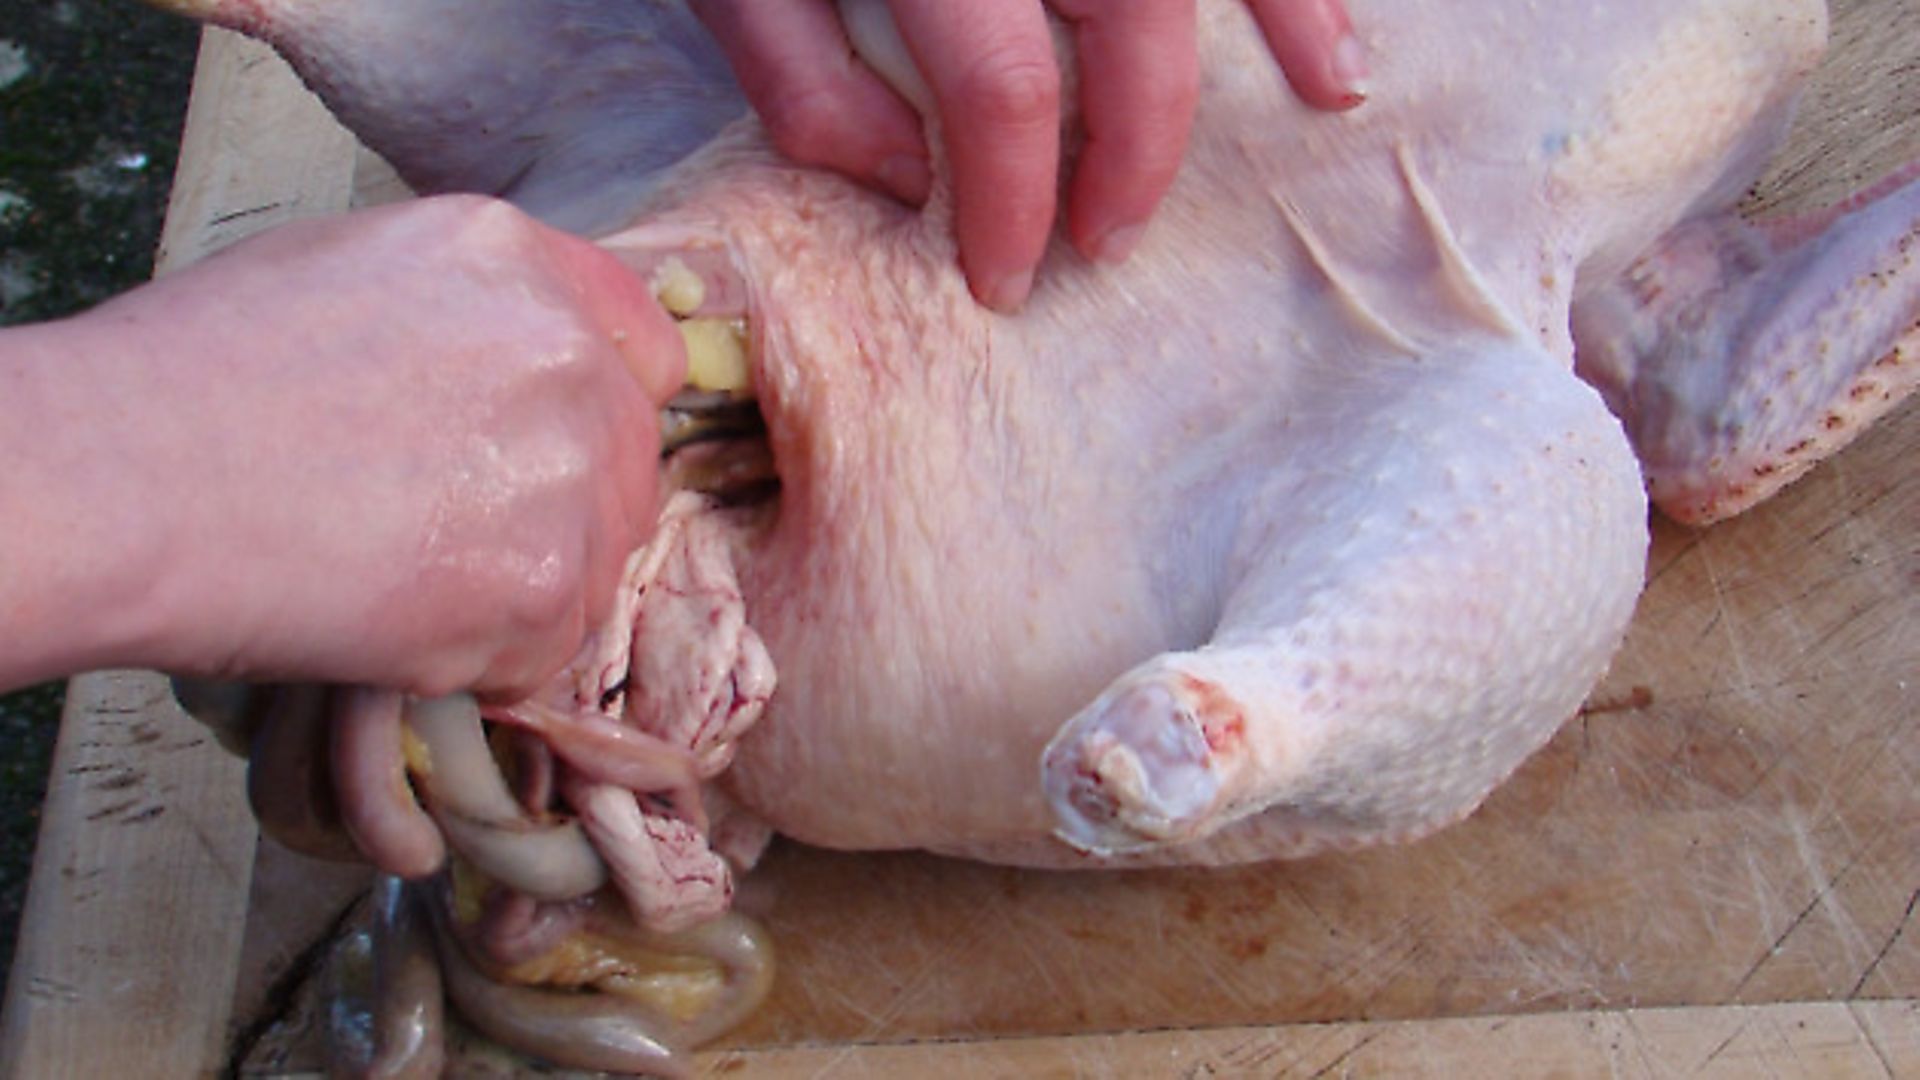
10. All of the entrails are removed through the incision, and detached from the body by cutting around the vent.
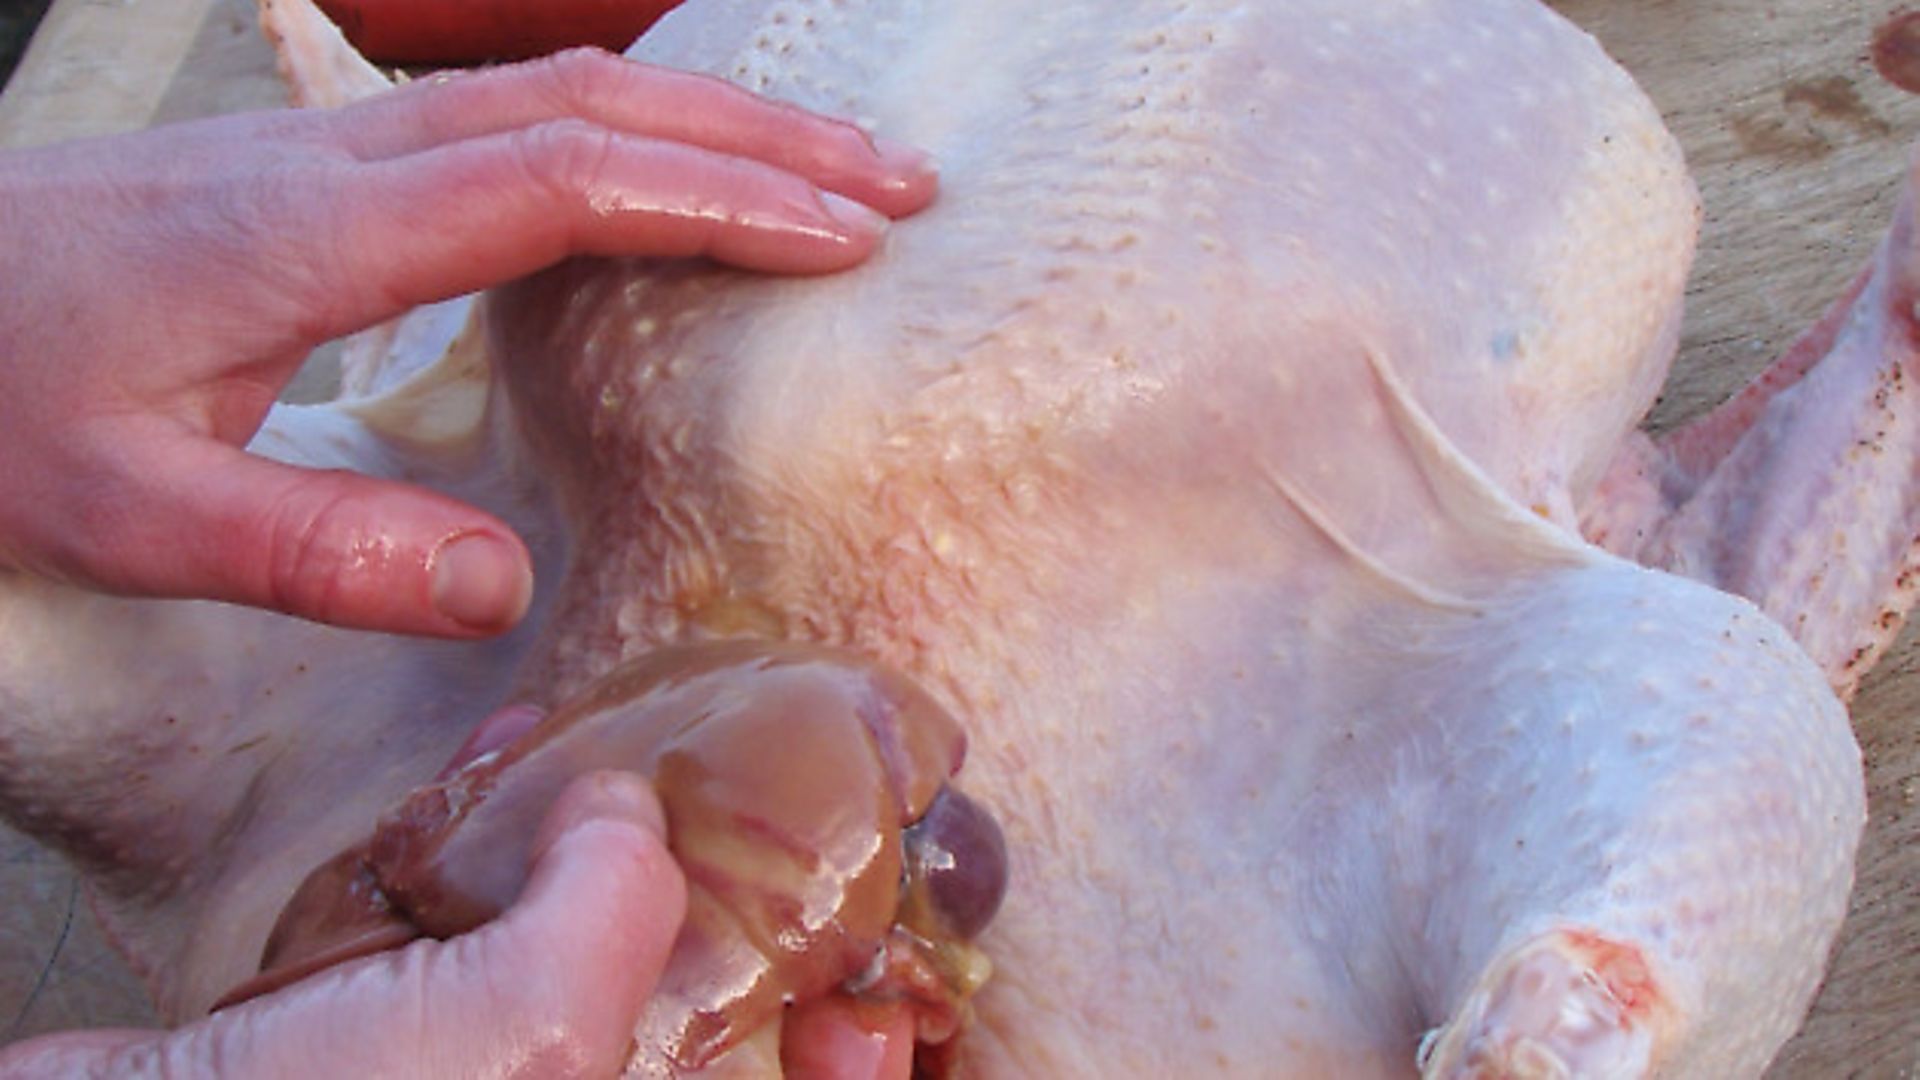
11. By reaching further into the body cavity Dot locates and removes the liver, which is used for making pâté, and also the heart and lungs.
12. The inside of the carcass is cleaned by wiping out with paper towels.
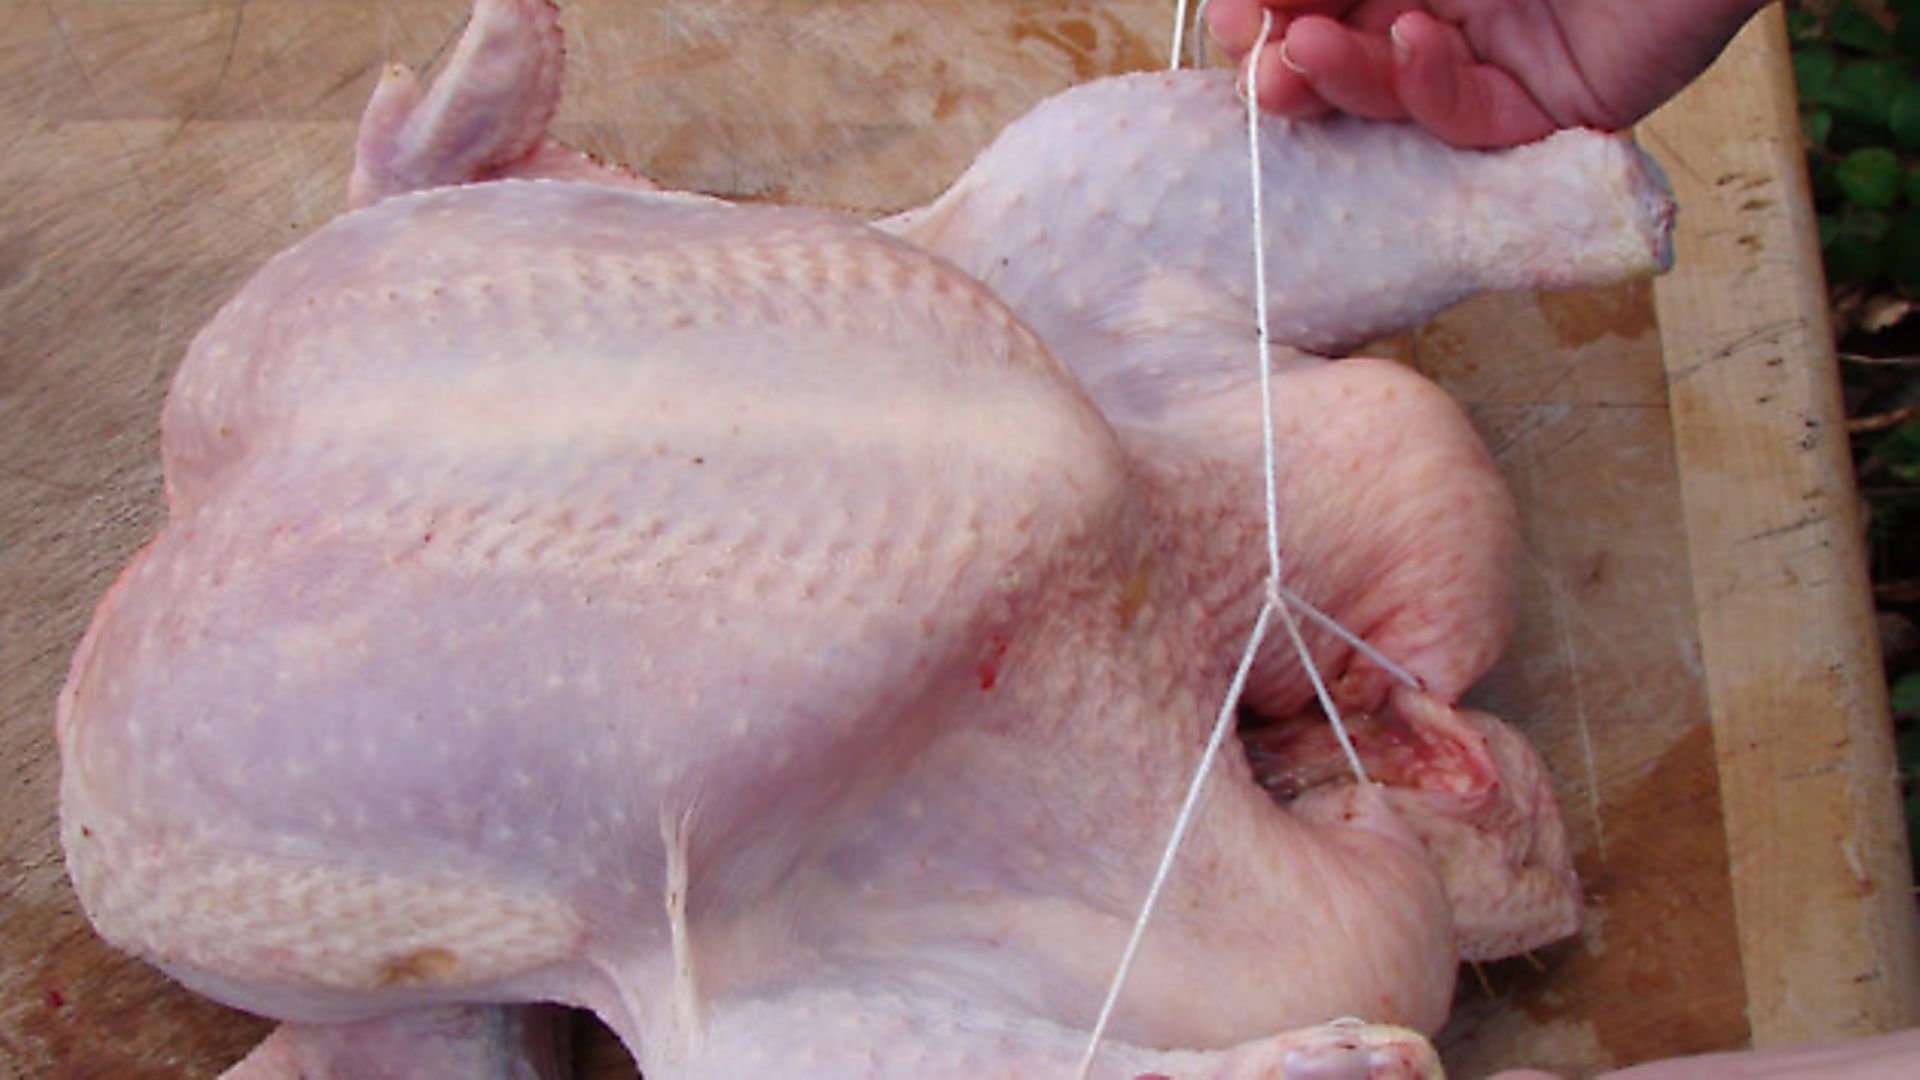
13. A simple method for trussing the bird is to start with it lying on its back, and tie the middle of the length of string around the parson’s nose.
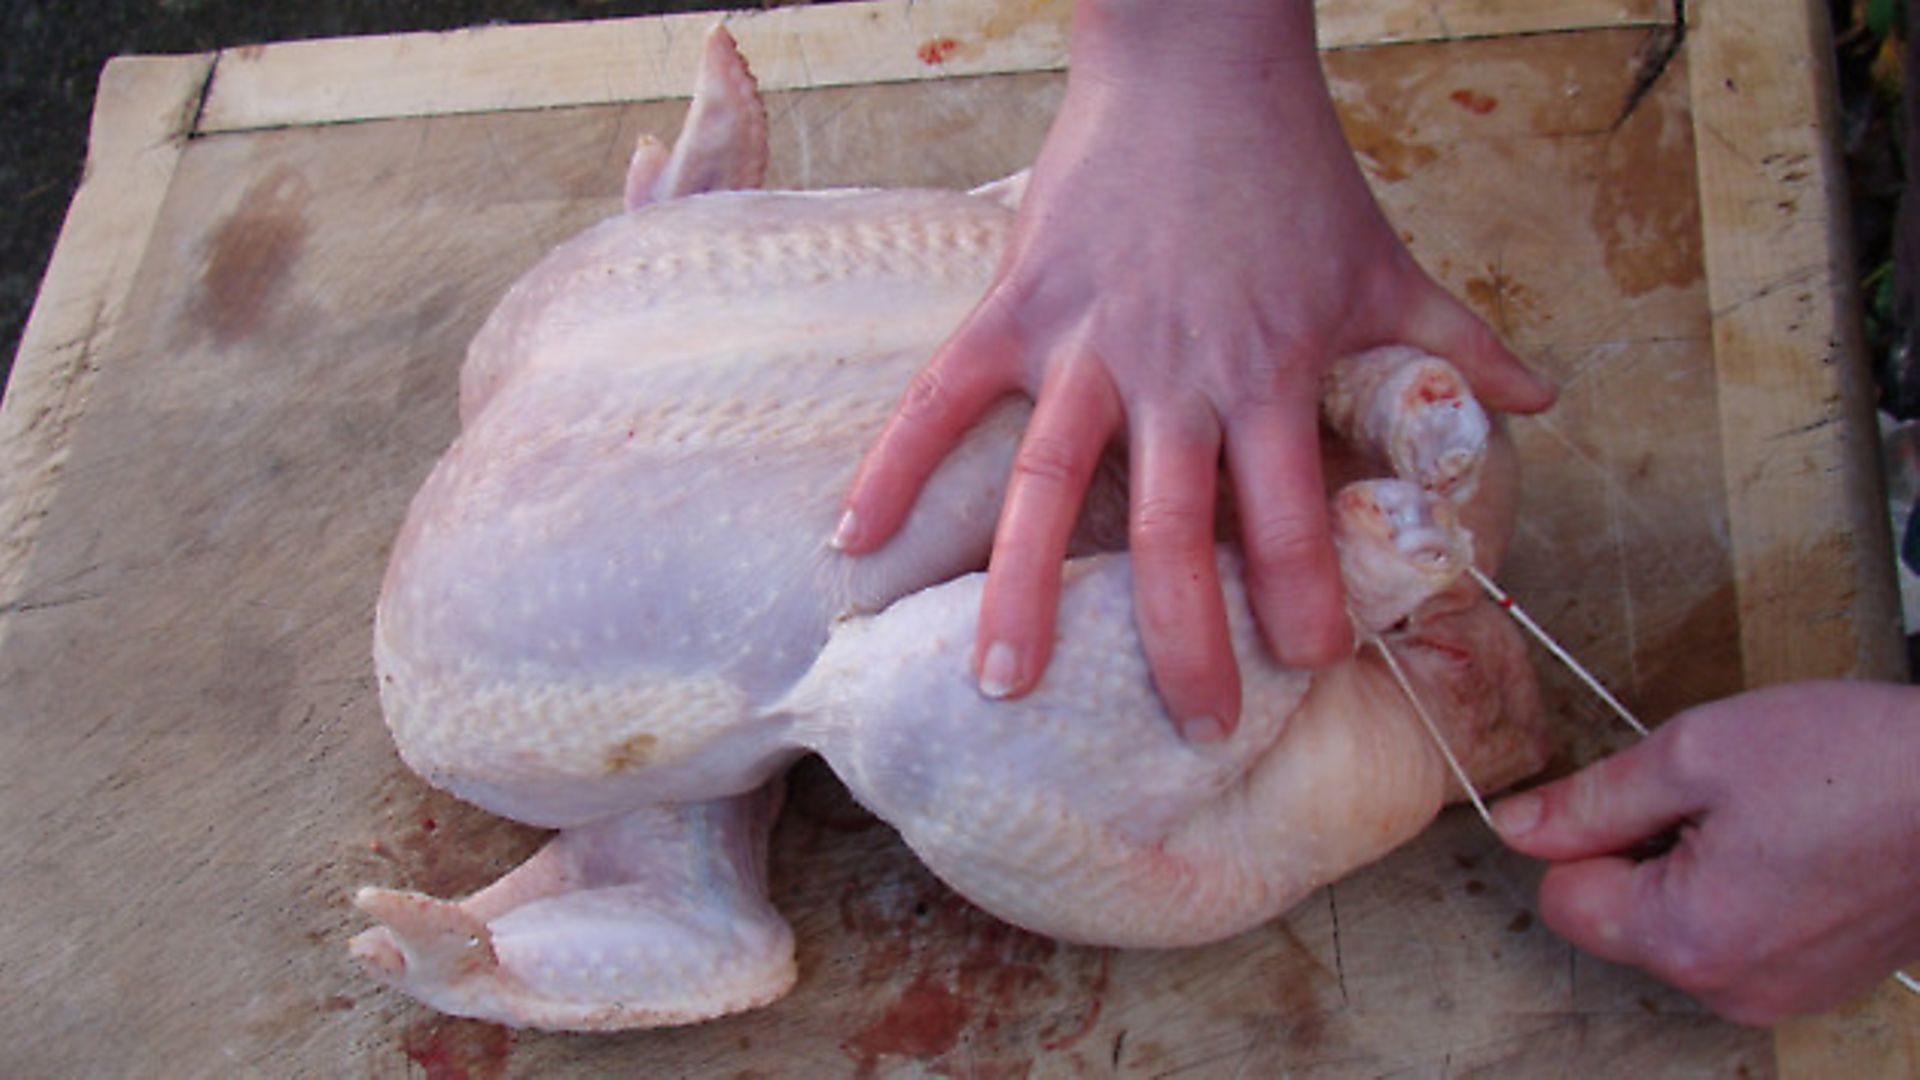
14. Next, pass the string around the legs and then back down to the parson’s nose, pulling the legs down and together.
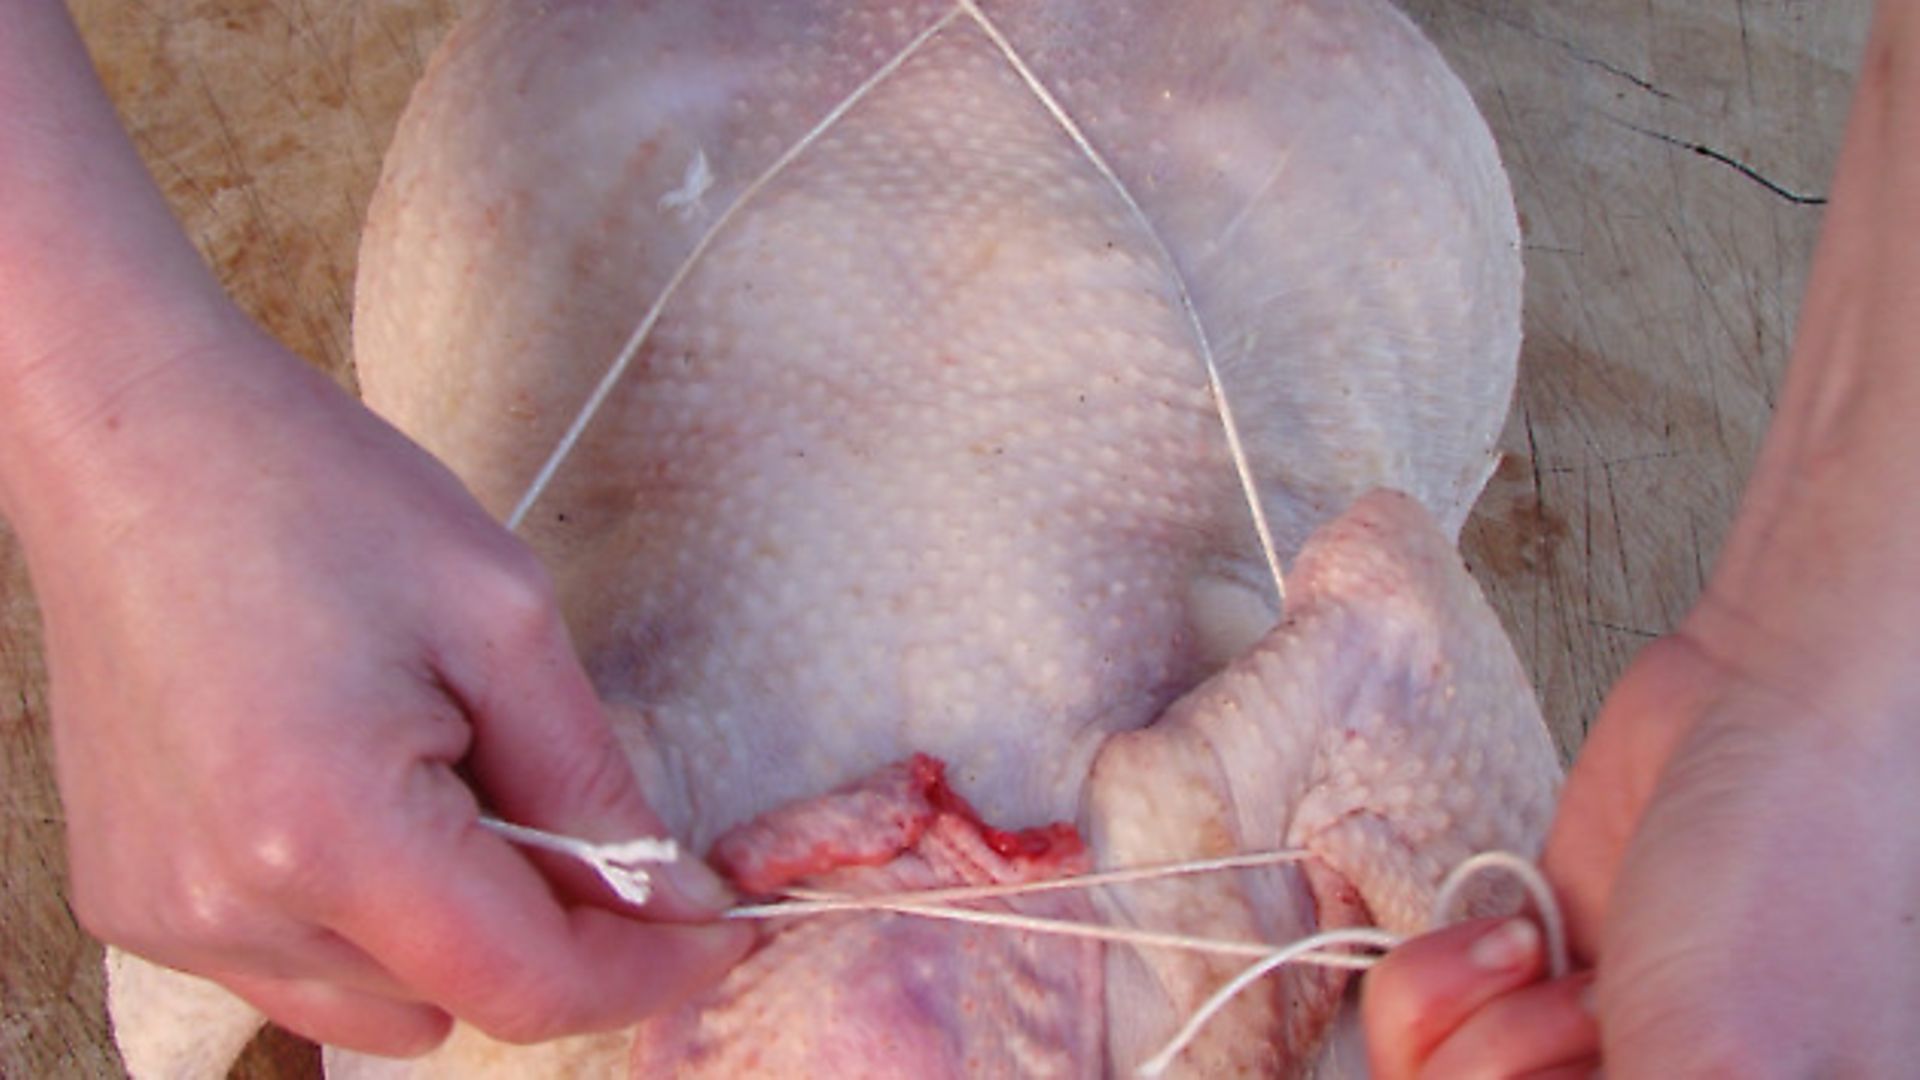
15. Turn the bird over so it’s lying on its breast. Cross the ends of the string above the parson’s nose, and then take them diagonally across the back and under each wing. Tie the ends together in such a way that the neck skin is also secured.
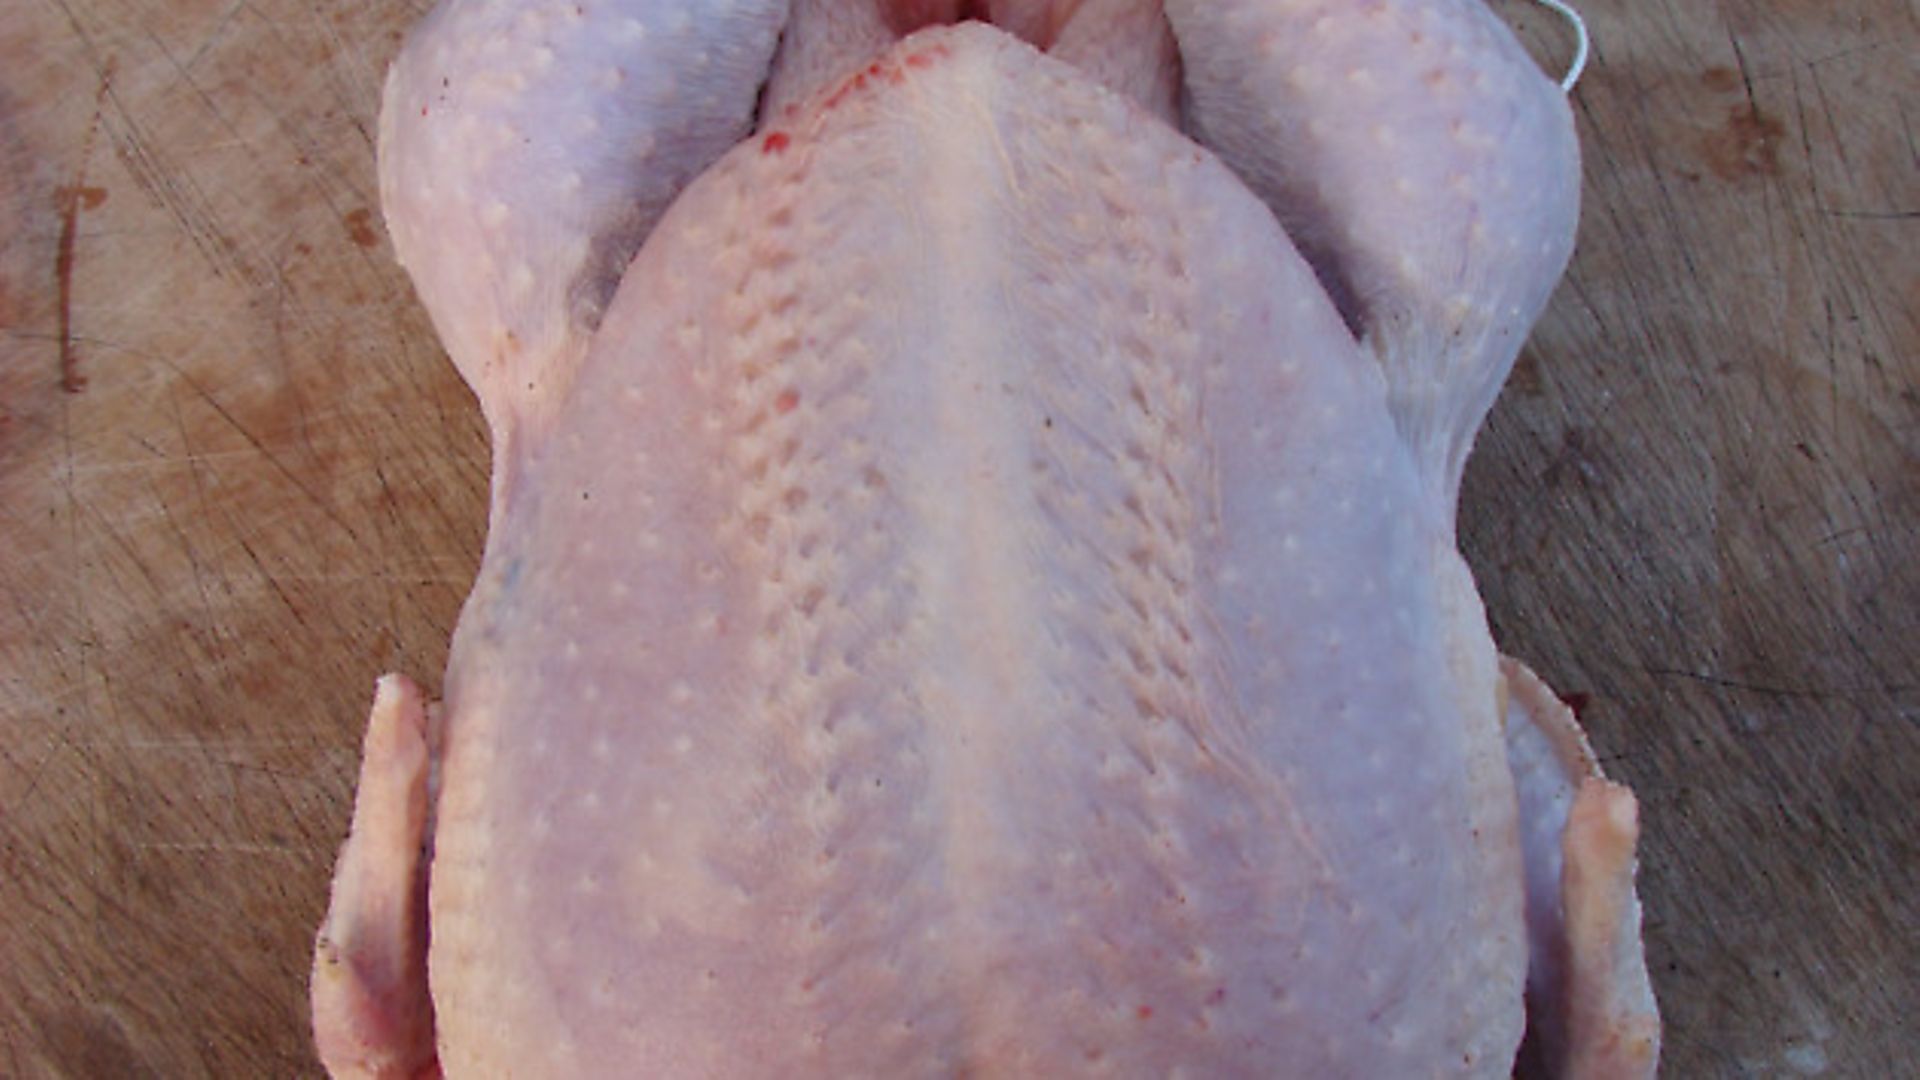
16. Oven ready.
EDITOR’S NOTE: There are differing views about neck dislocation as a method of slaughter of poultry. The Humane Slaughter Association recommends a percussive blow to the head rather than dislocation as it says the latter does not always cause instant unconsciouness (www.hsa.org.uk/neck-dislocation/neck-dislocation). Readers must consider the options and make their choice.
Image(s) provided by:
Archant
Archant
Archant
Archant
Archant
Archant
Archant
Archant
Archant
Archant
Archant
Archant
Archant
Archant
Archant